MANDALORIAN COSTUME
HALLOWEEN 2020
With plenty of time stuck inside this year working on Gundam models and small woodworking projects, I wanted to put together a Halloween costume that could combine some of these techniques and allow me to explore some new techniques, processes, and tools that I could apply to future design projects. I was inspired by the Mandalorian TV show’s innovative use of digital and physical modeling techniques for the Razor Crest and wanted to try my hand at making the costume of the eponymous bounty hunter.
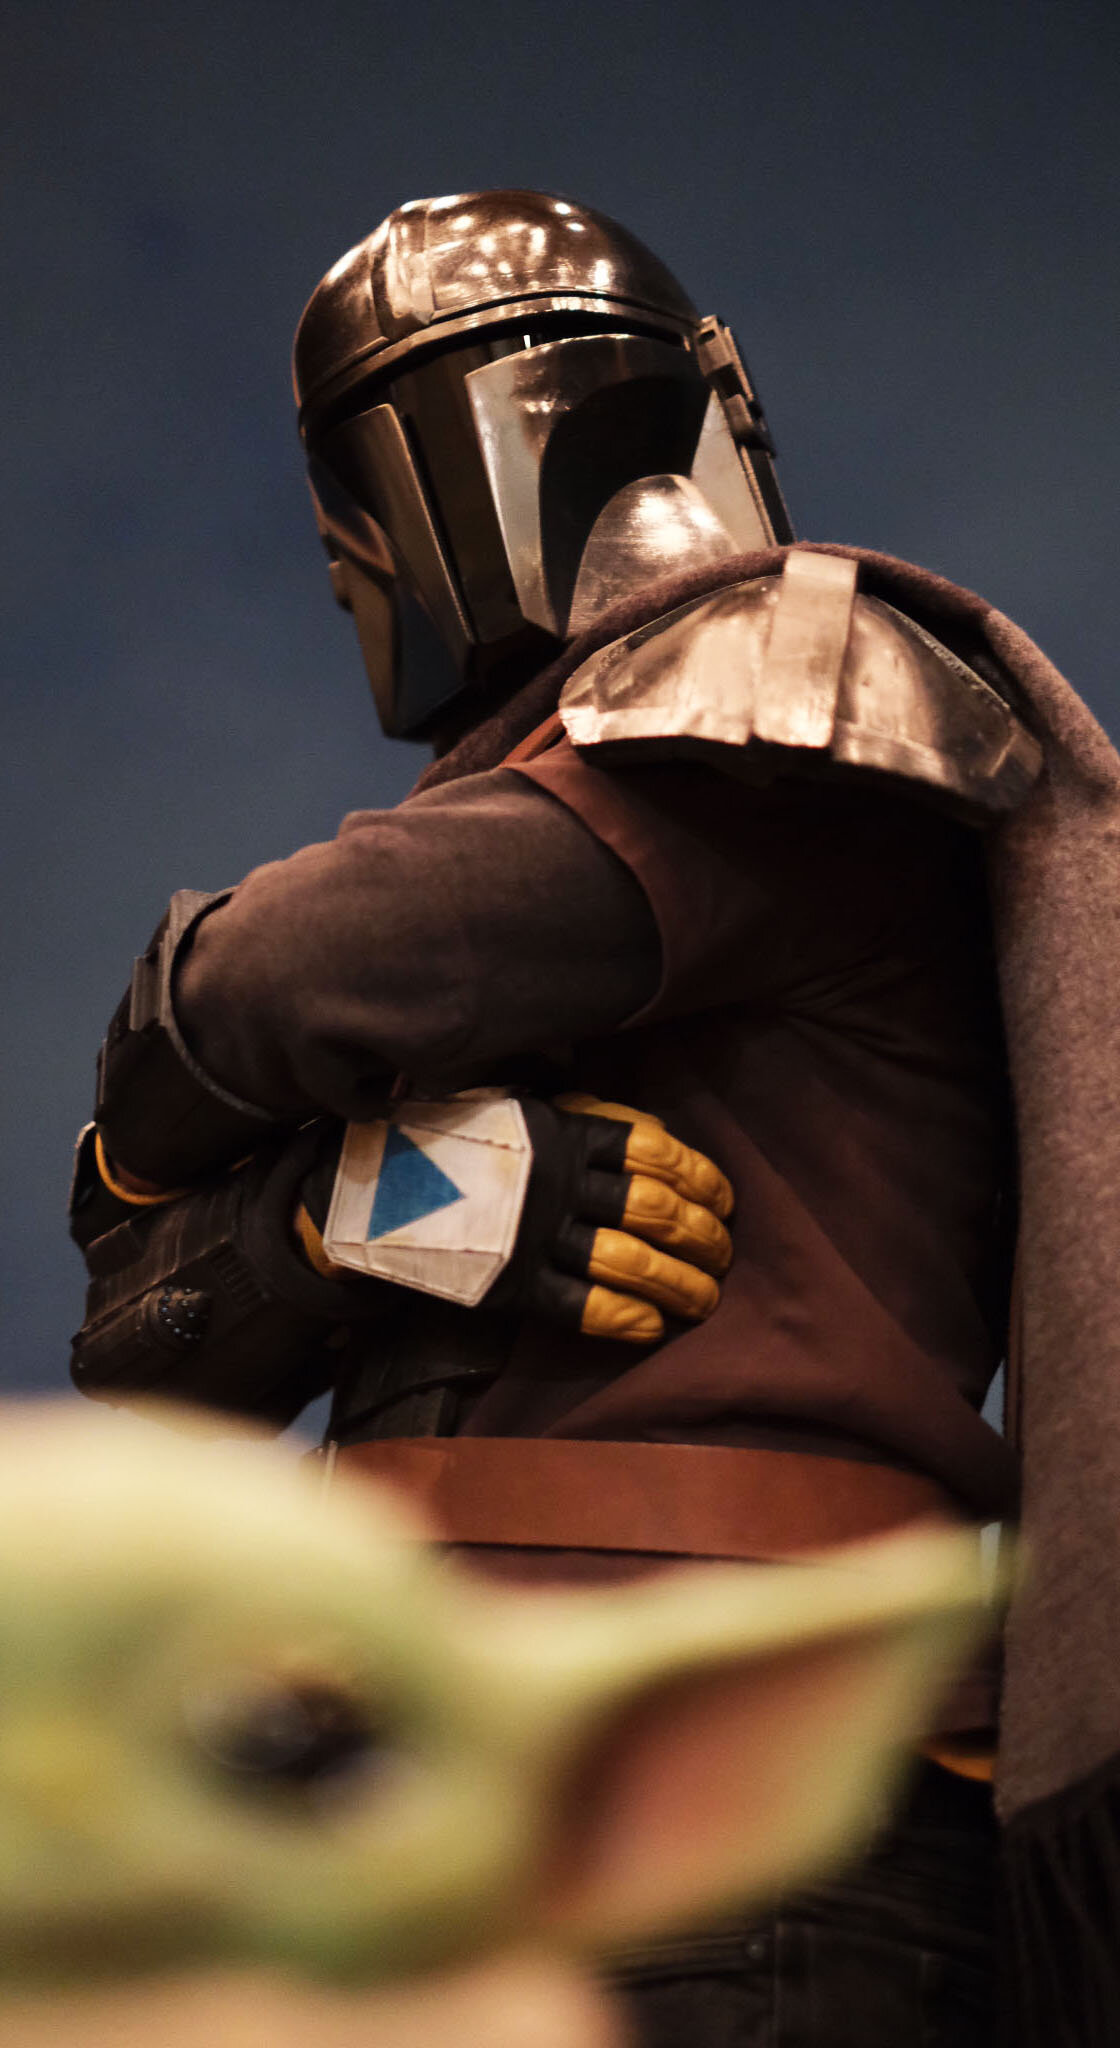
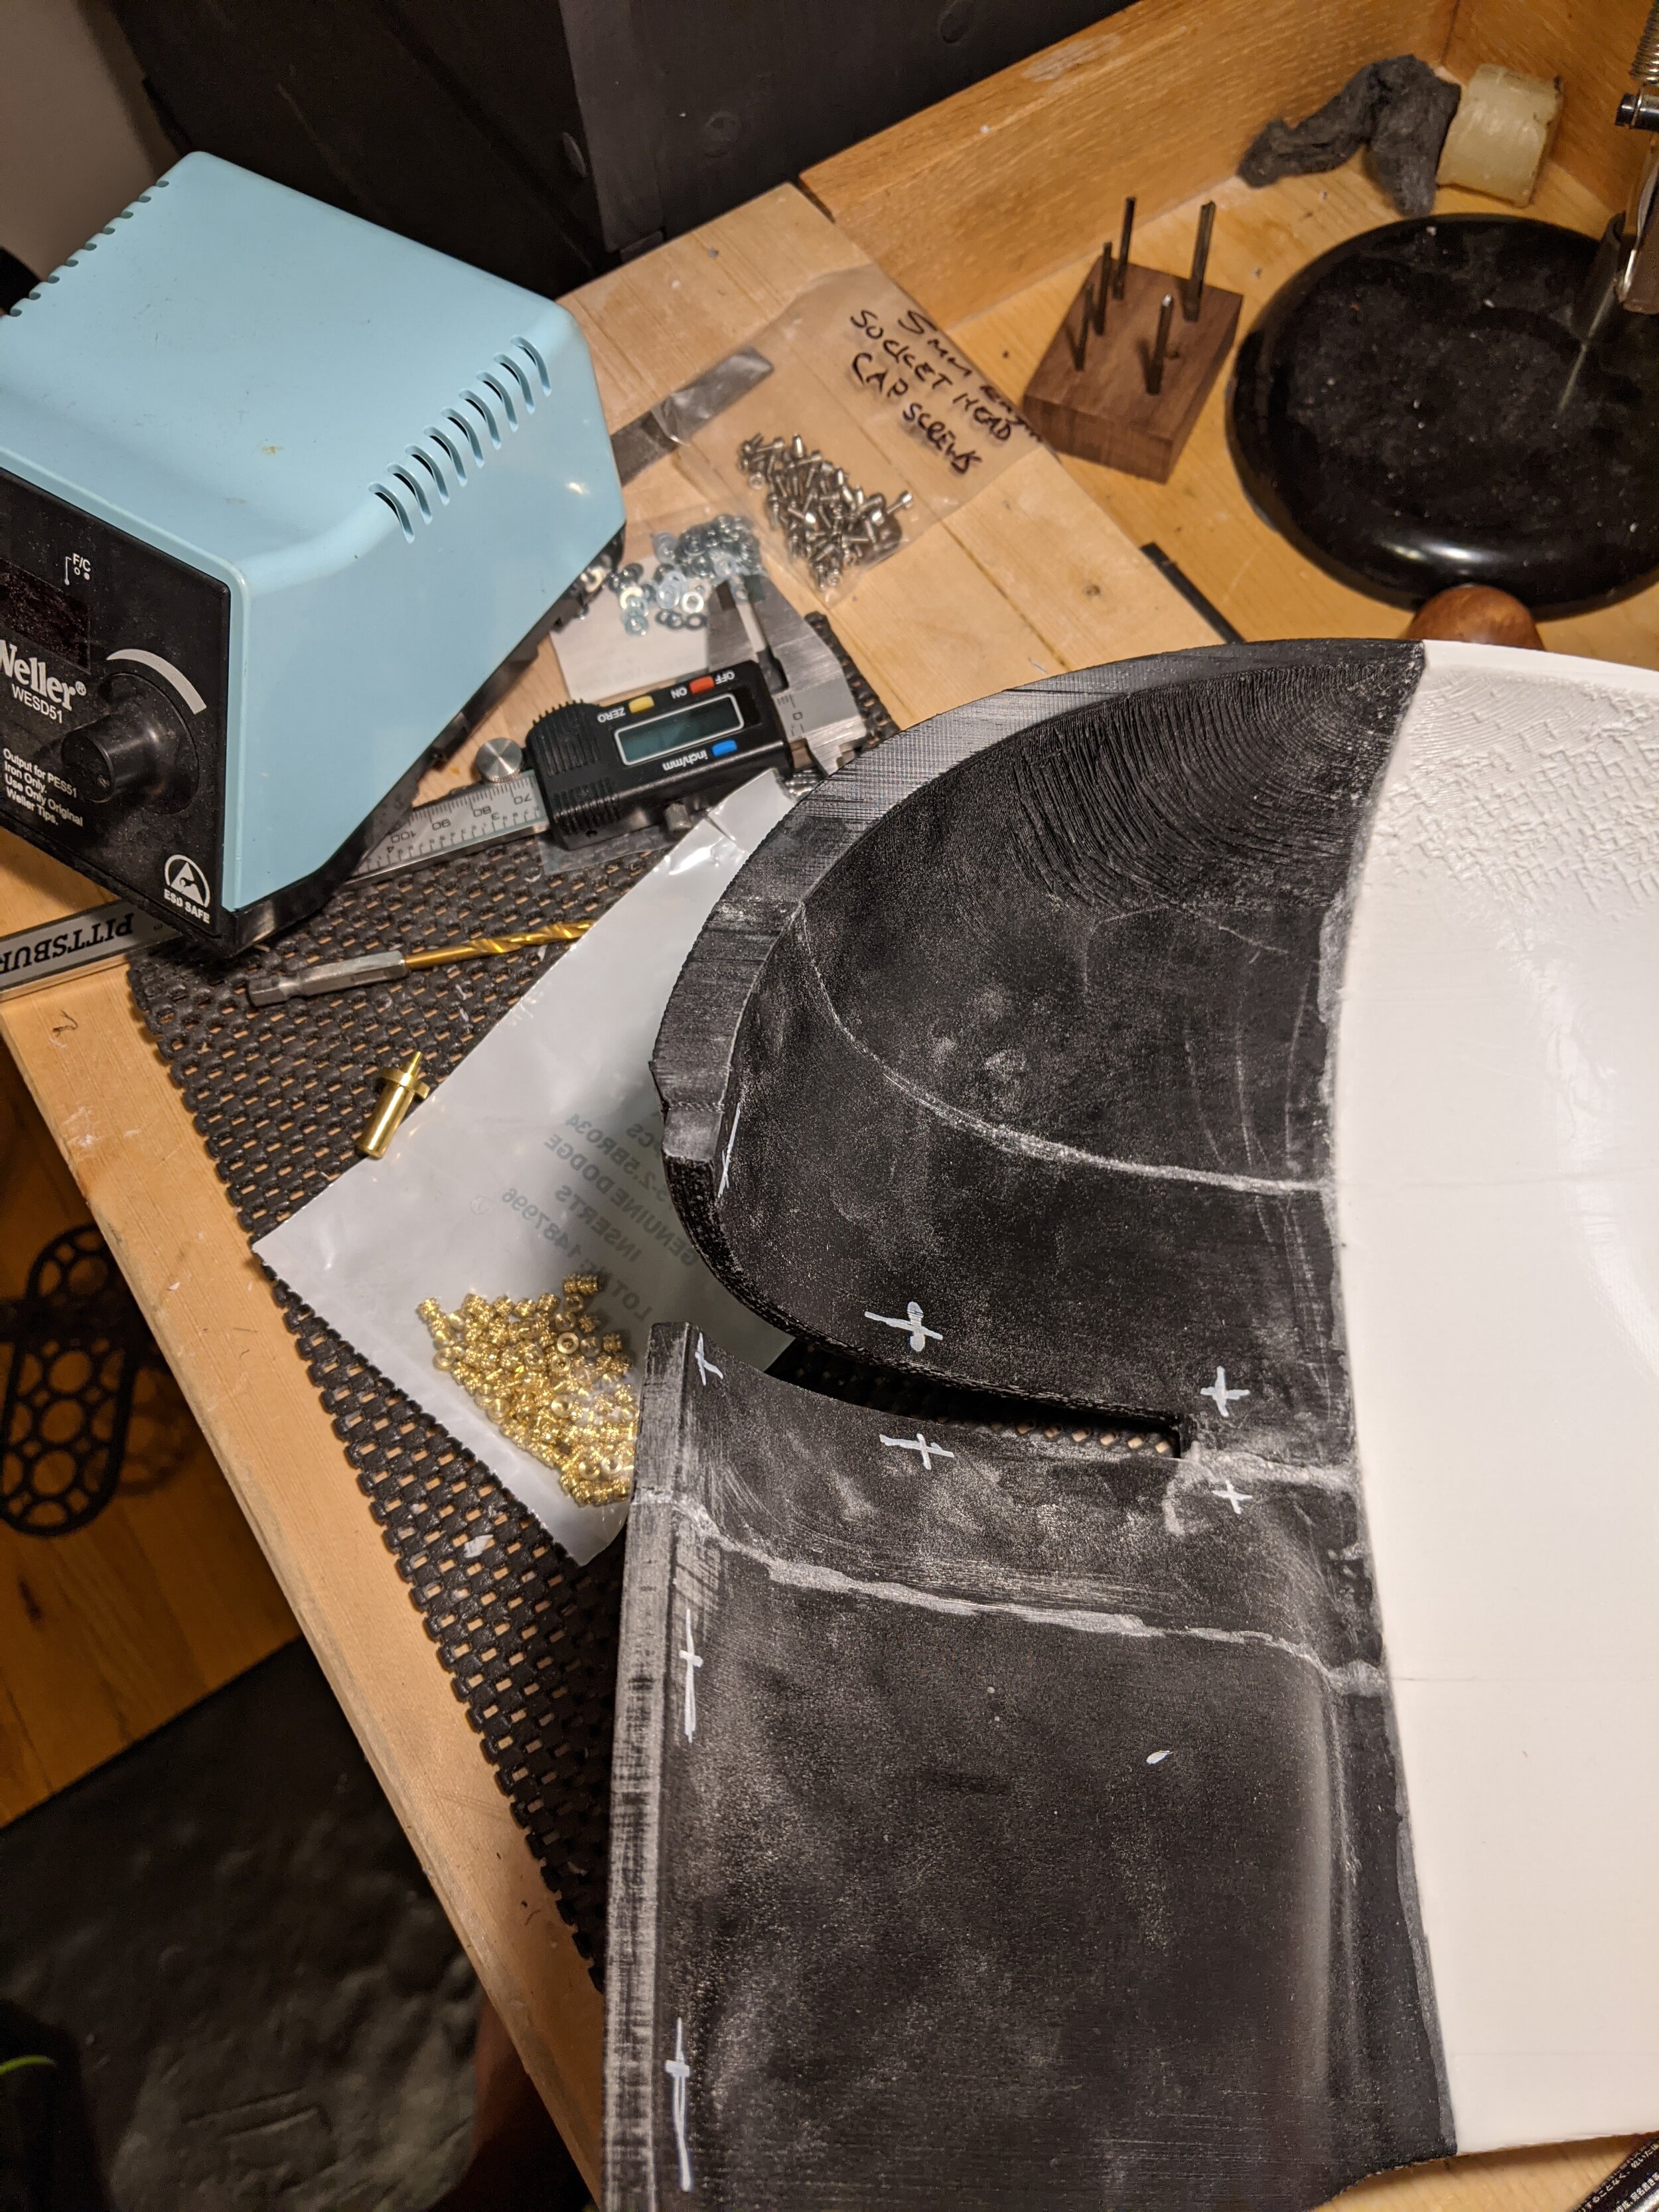
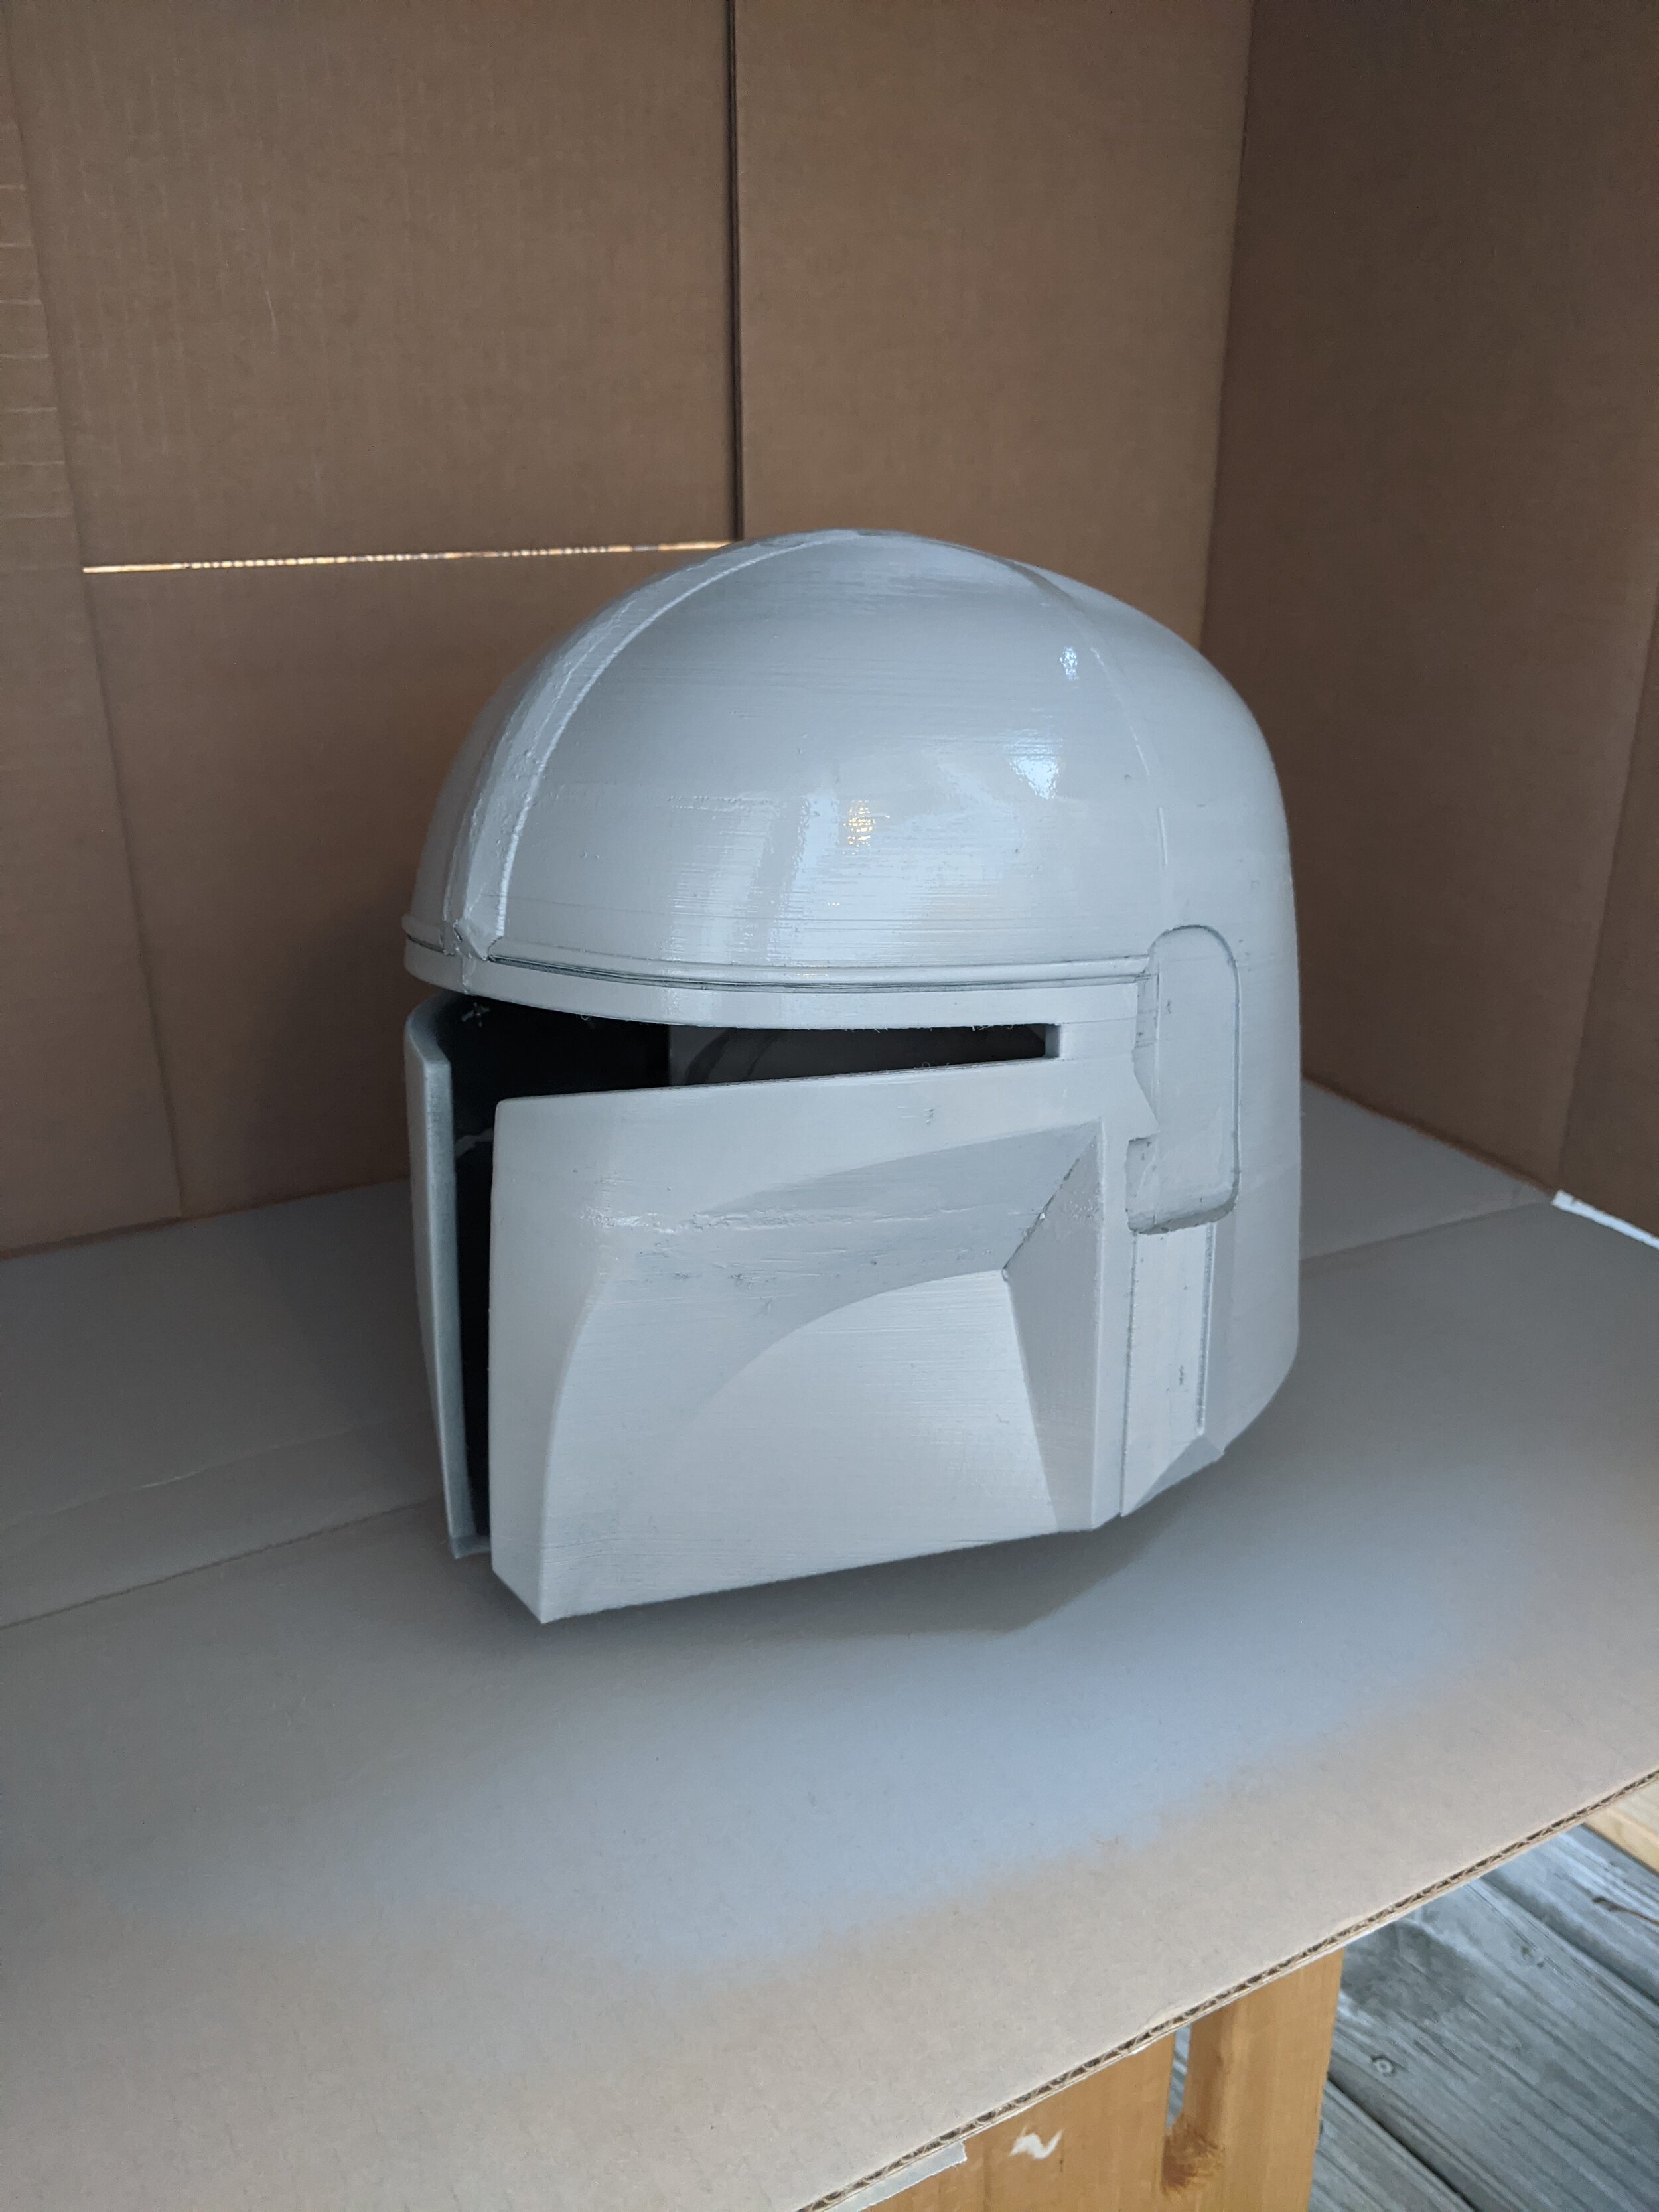
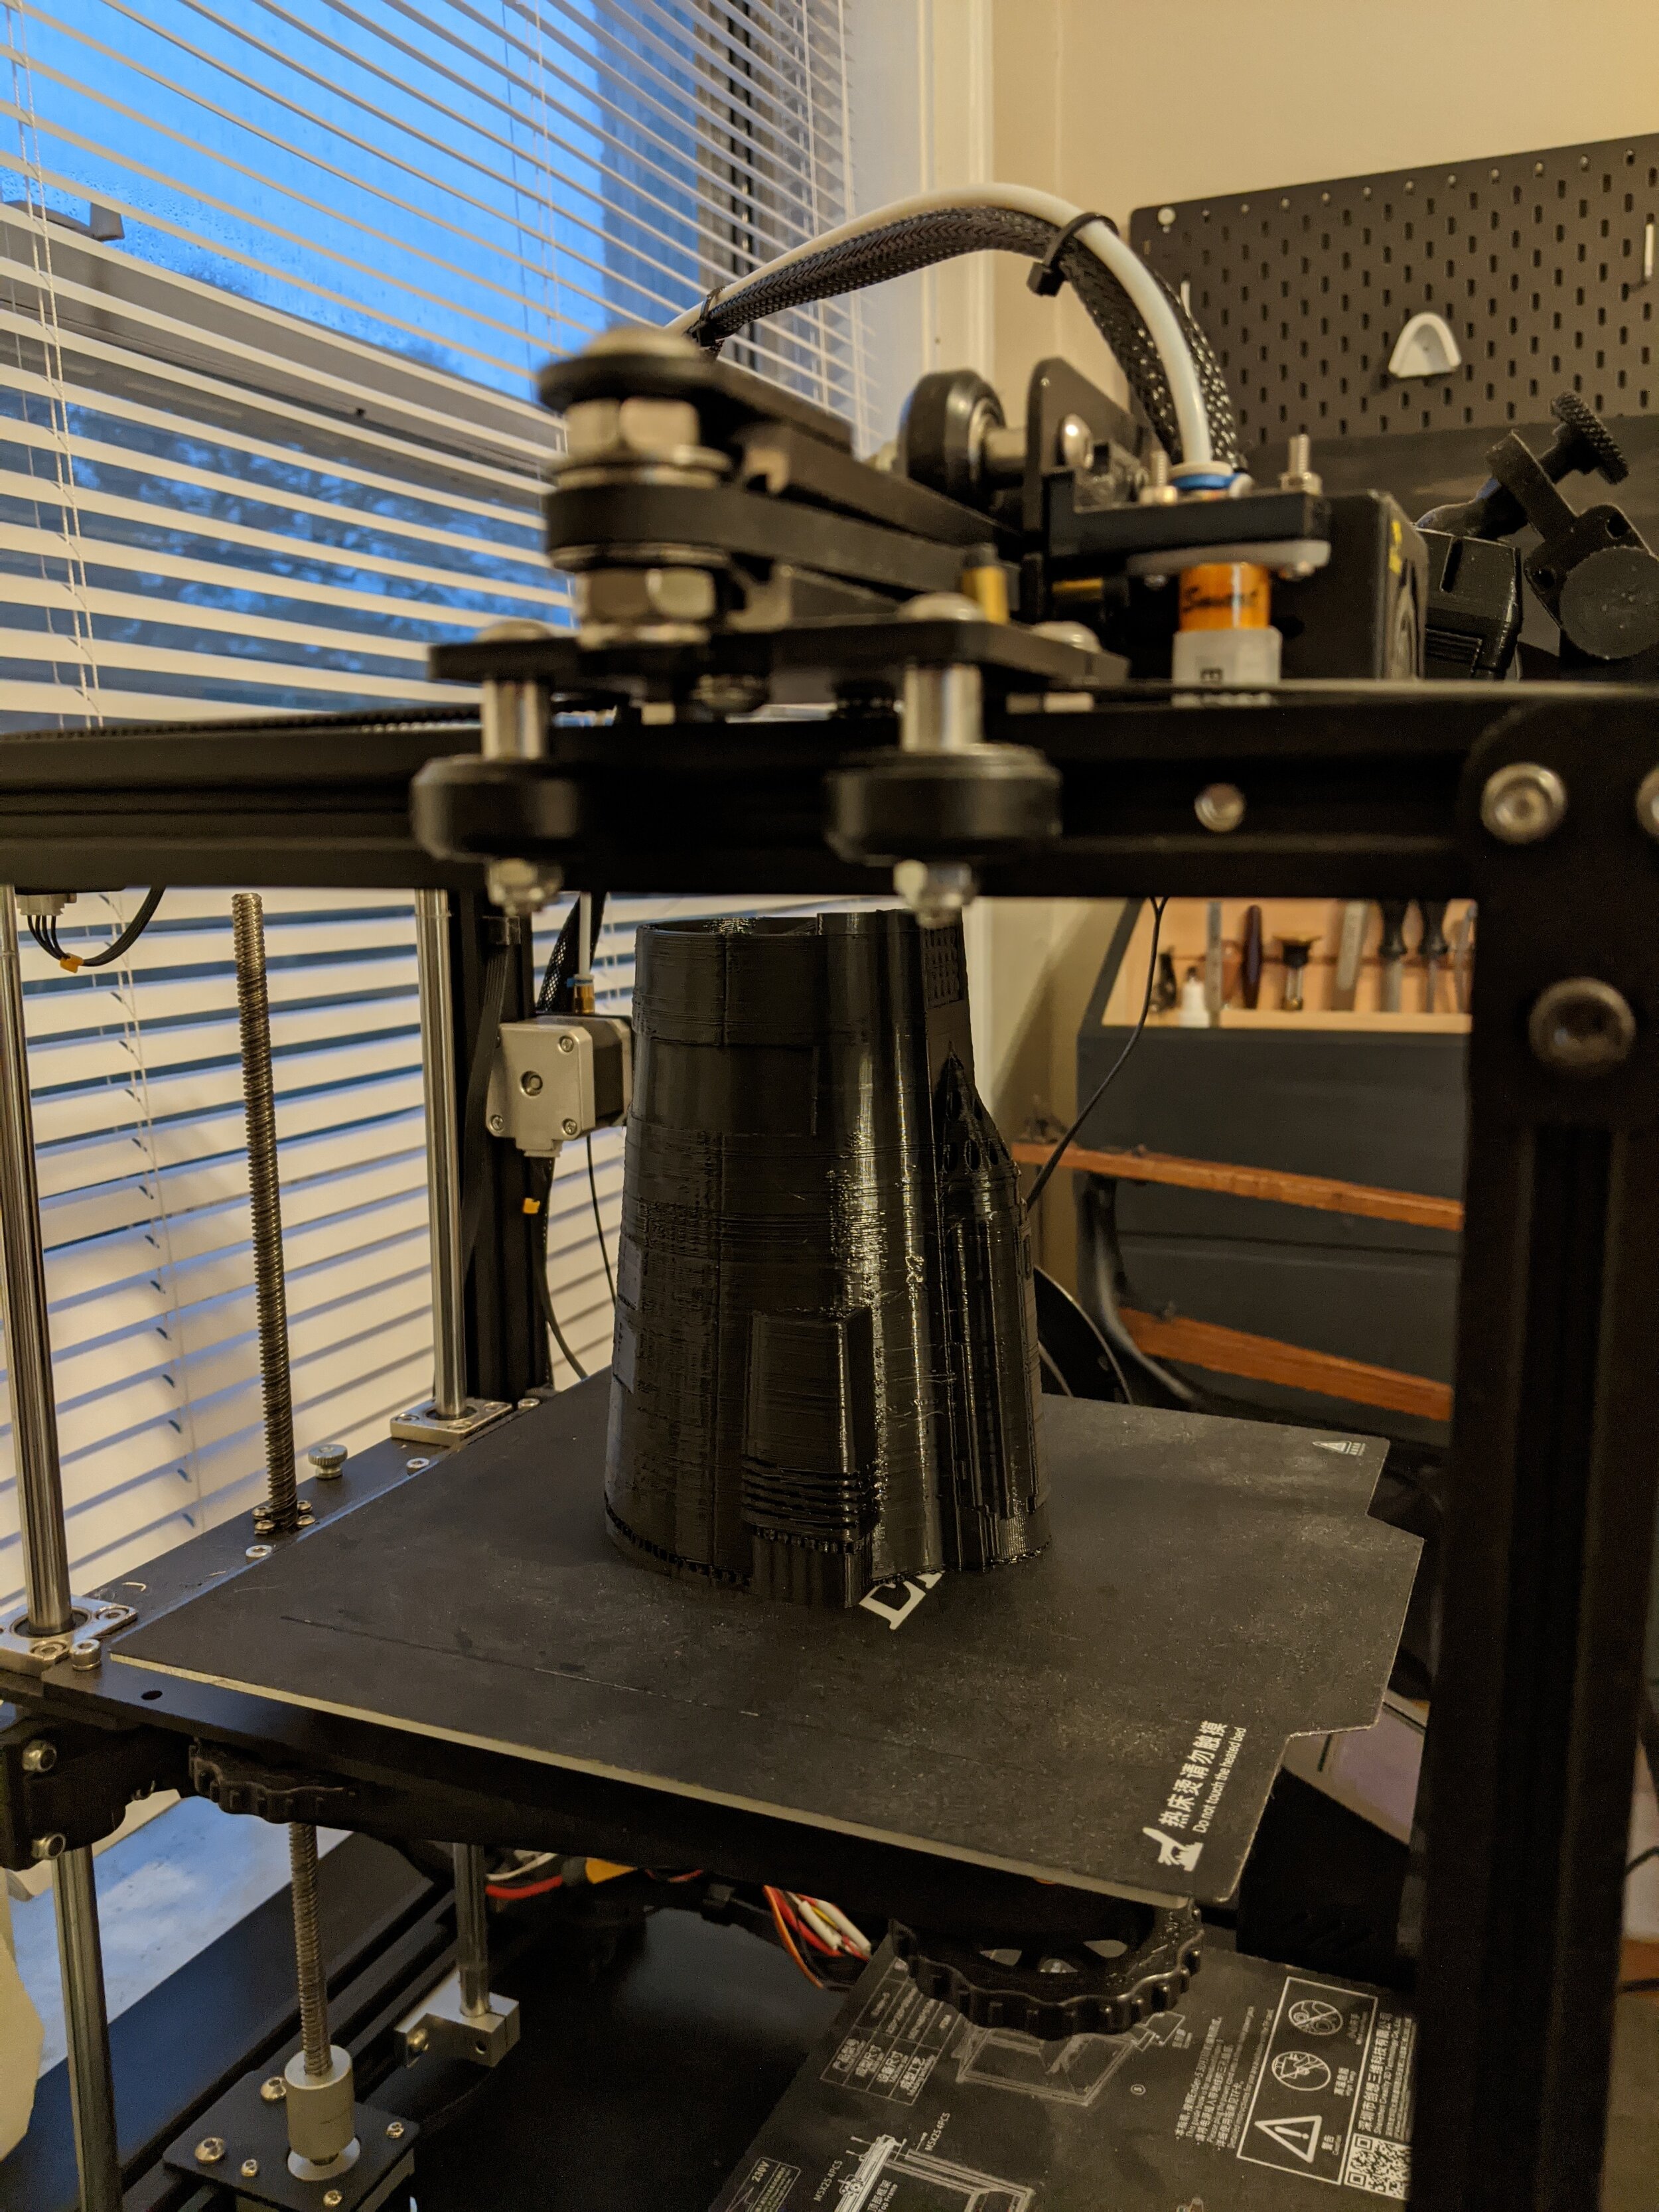
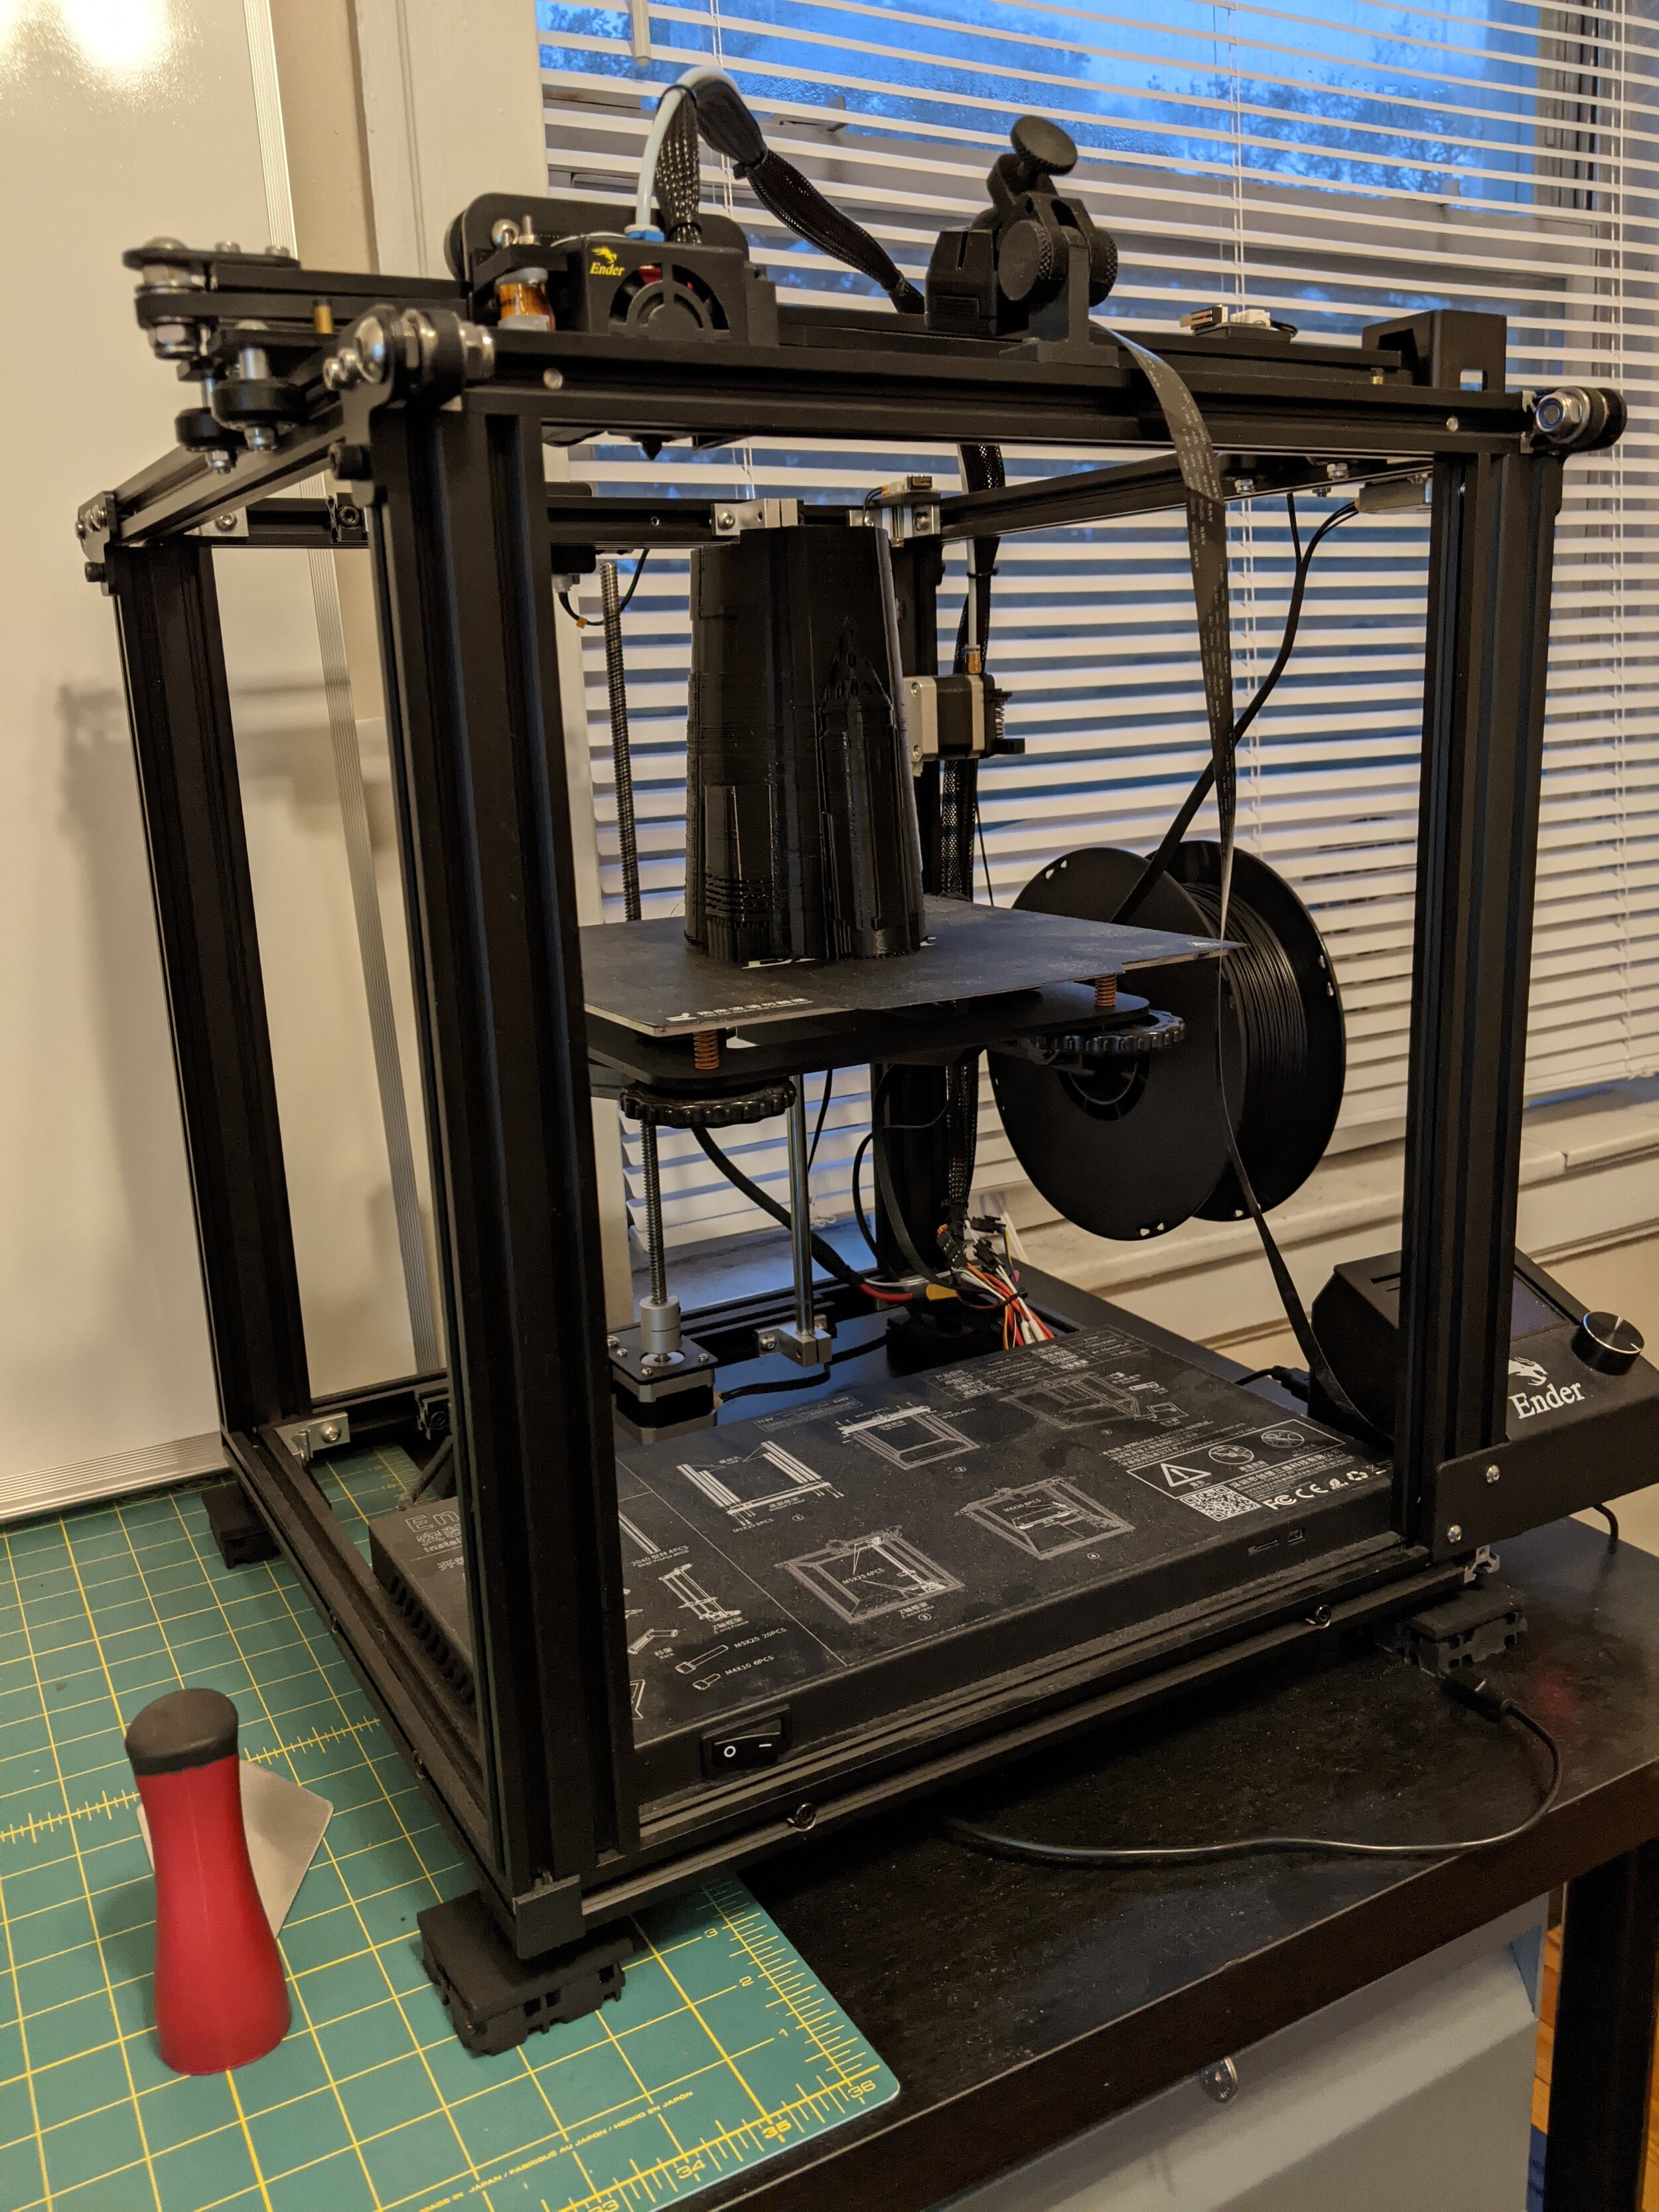
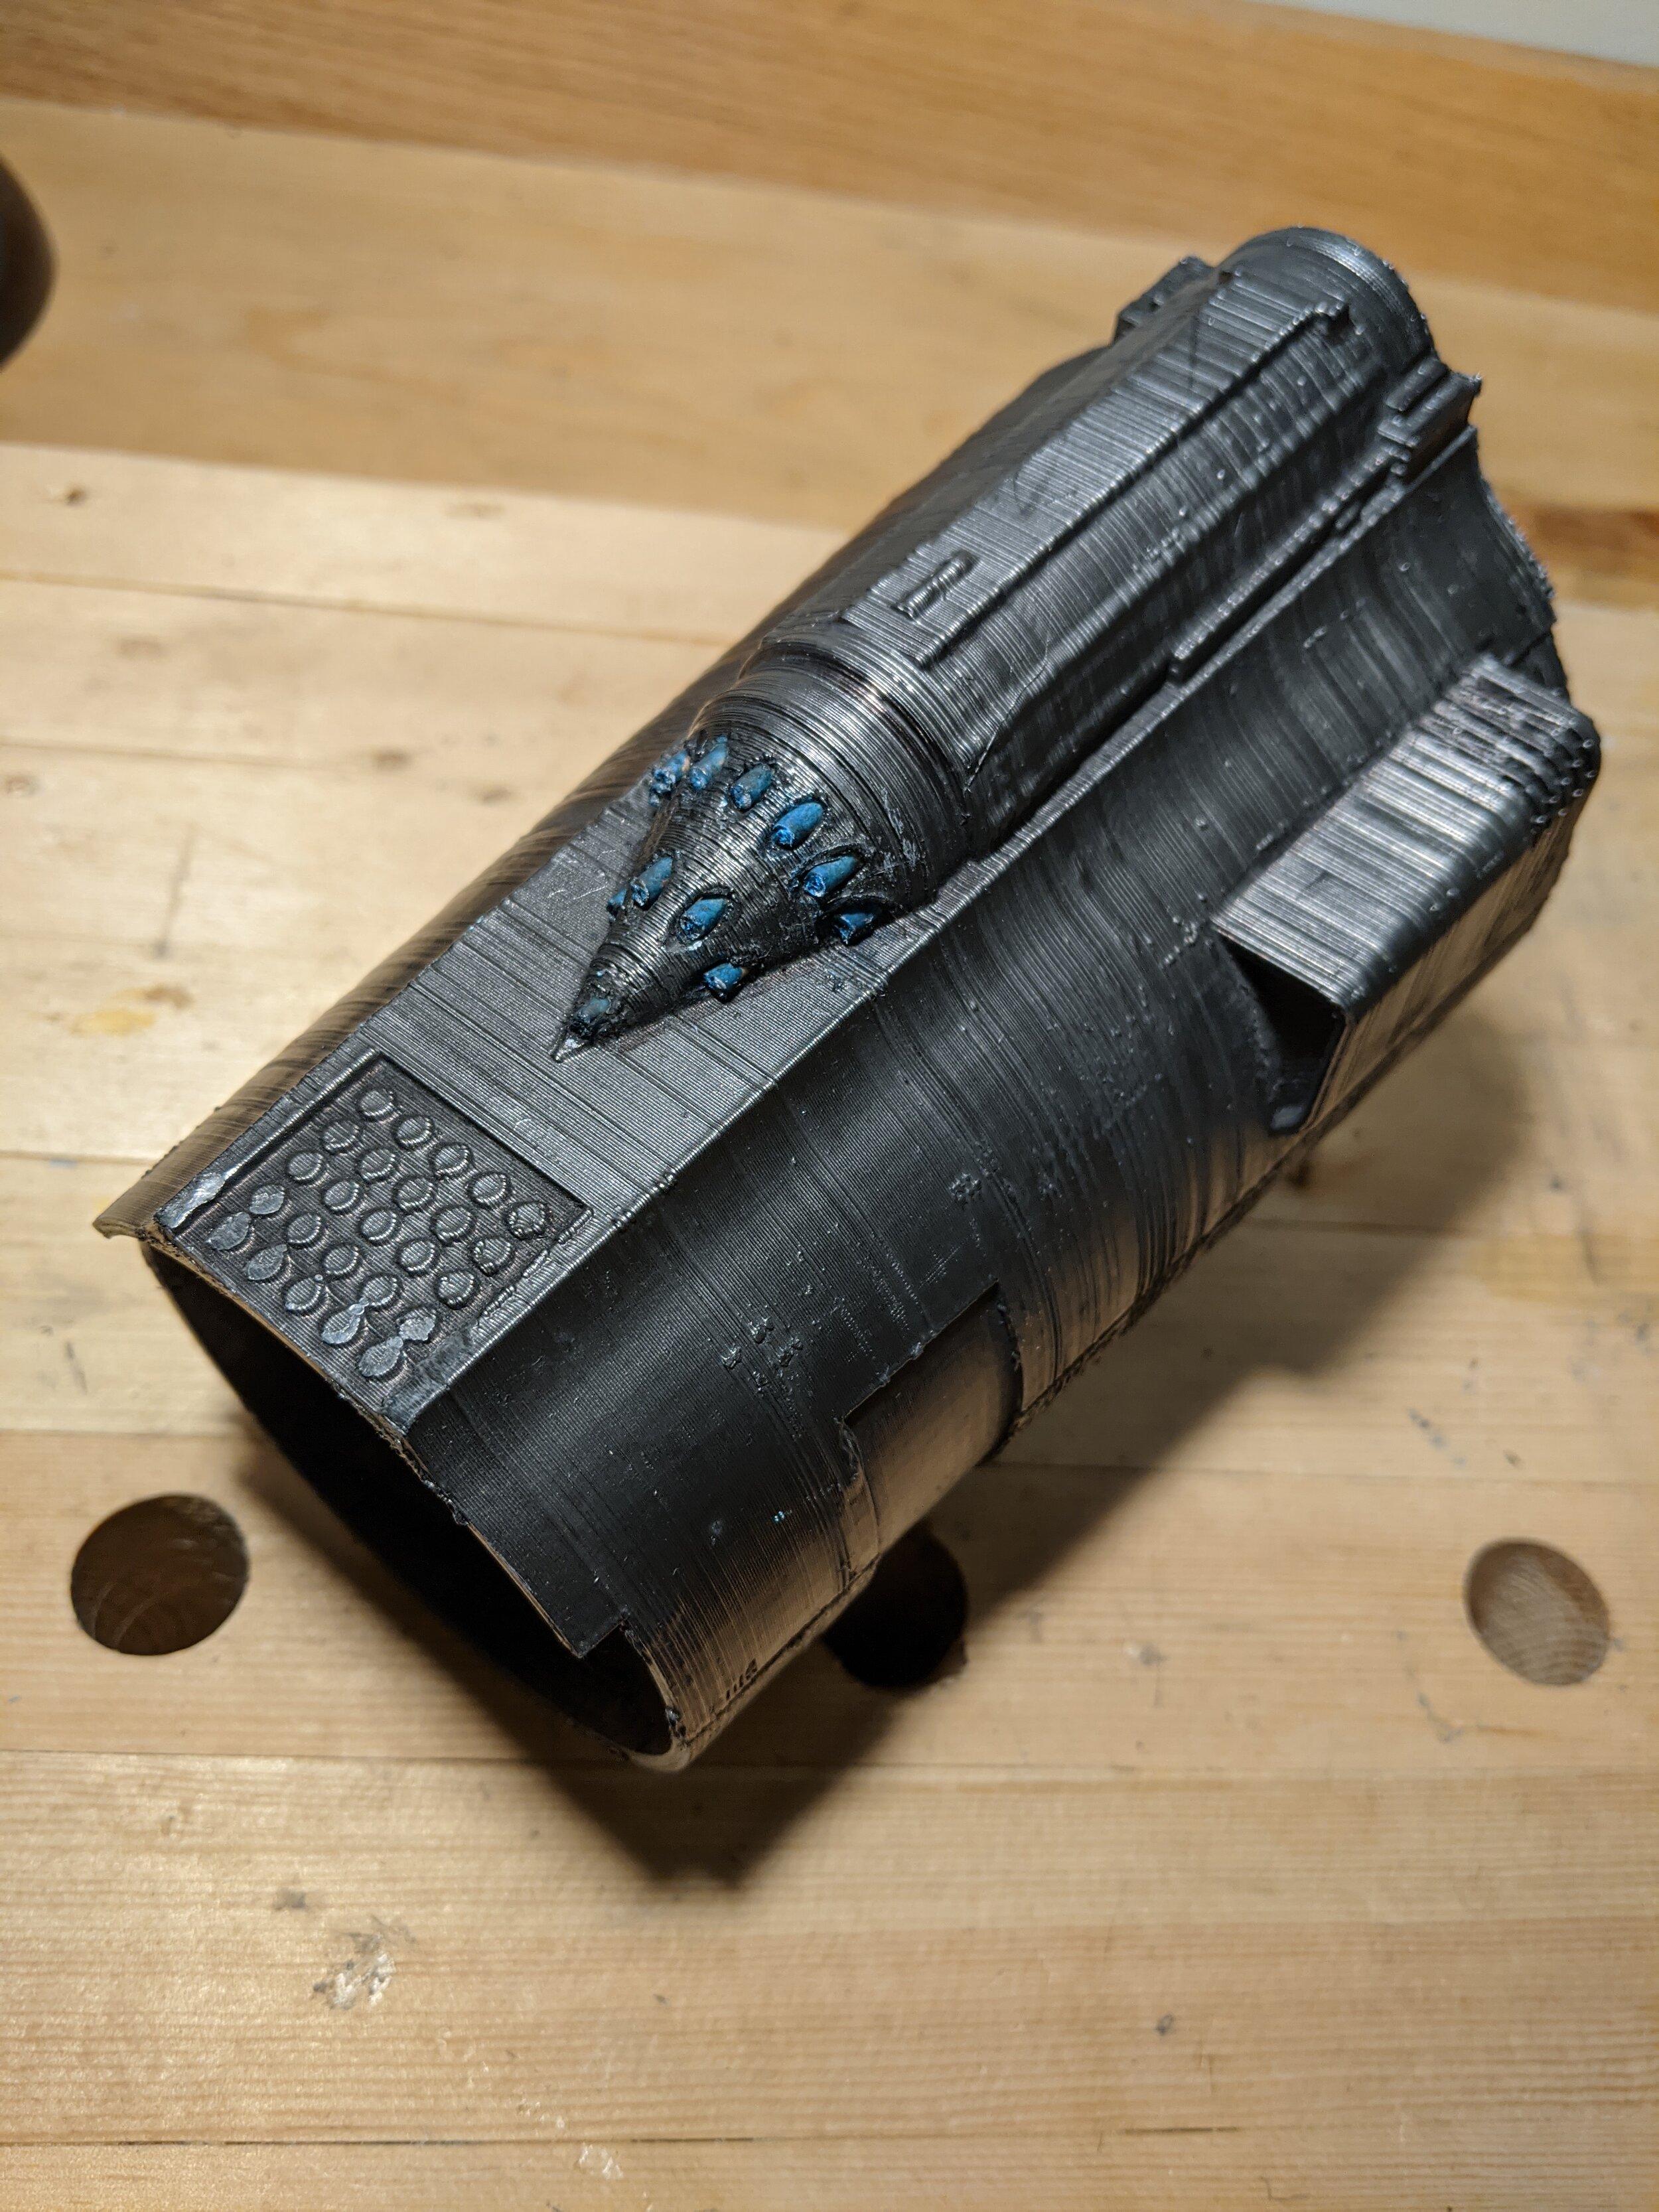
The first challenge was finding ways to go beyond the limitation of the print size of my 3D printer, which involved finding ways to glue multiple parts together without telegraphing any of the seam lines through the final finish. This involved using plenty of cyanoacrylate glue and some techniques from my speaker fabrication days to build up the seams and fill any gaps and then sand them back down. Razor-sharp bench chisels and surprisingly a woodworking block plane made quick work out of leveling any irregularities between the glued parts. The helmet parts were 3D printed with polylatic acid (PLA) filament and took a little over 120 hours.
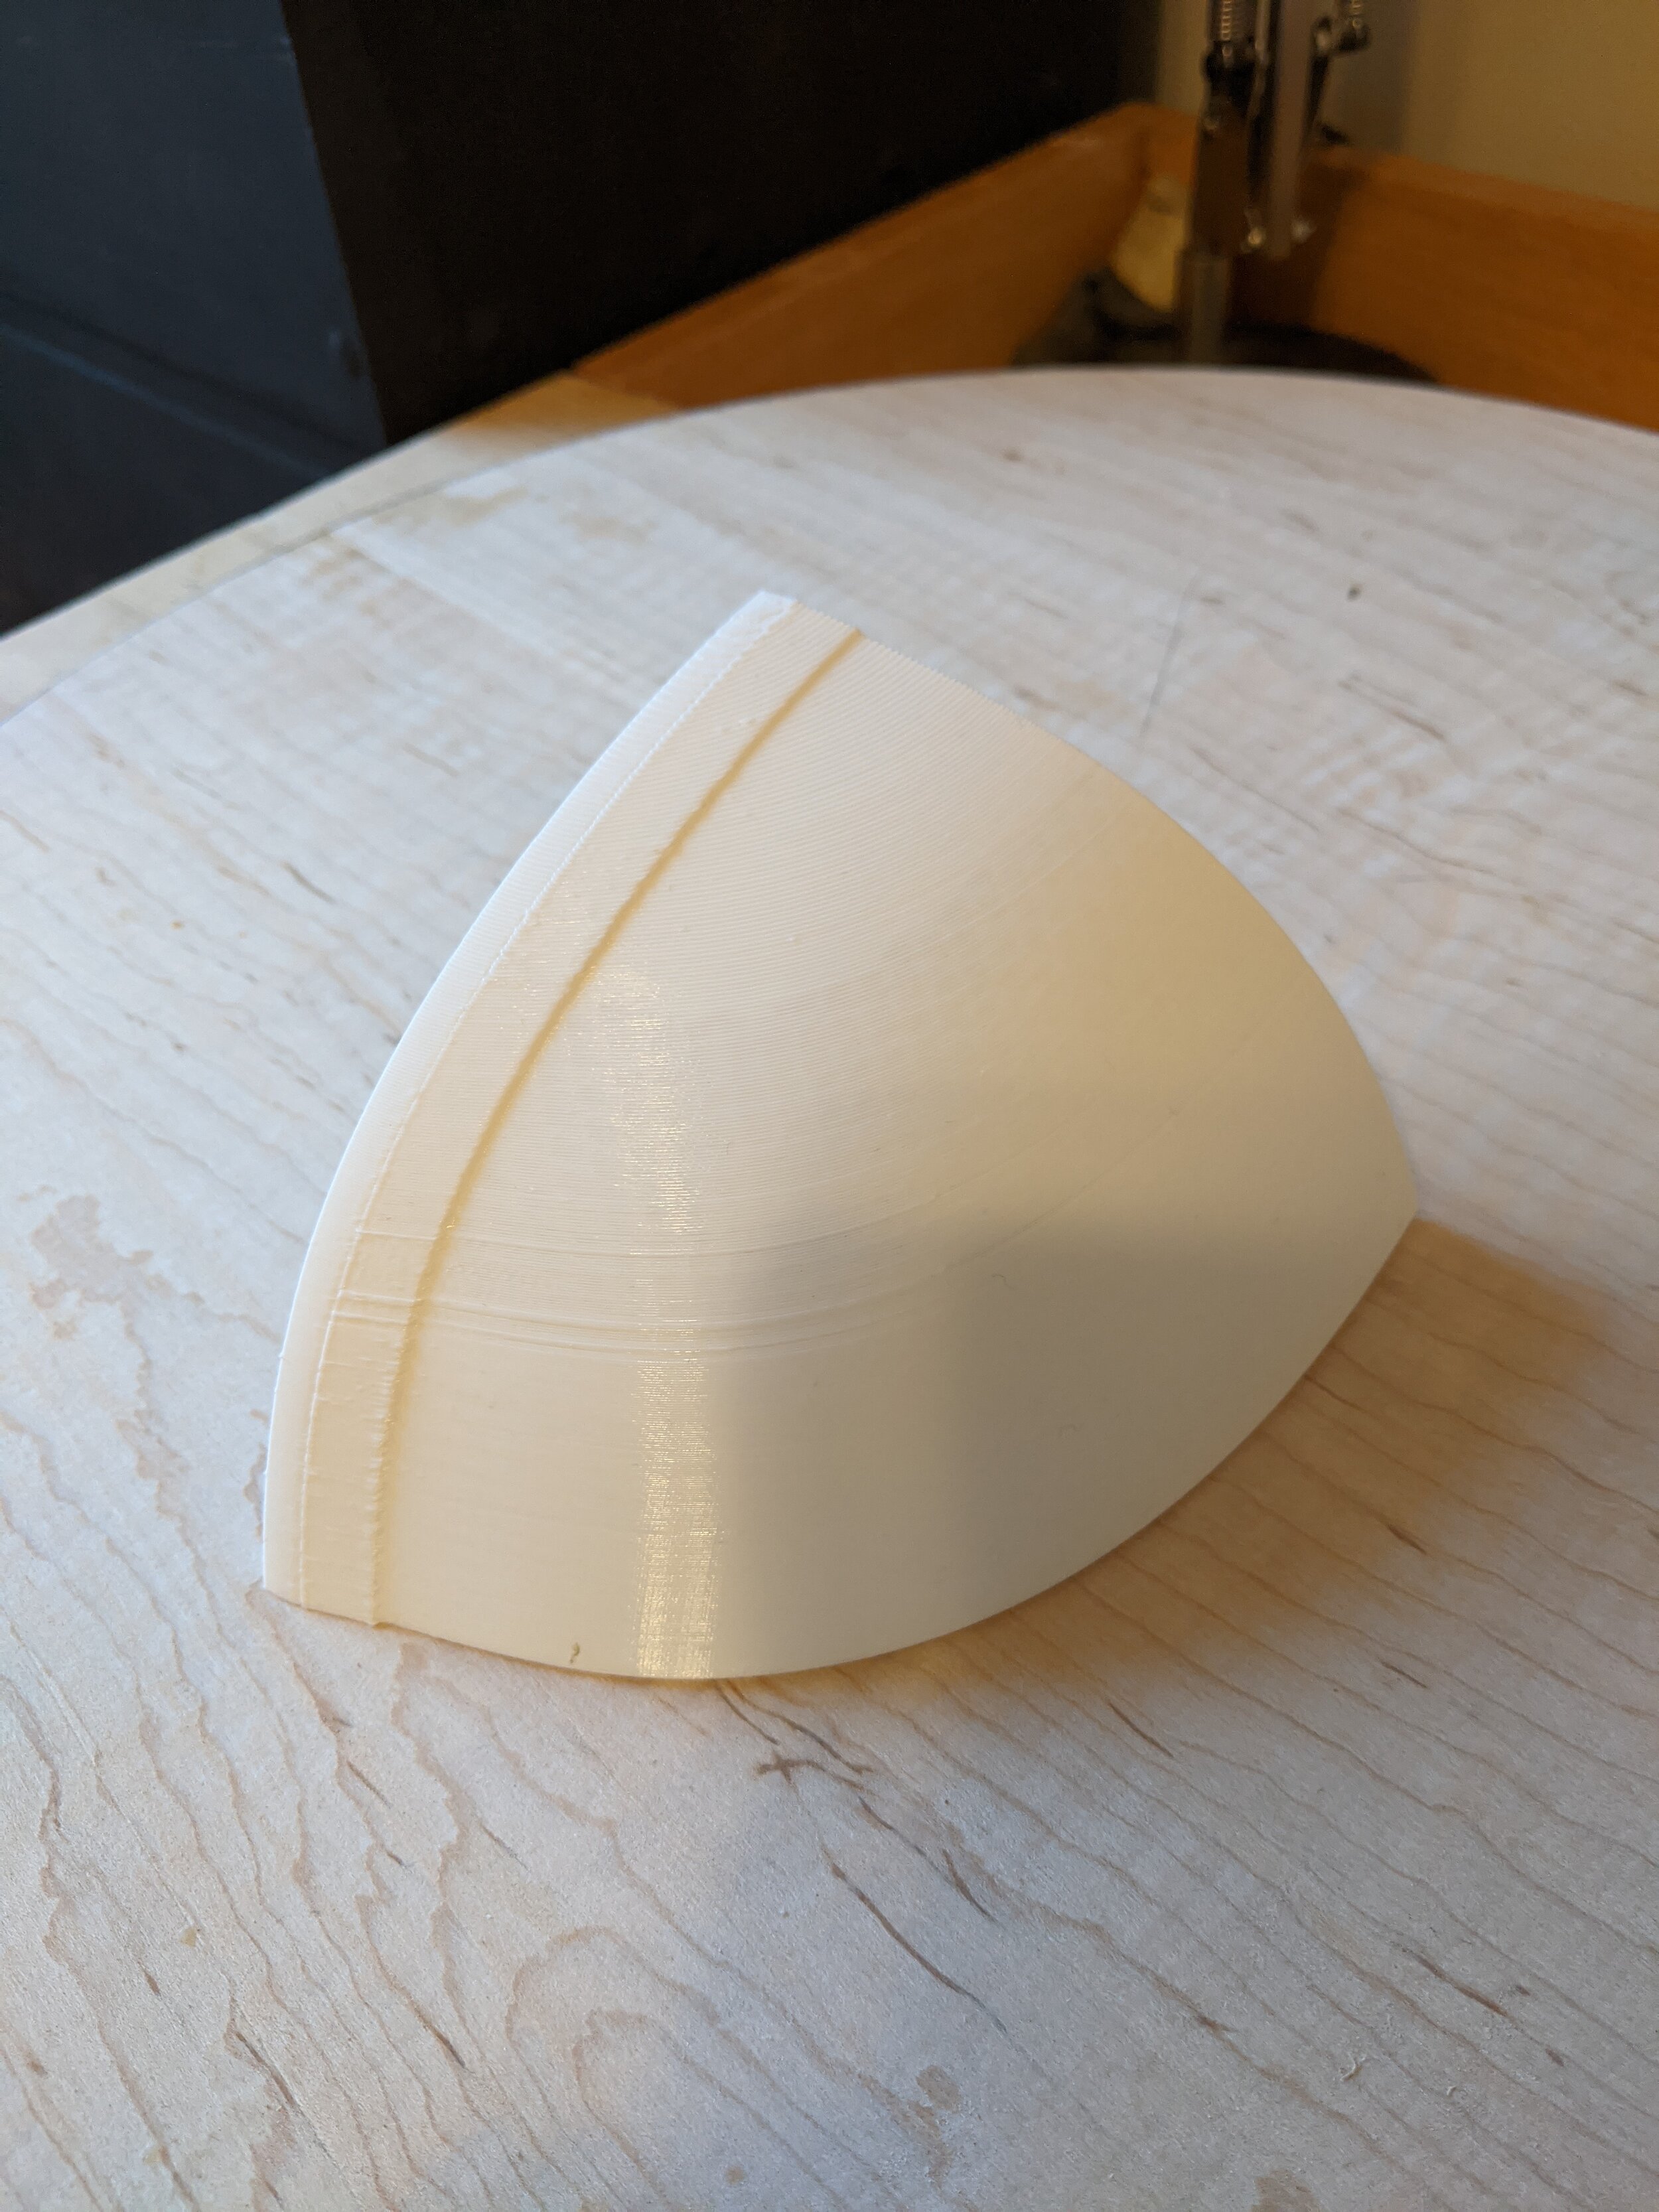
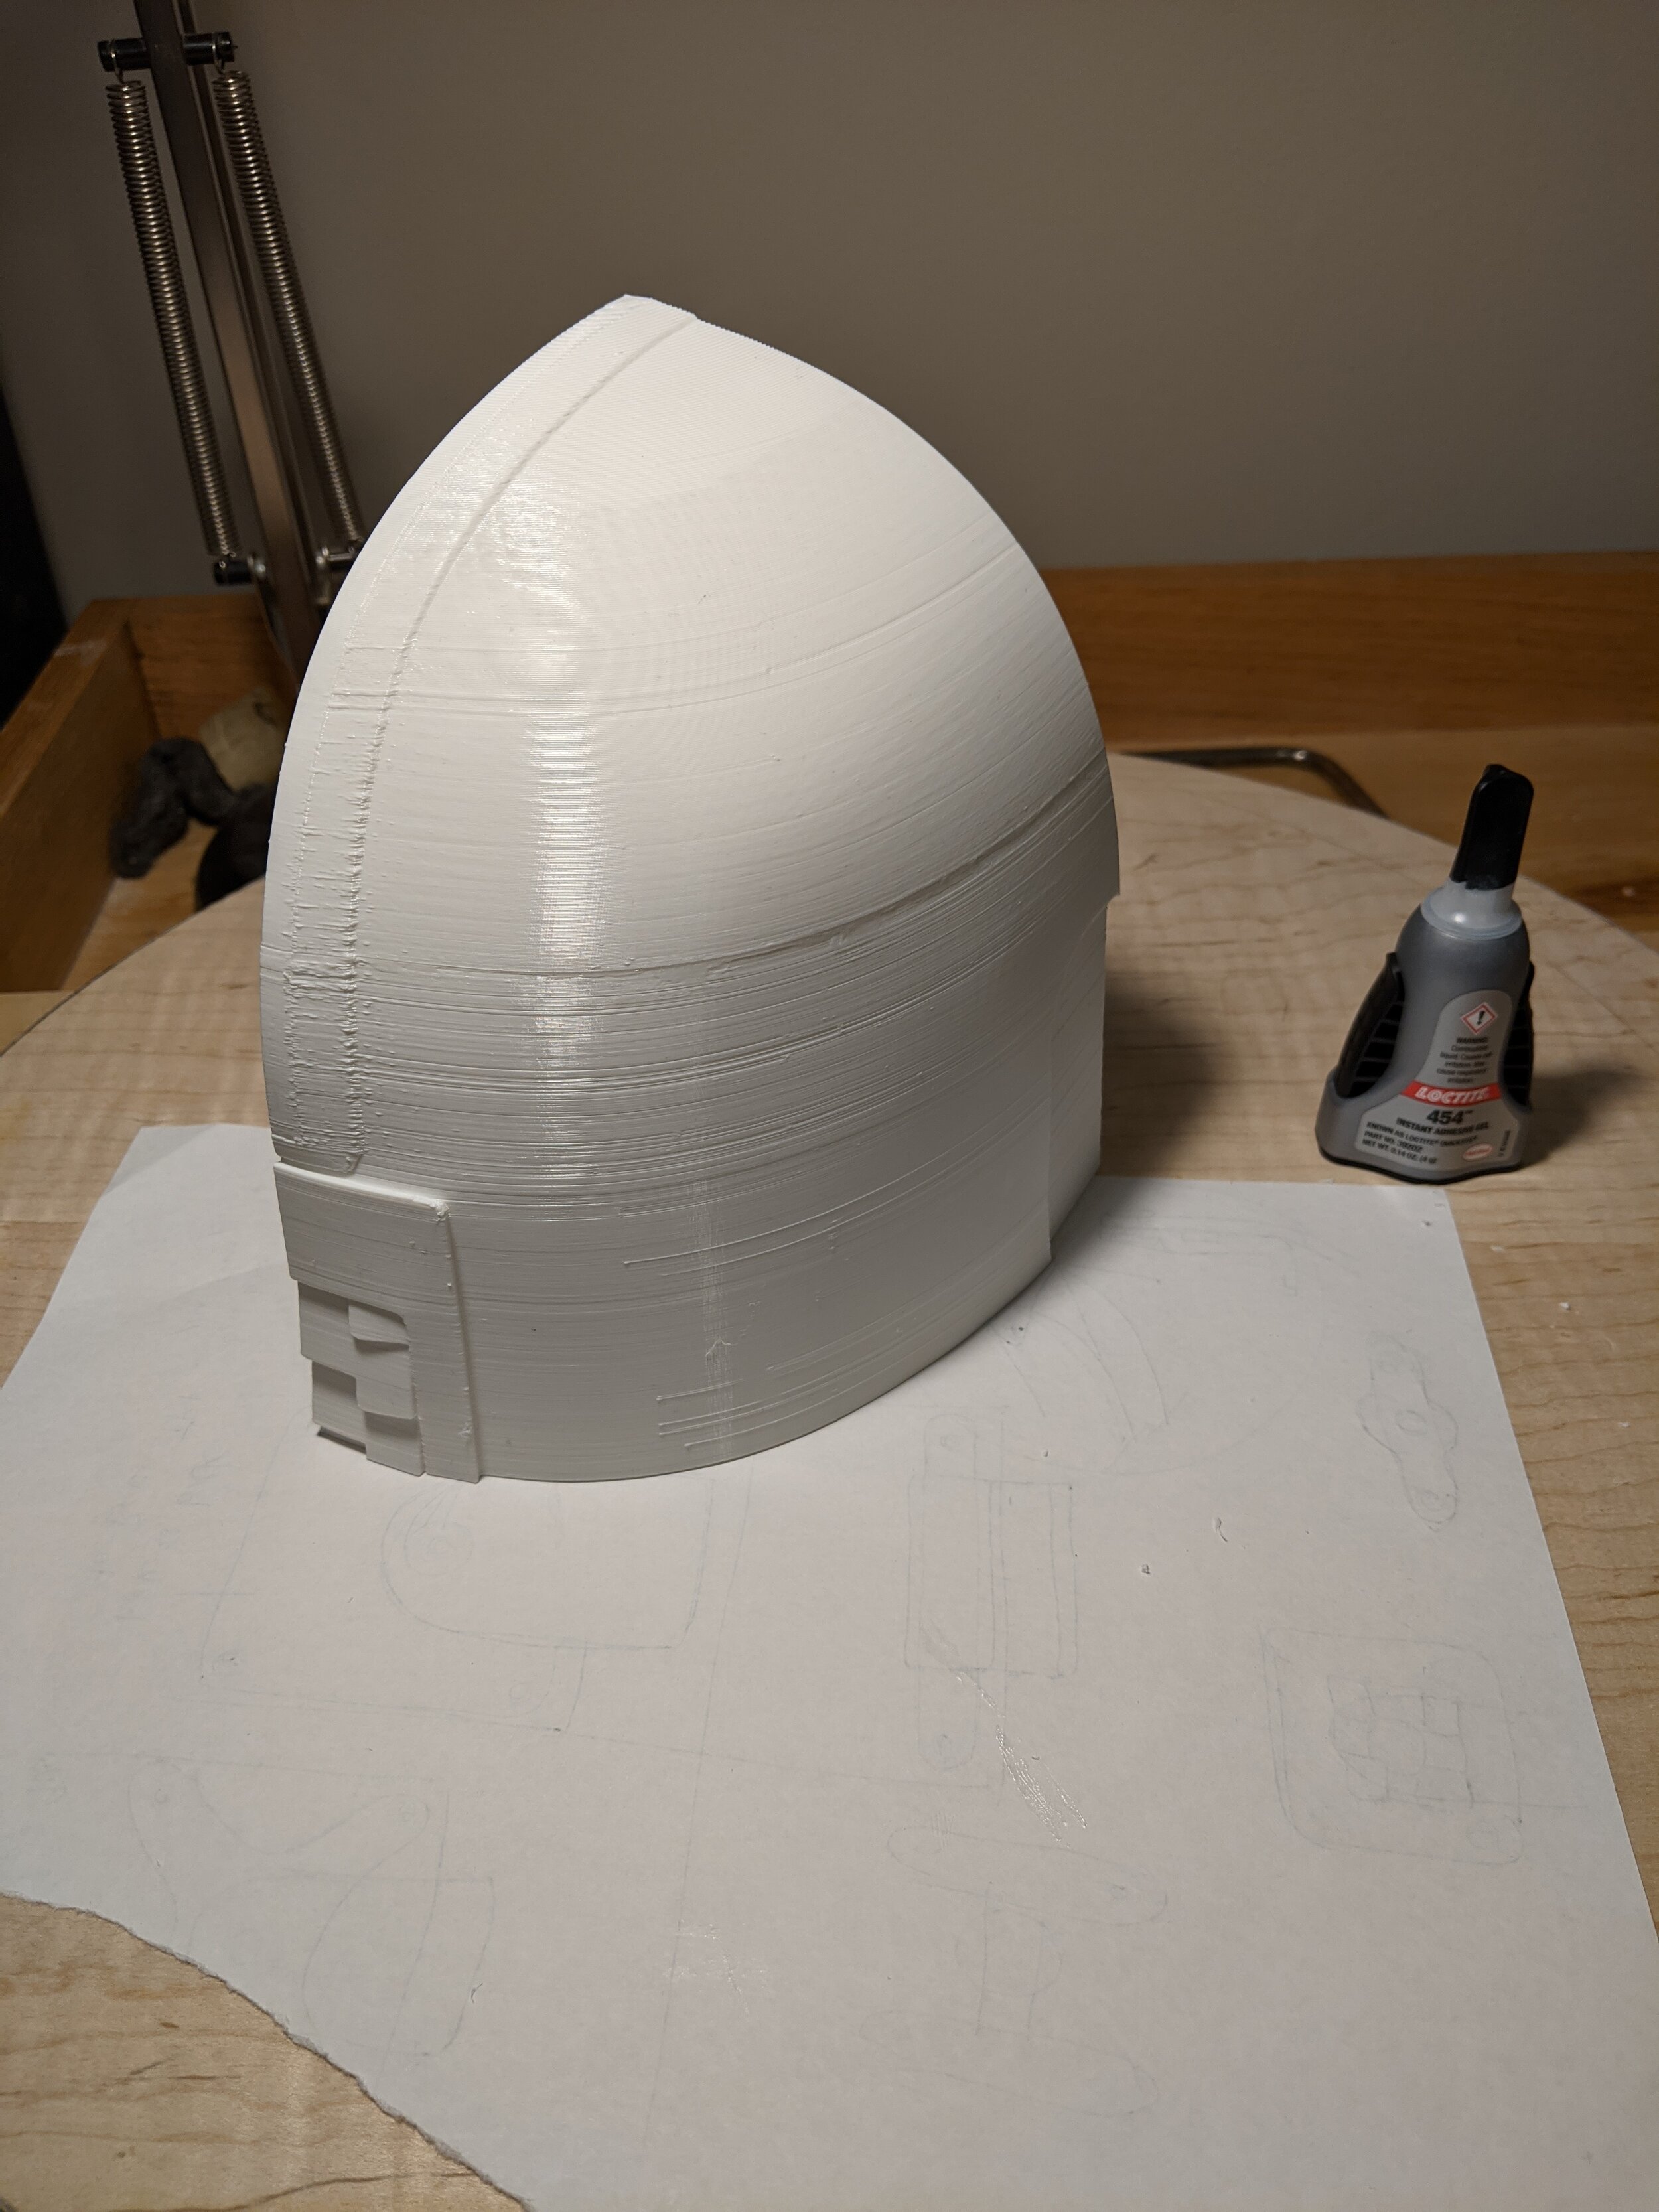
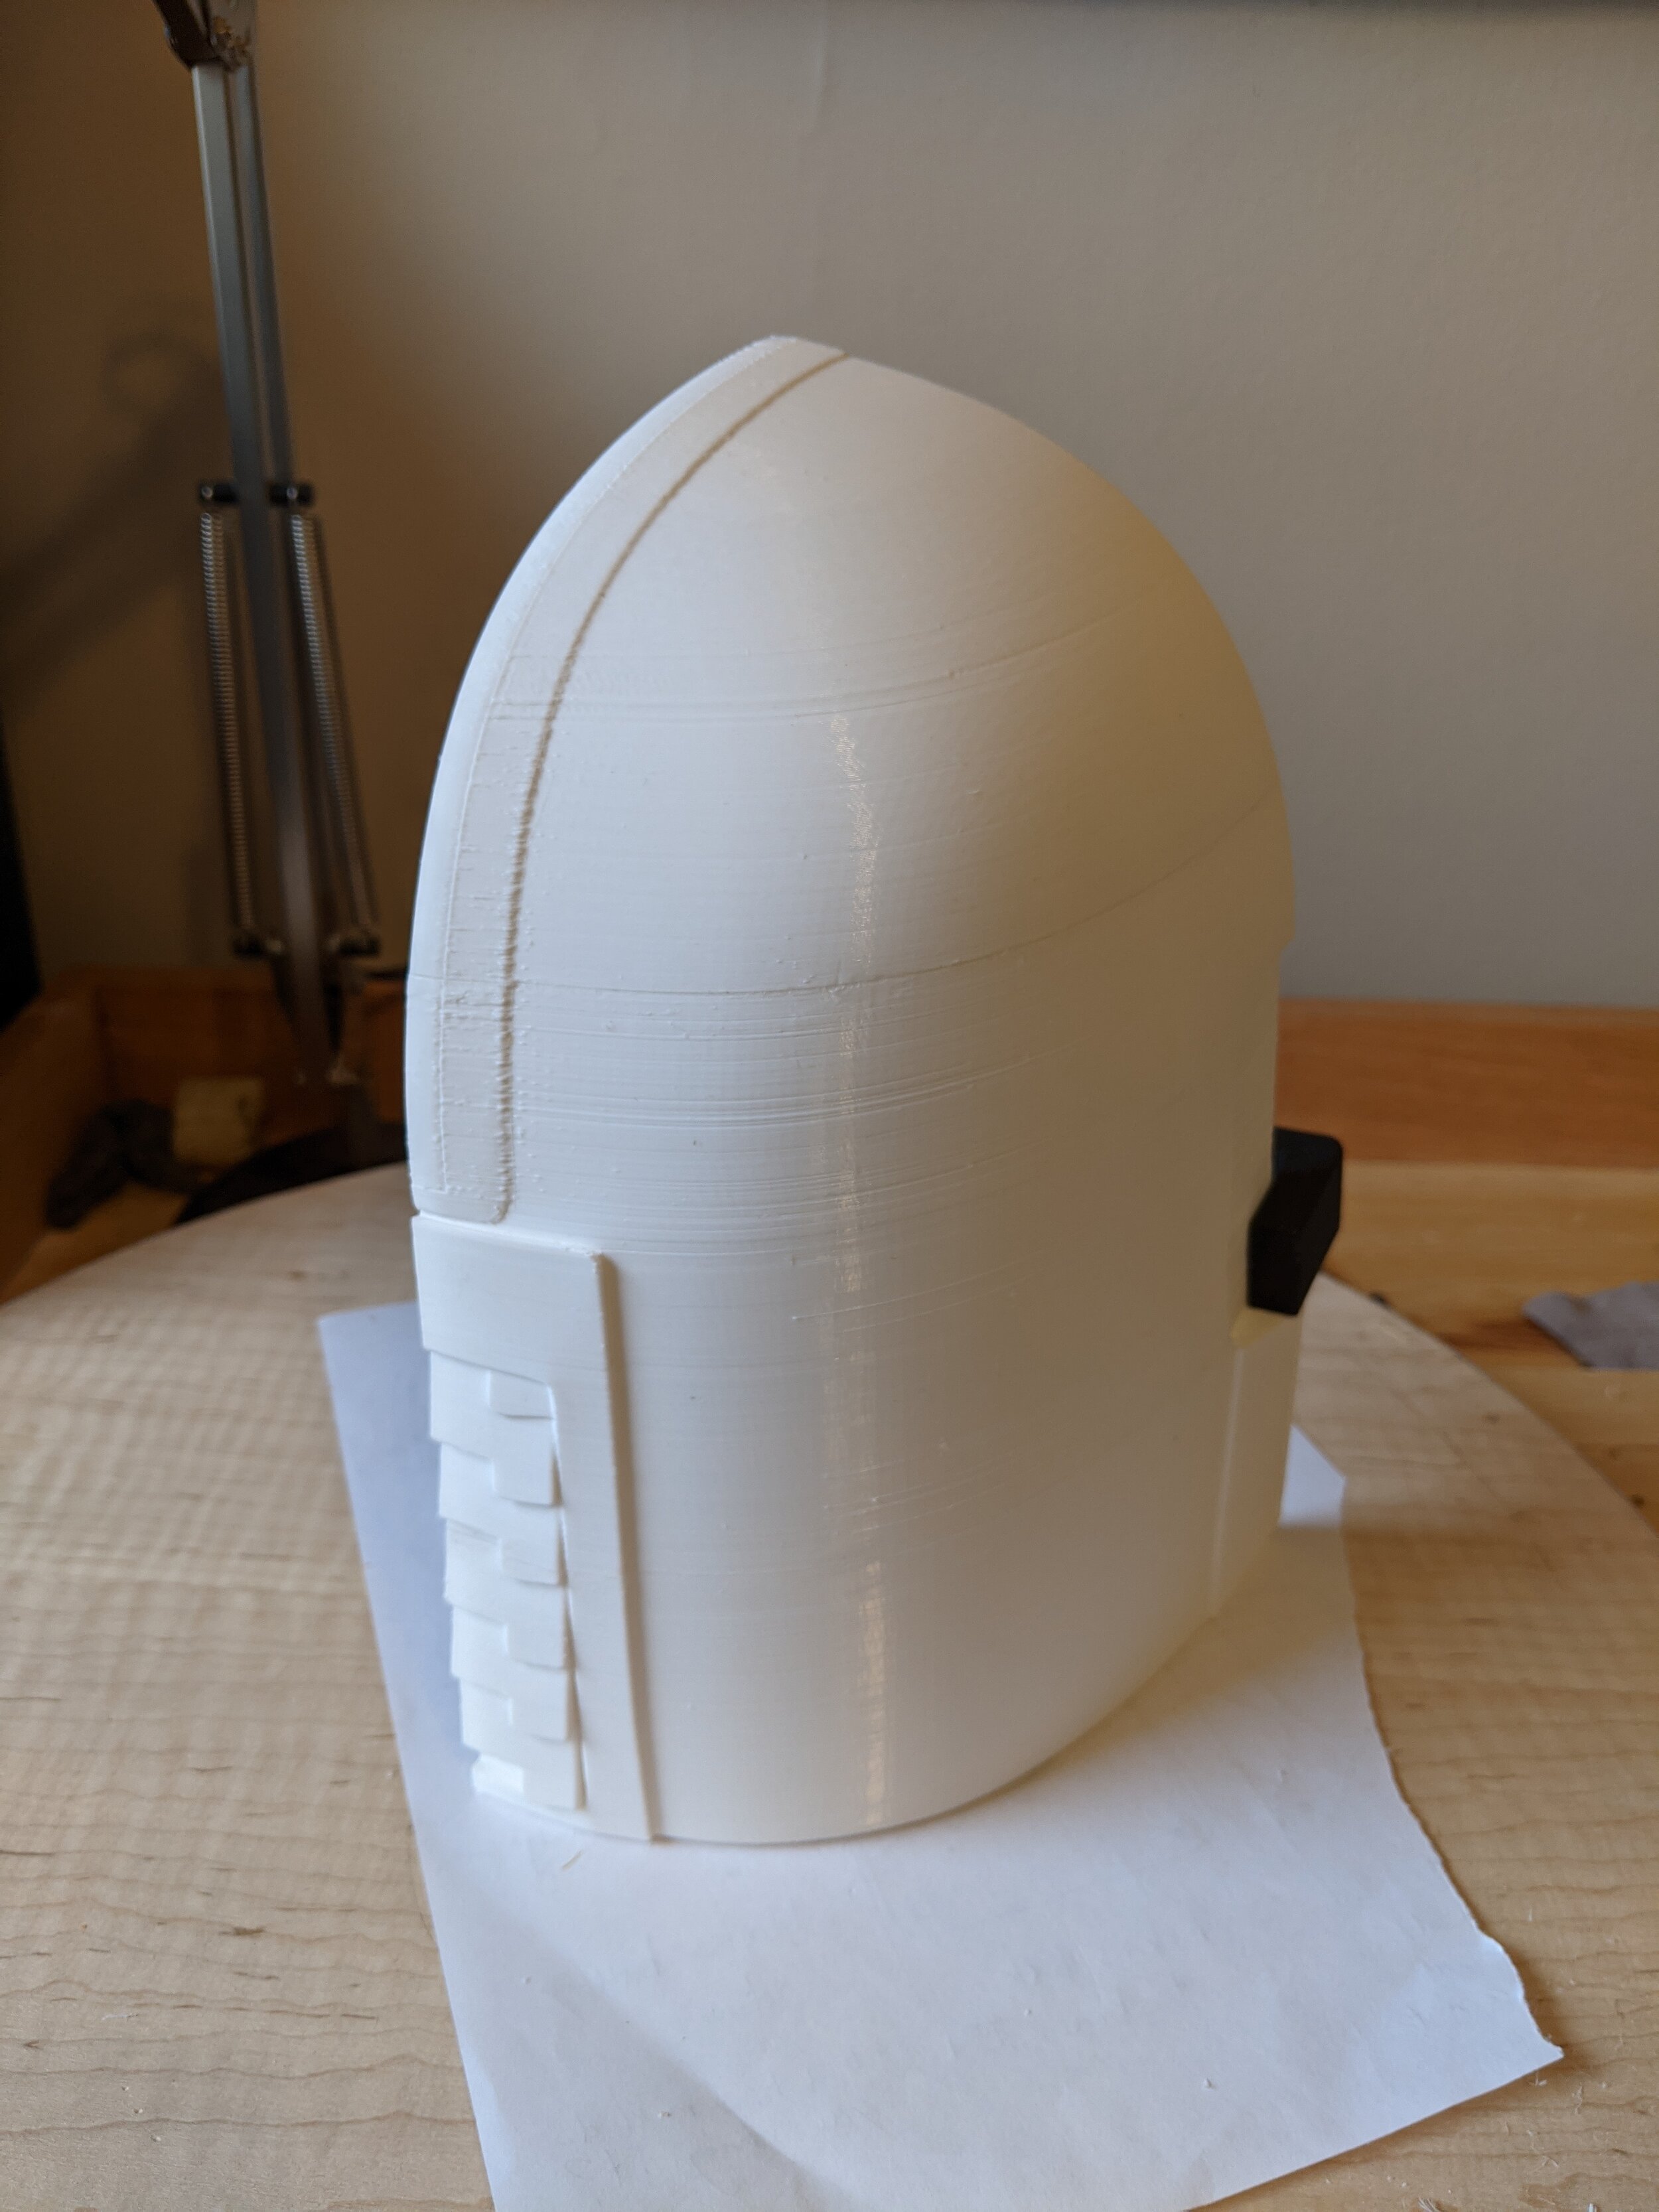
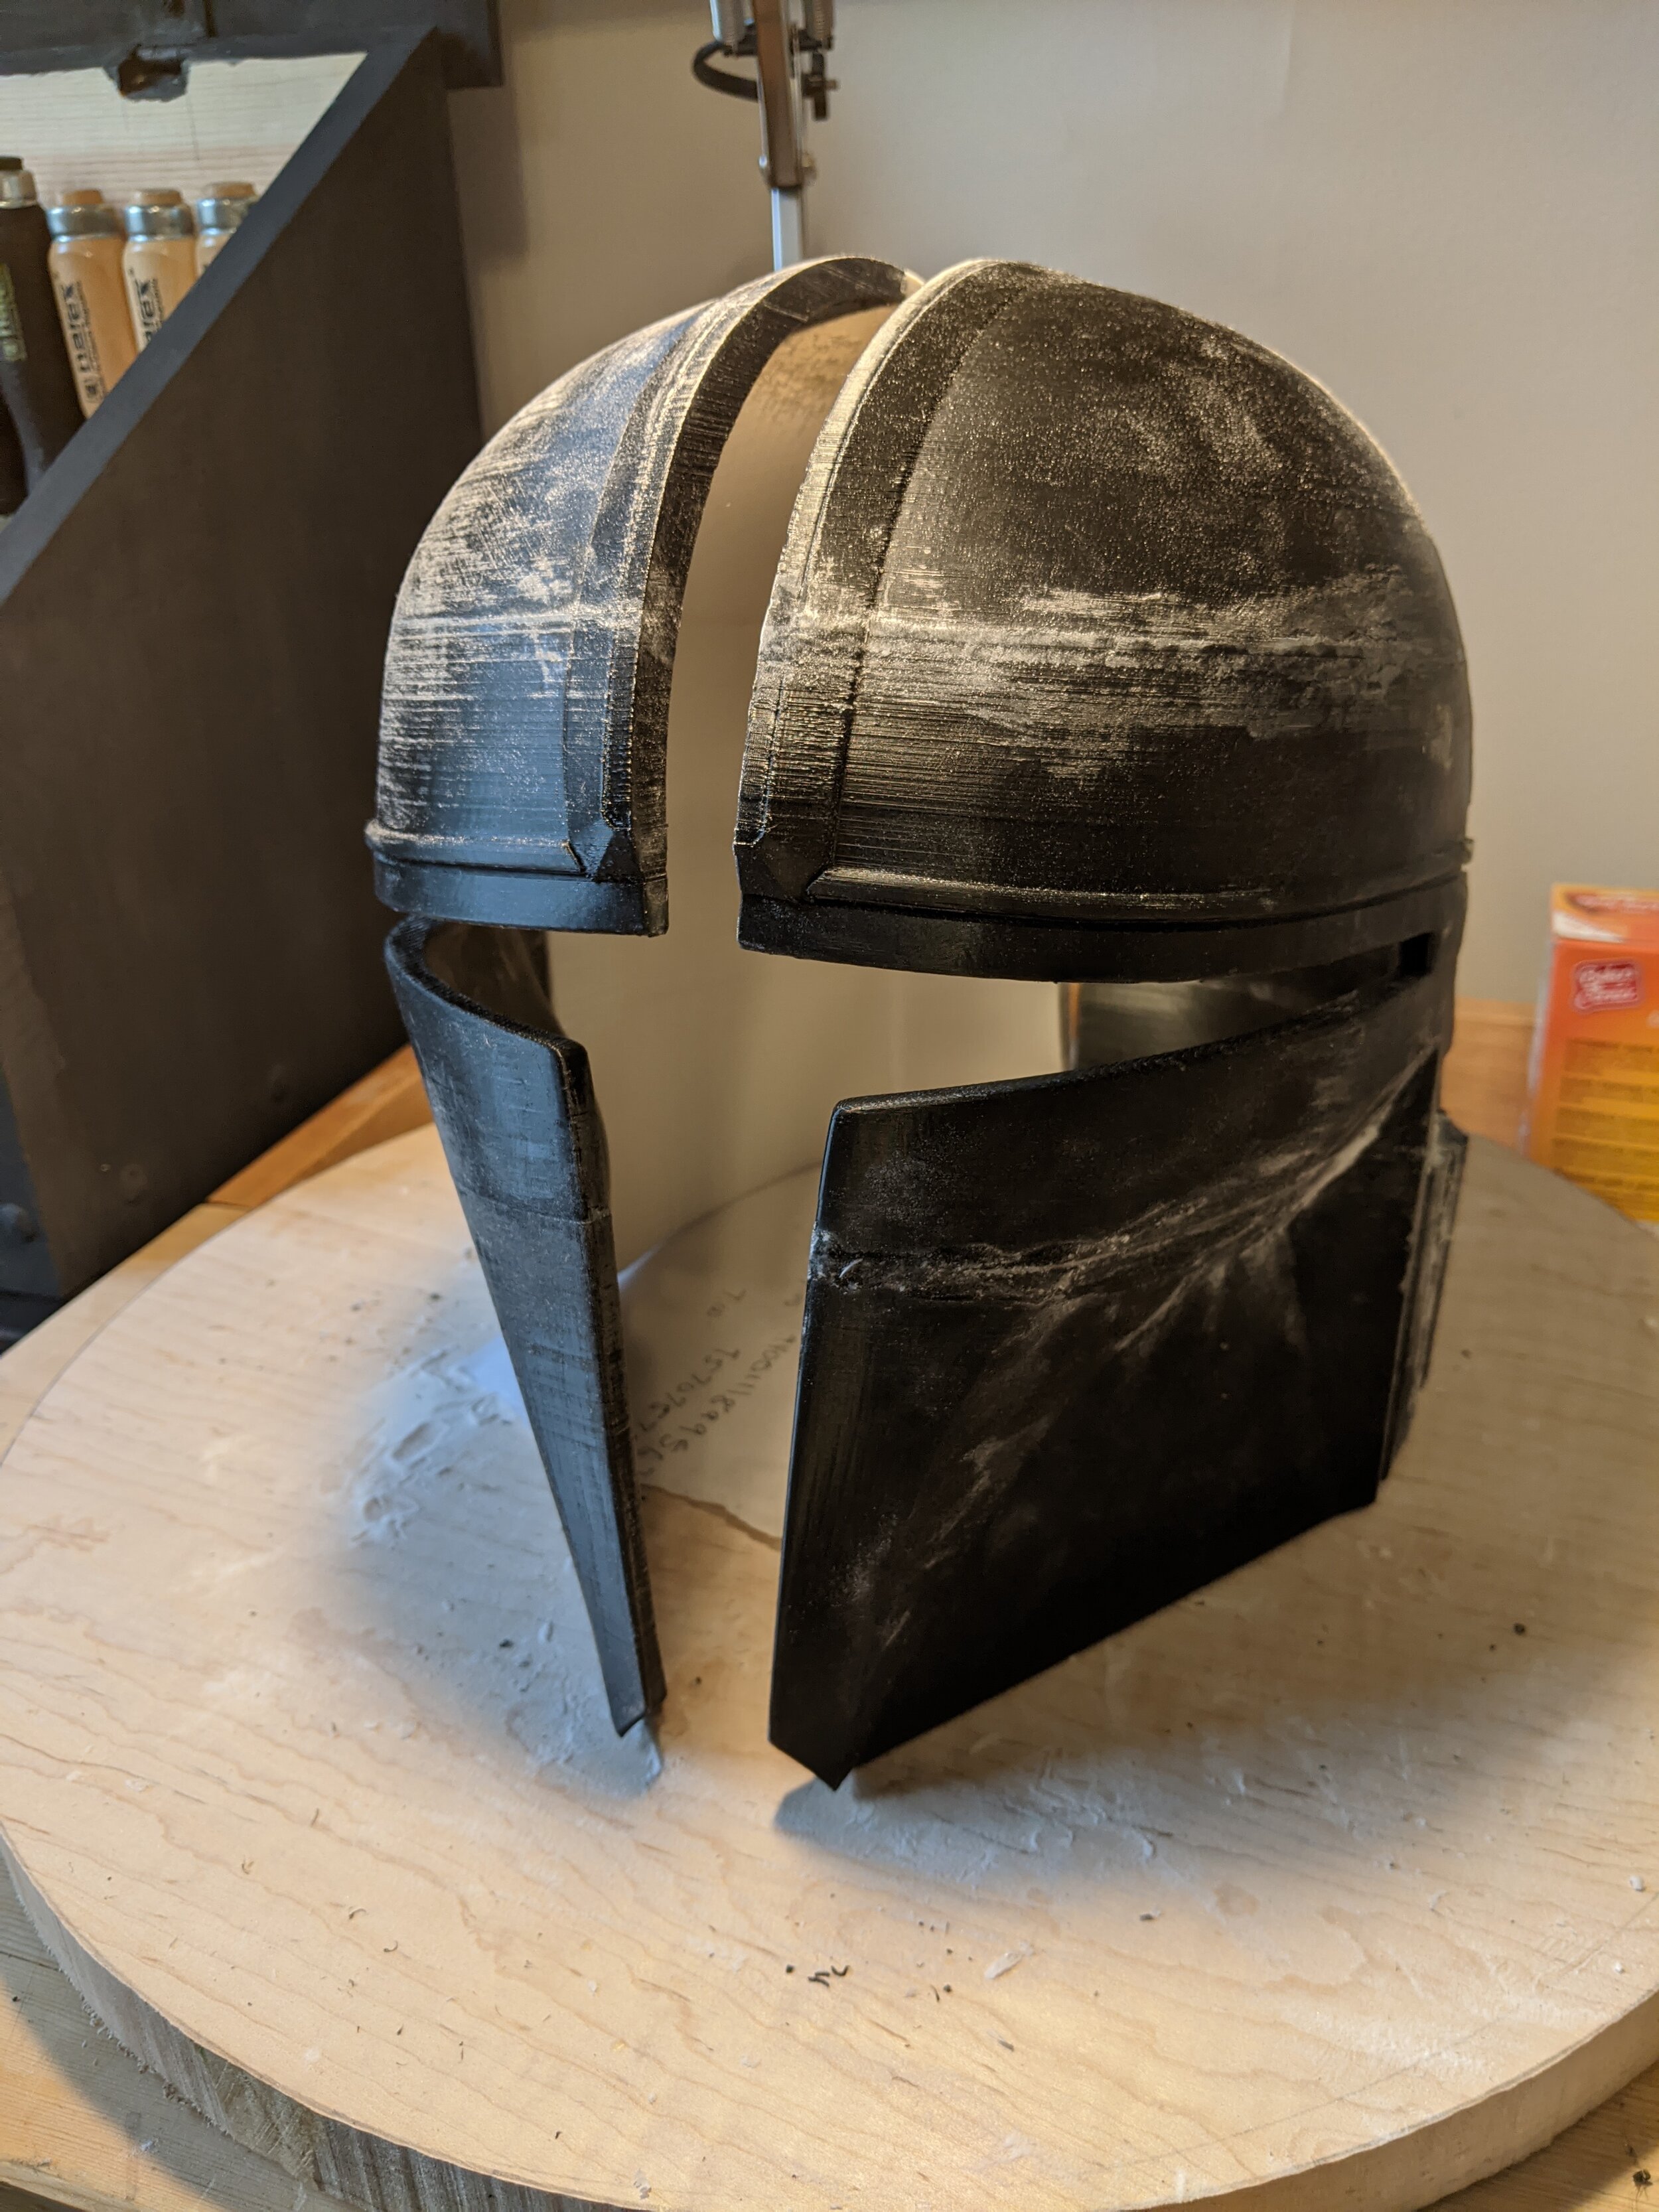
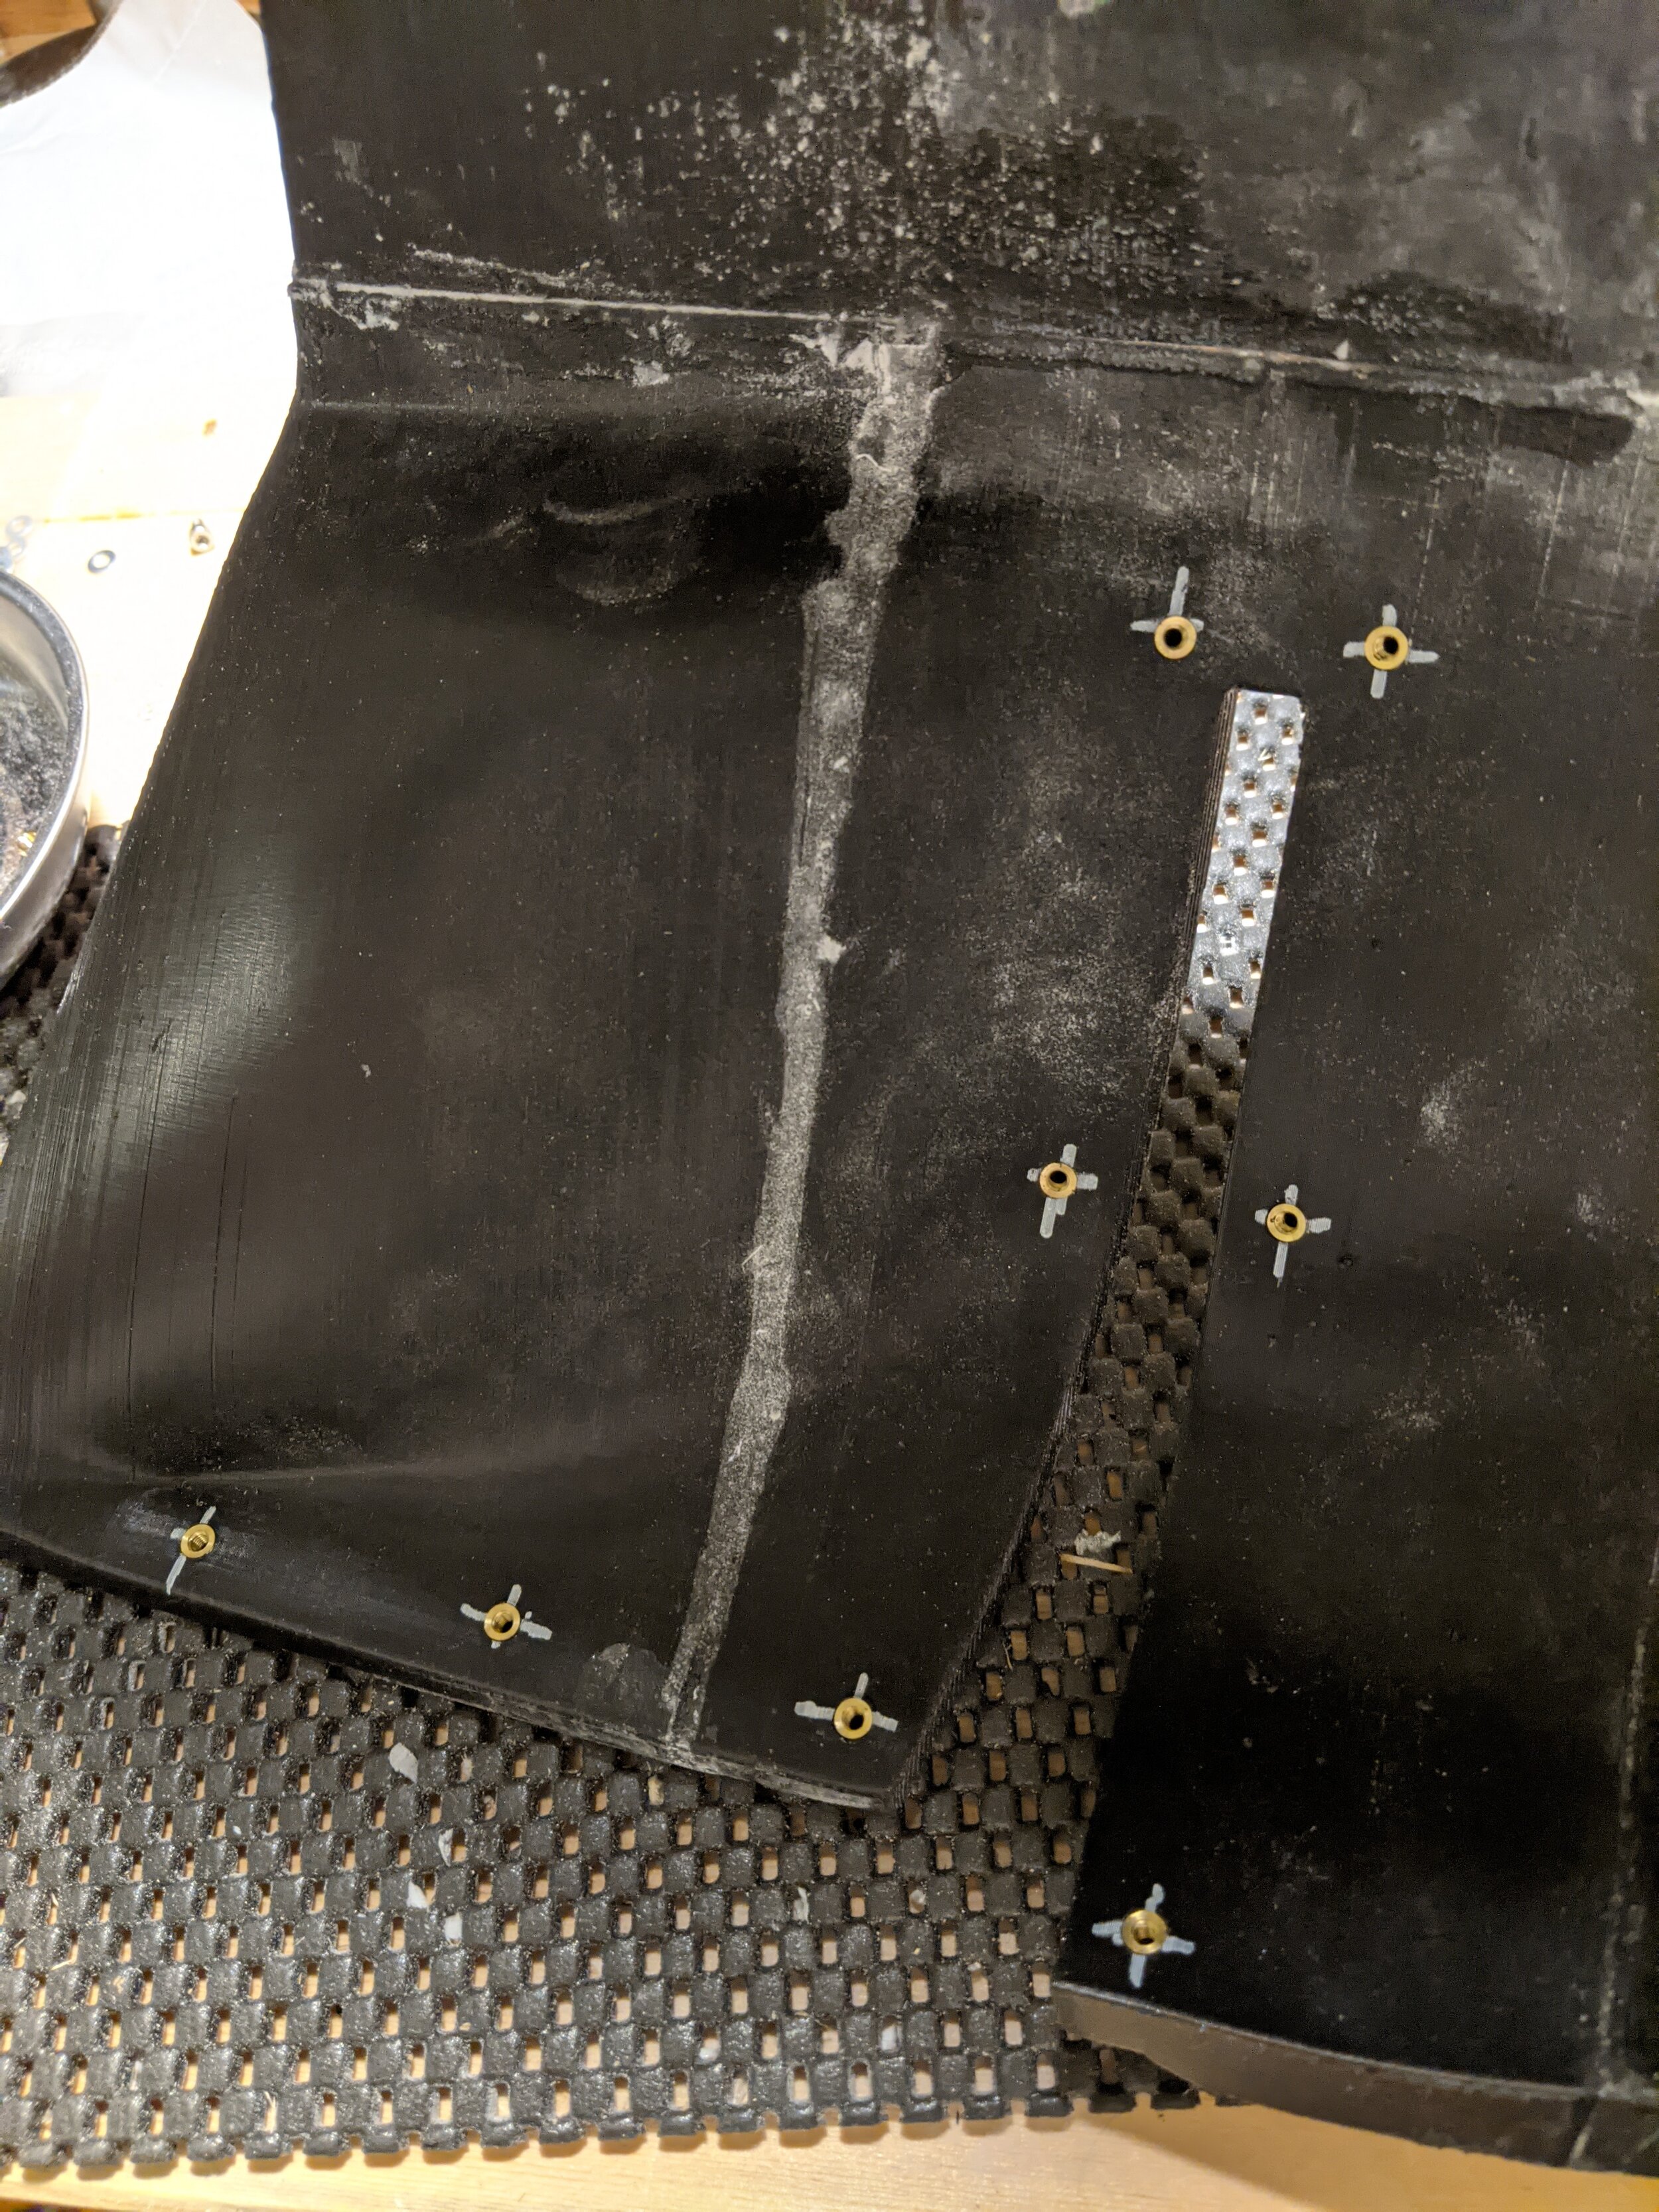
From watching other cosplay helmet builds, one technique involved JB welding threaded T-nuts inside the helmet in order to mount the visor. Wanting a cleaner more elegant solution, I used brass heat-set threaded inserts that could be melted into a starter hole with a soldering iron. This would allow me to use some cap head socket screws and washers to install a replacement welding shield cut into a T shape.

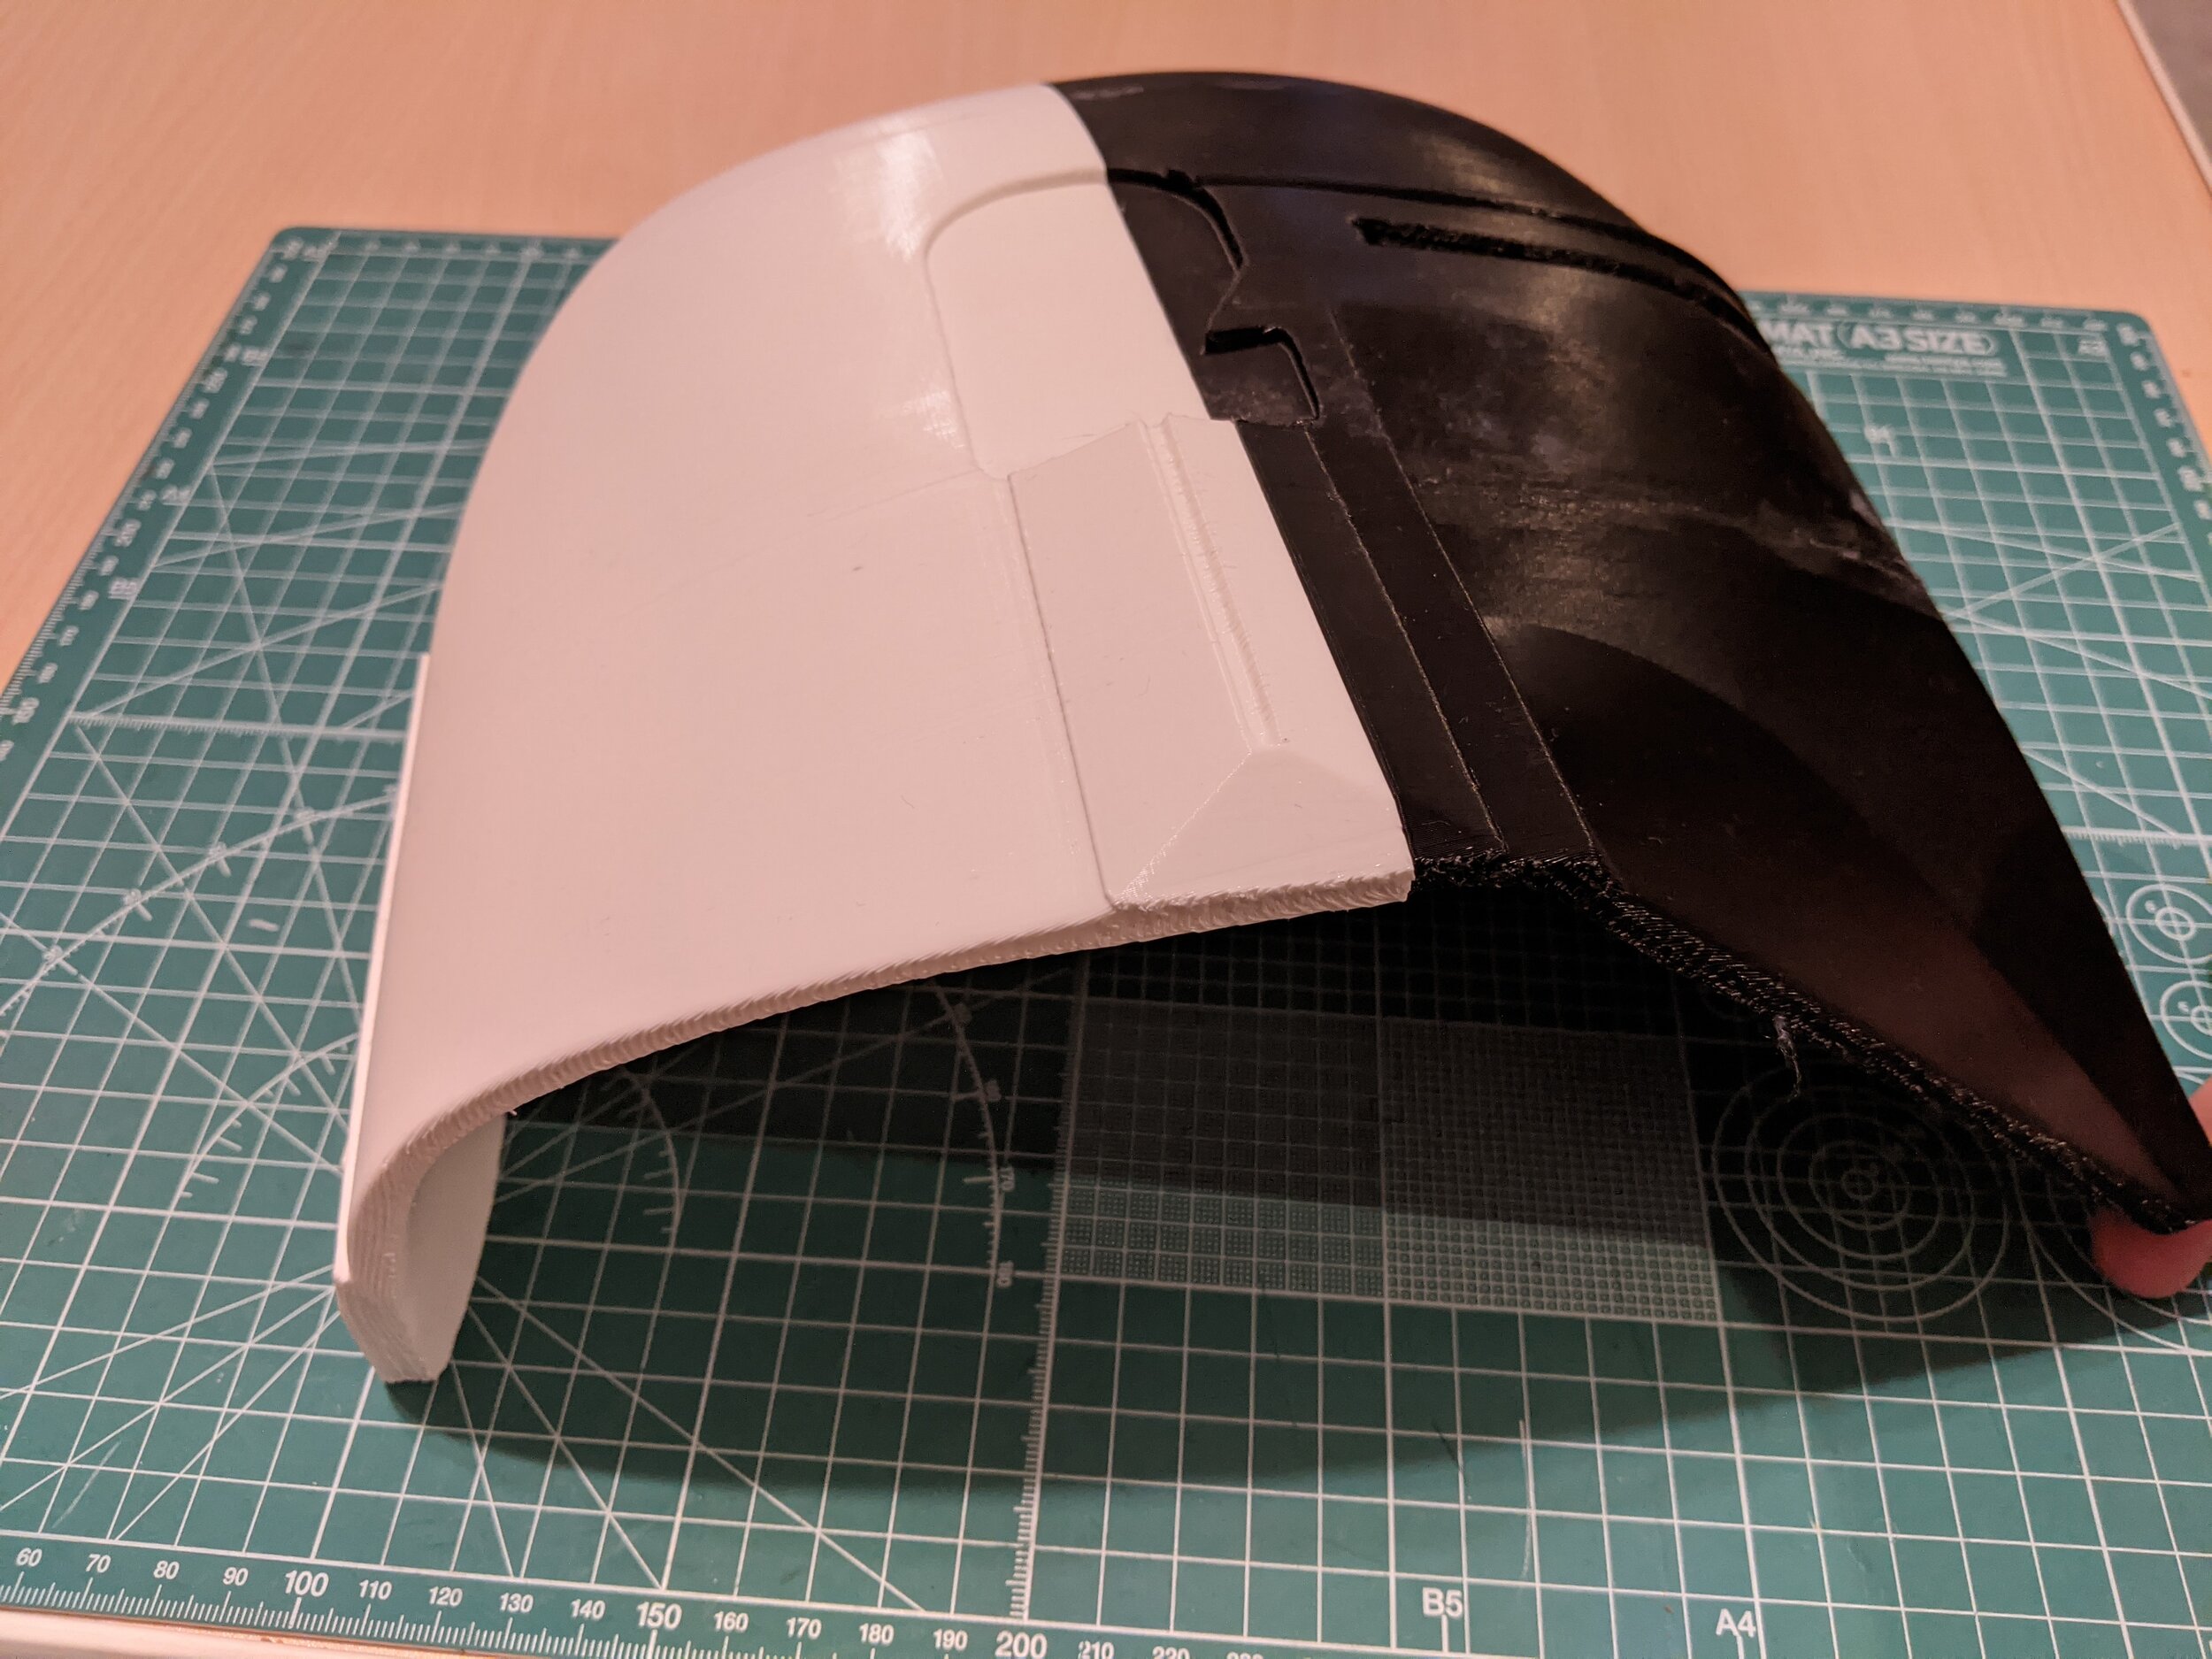
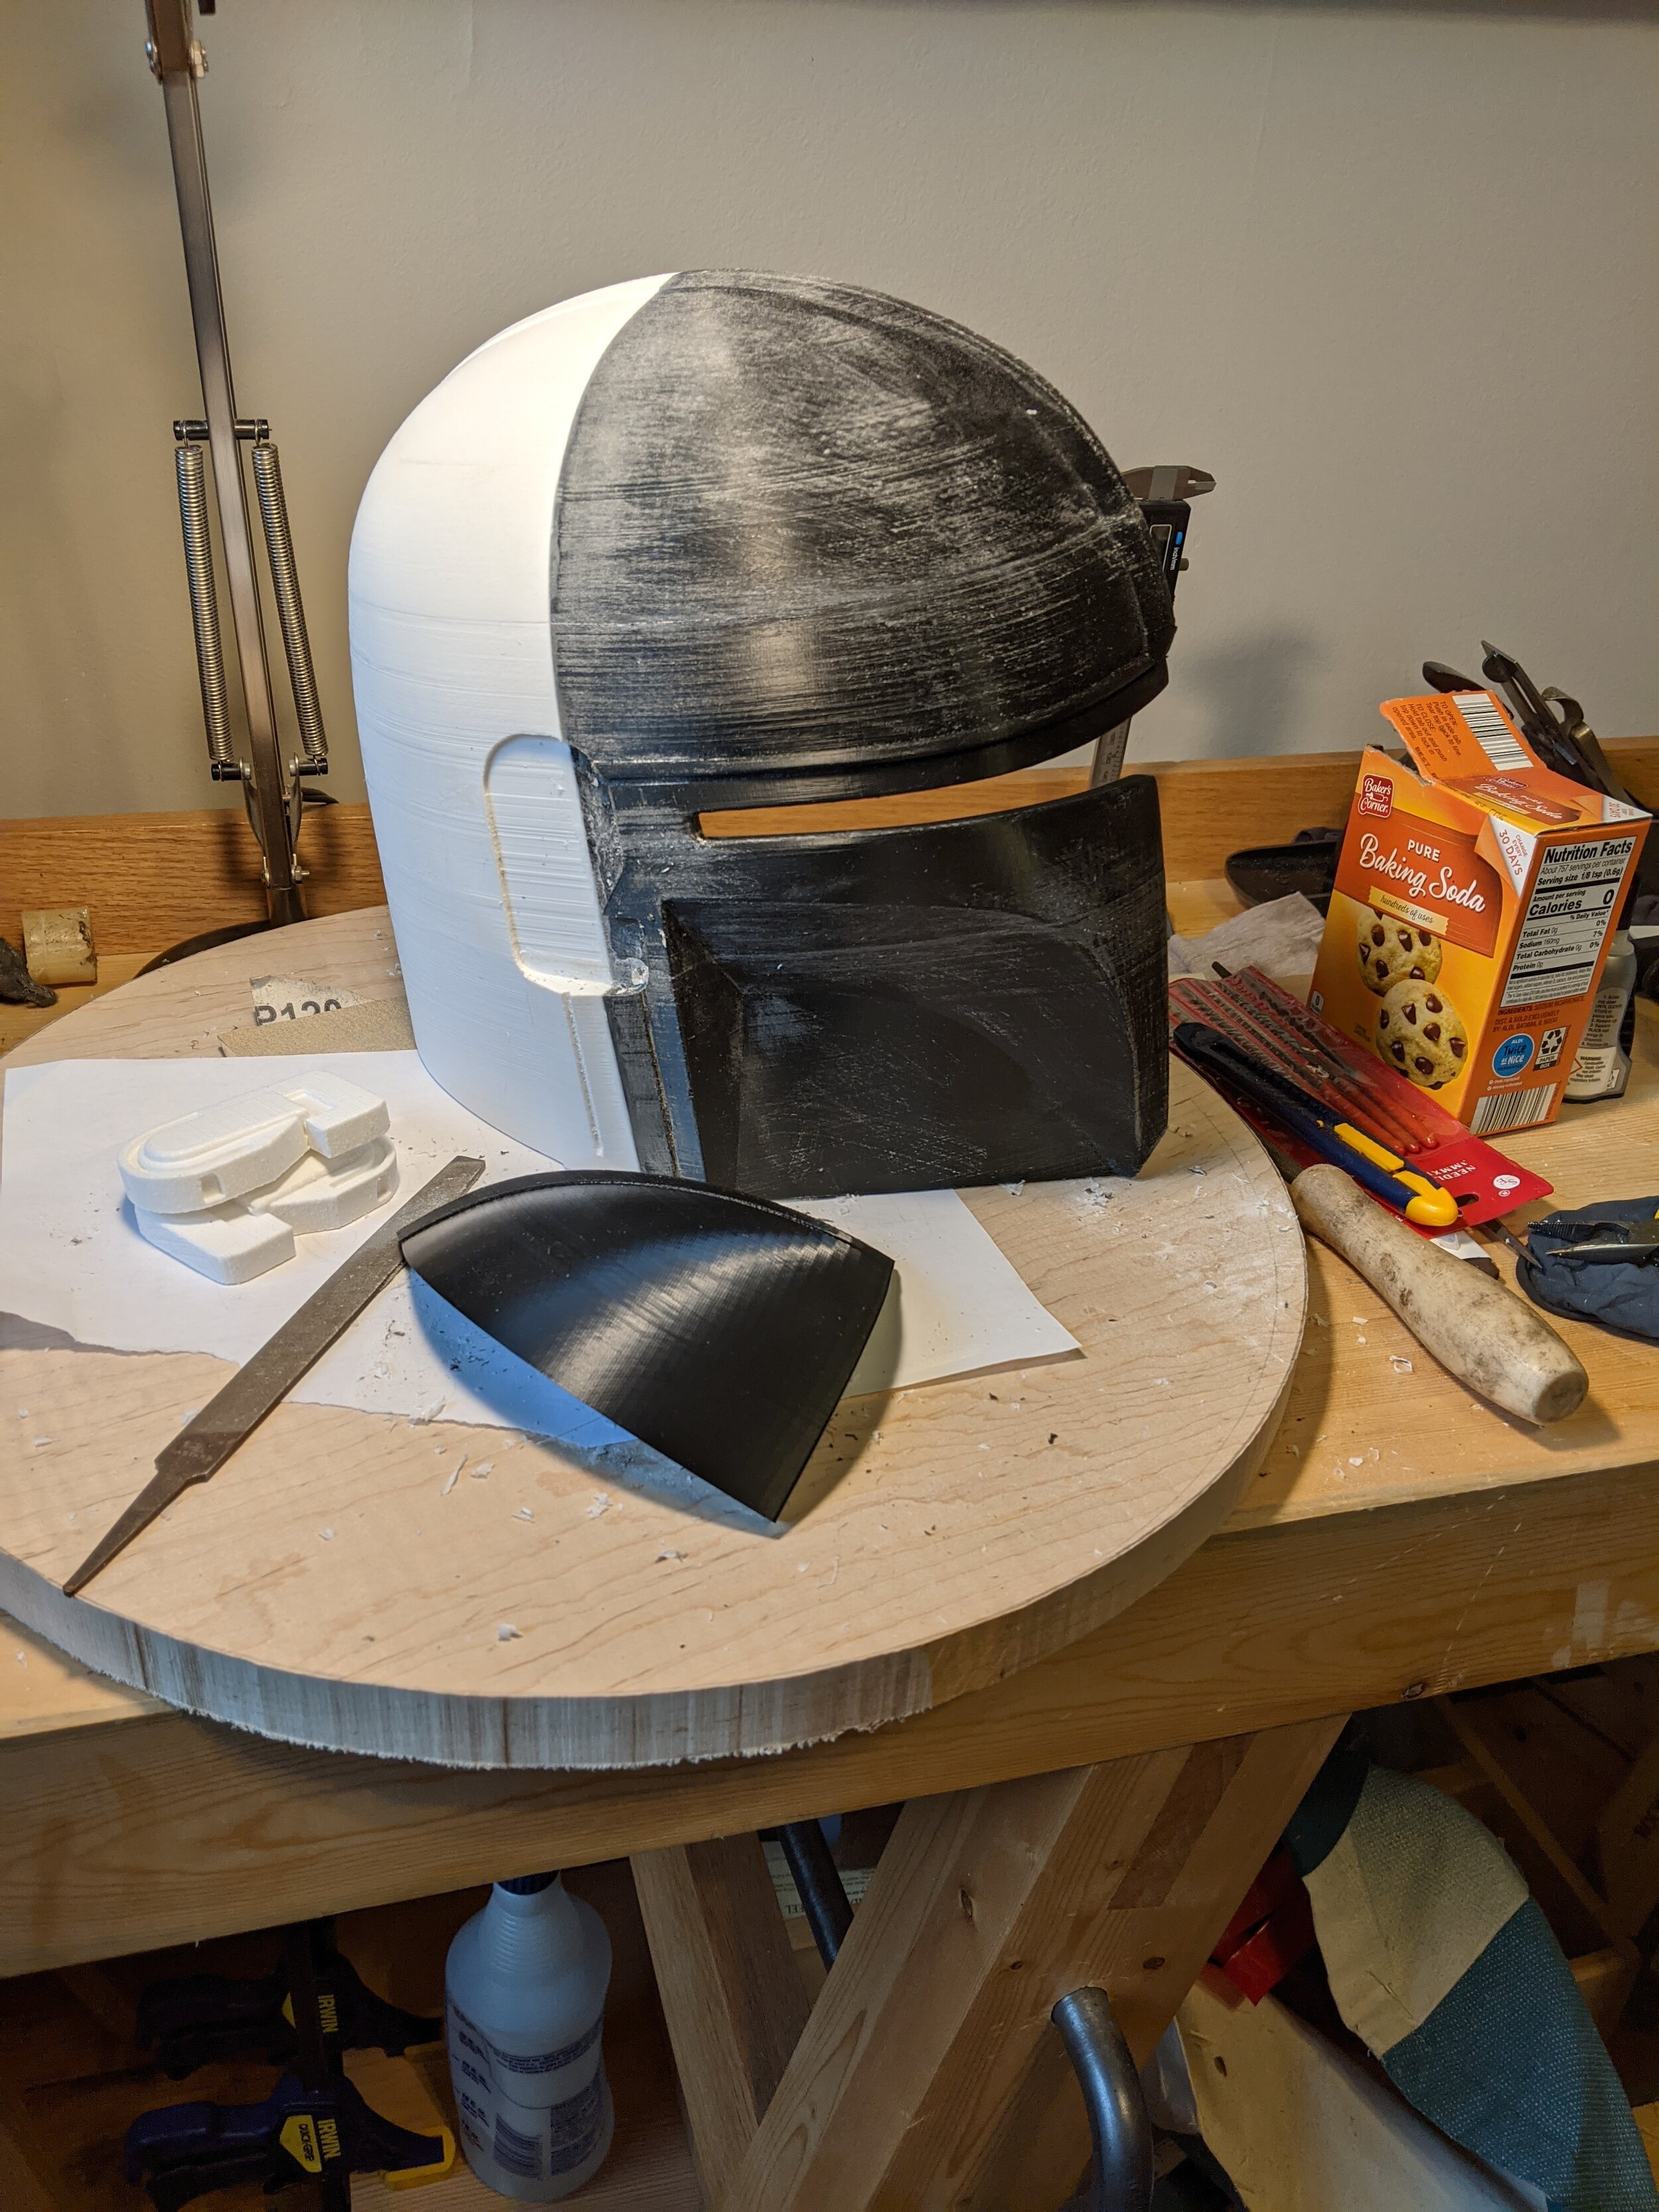
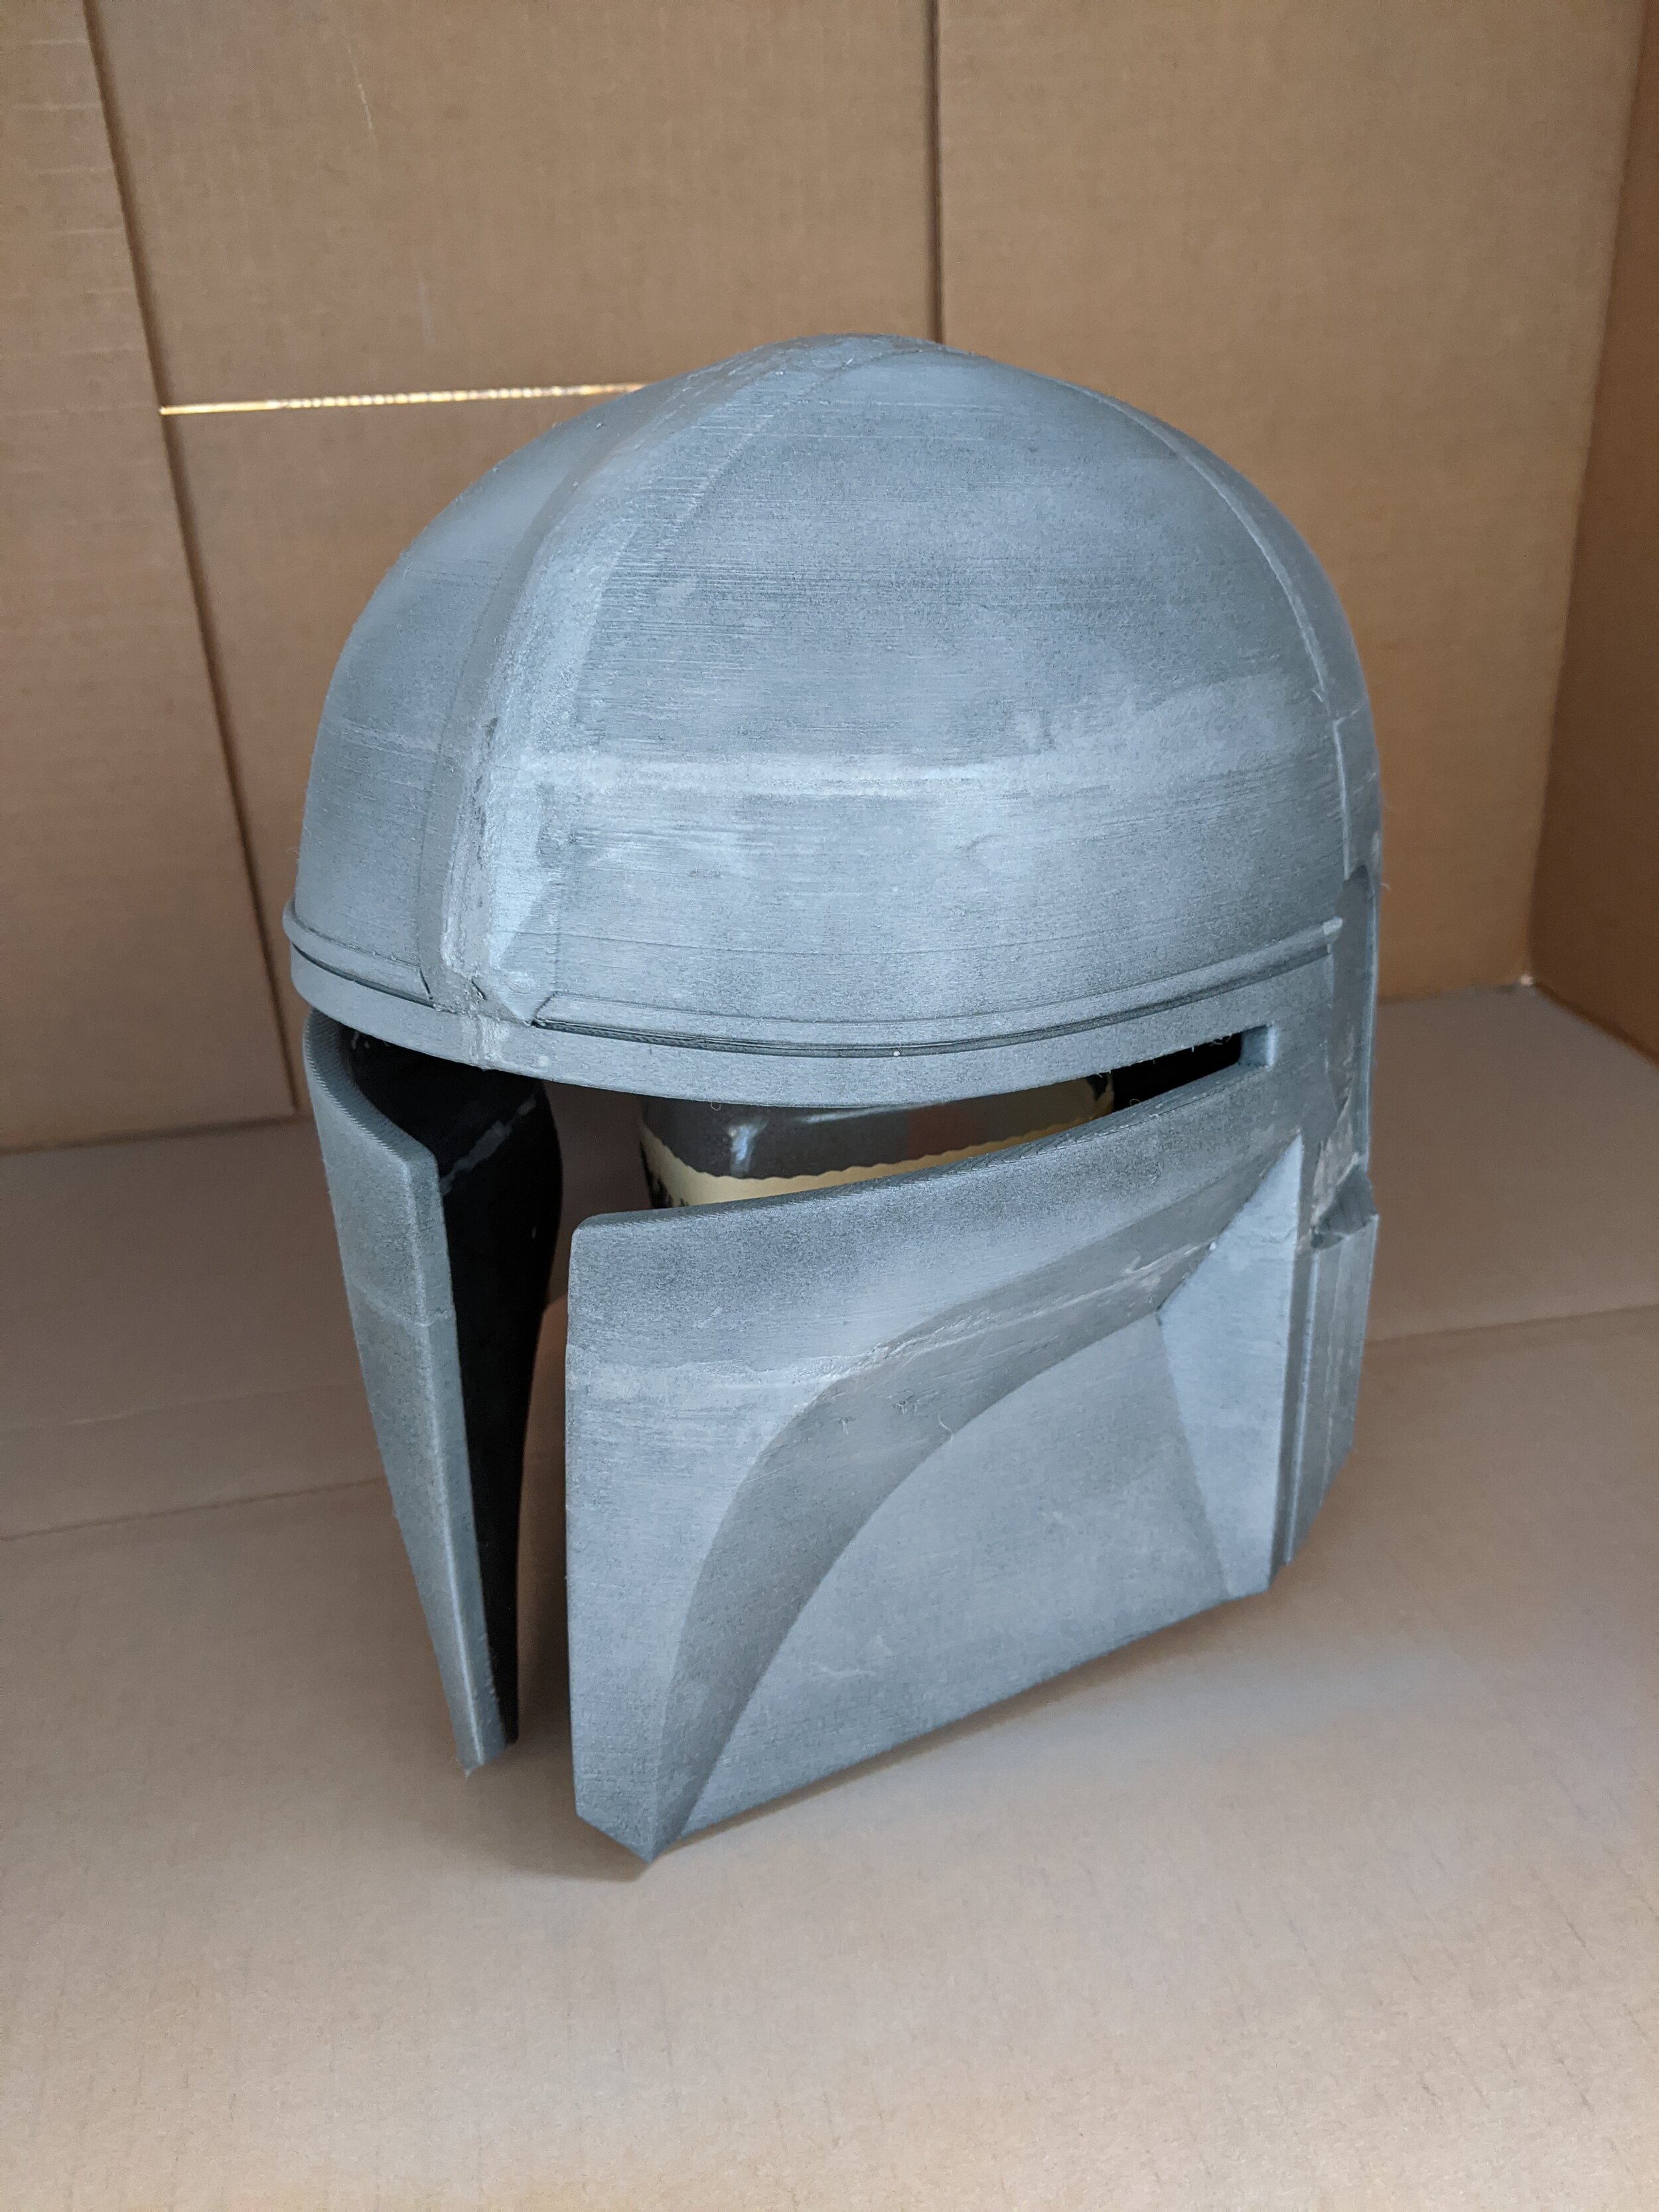
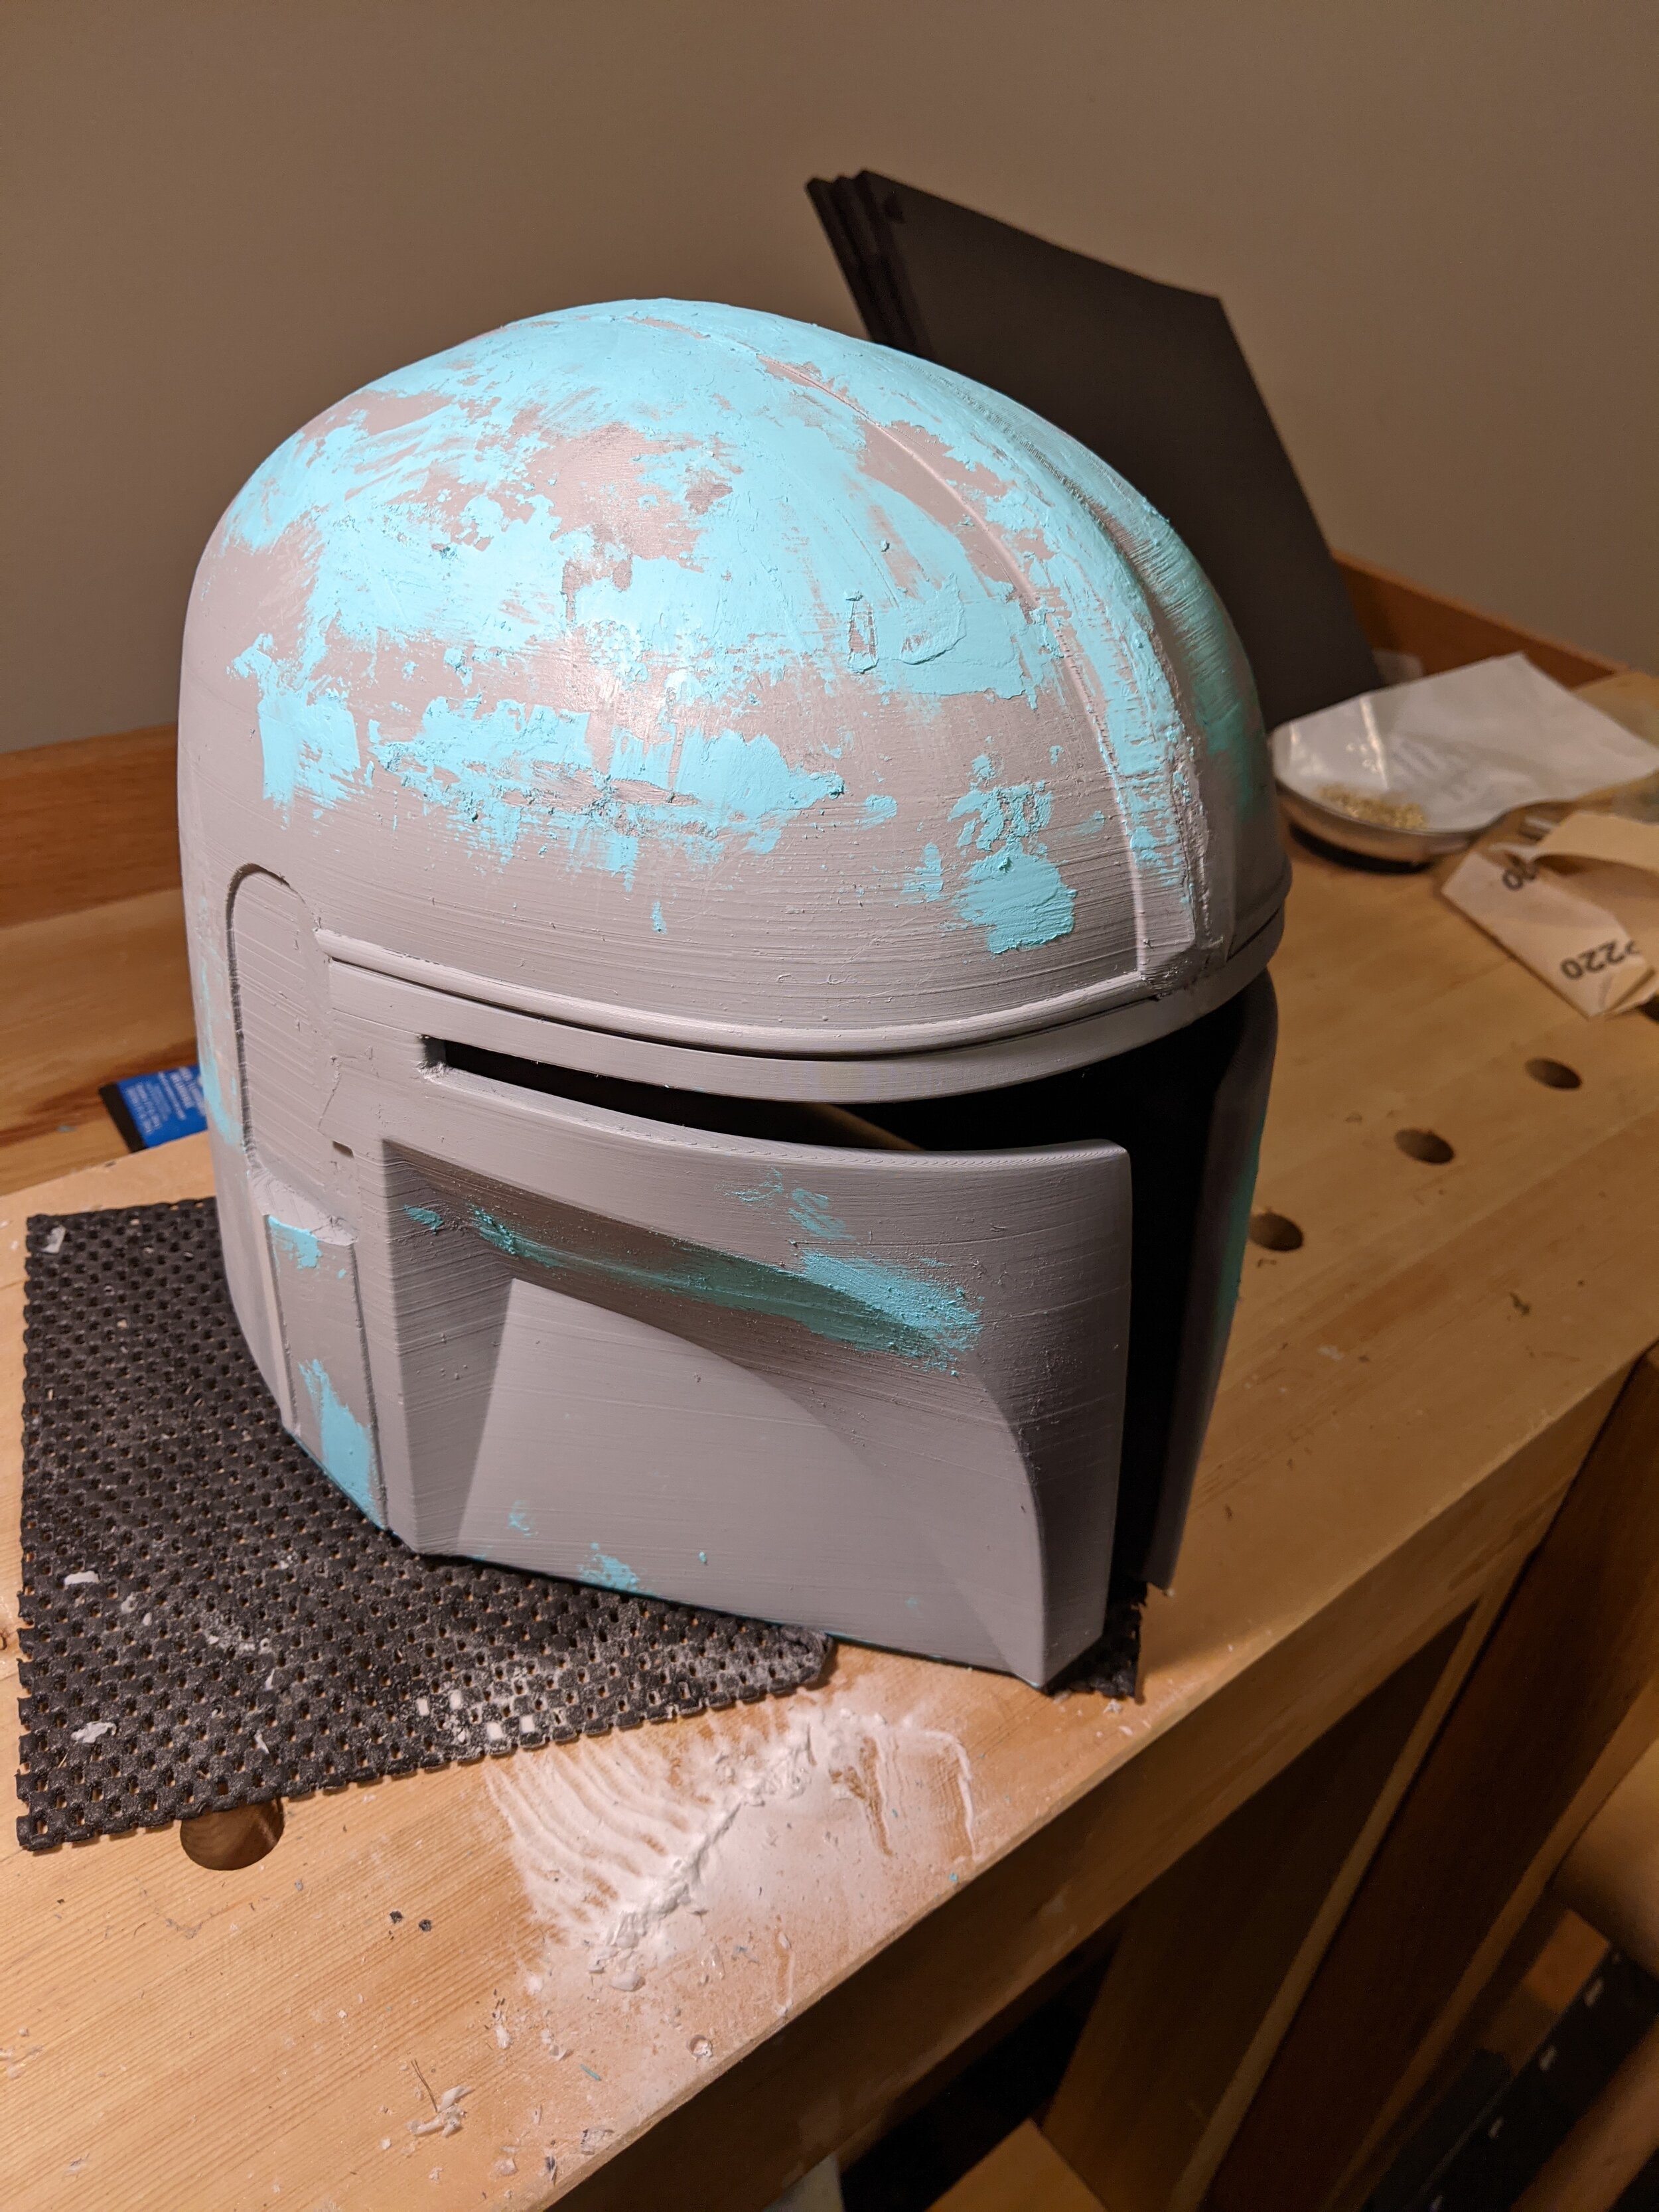
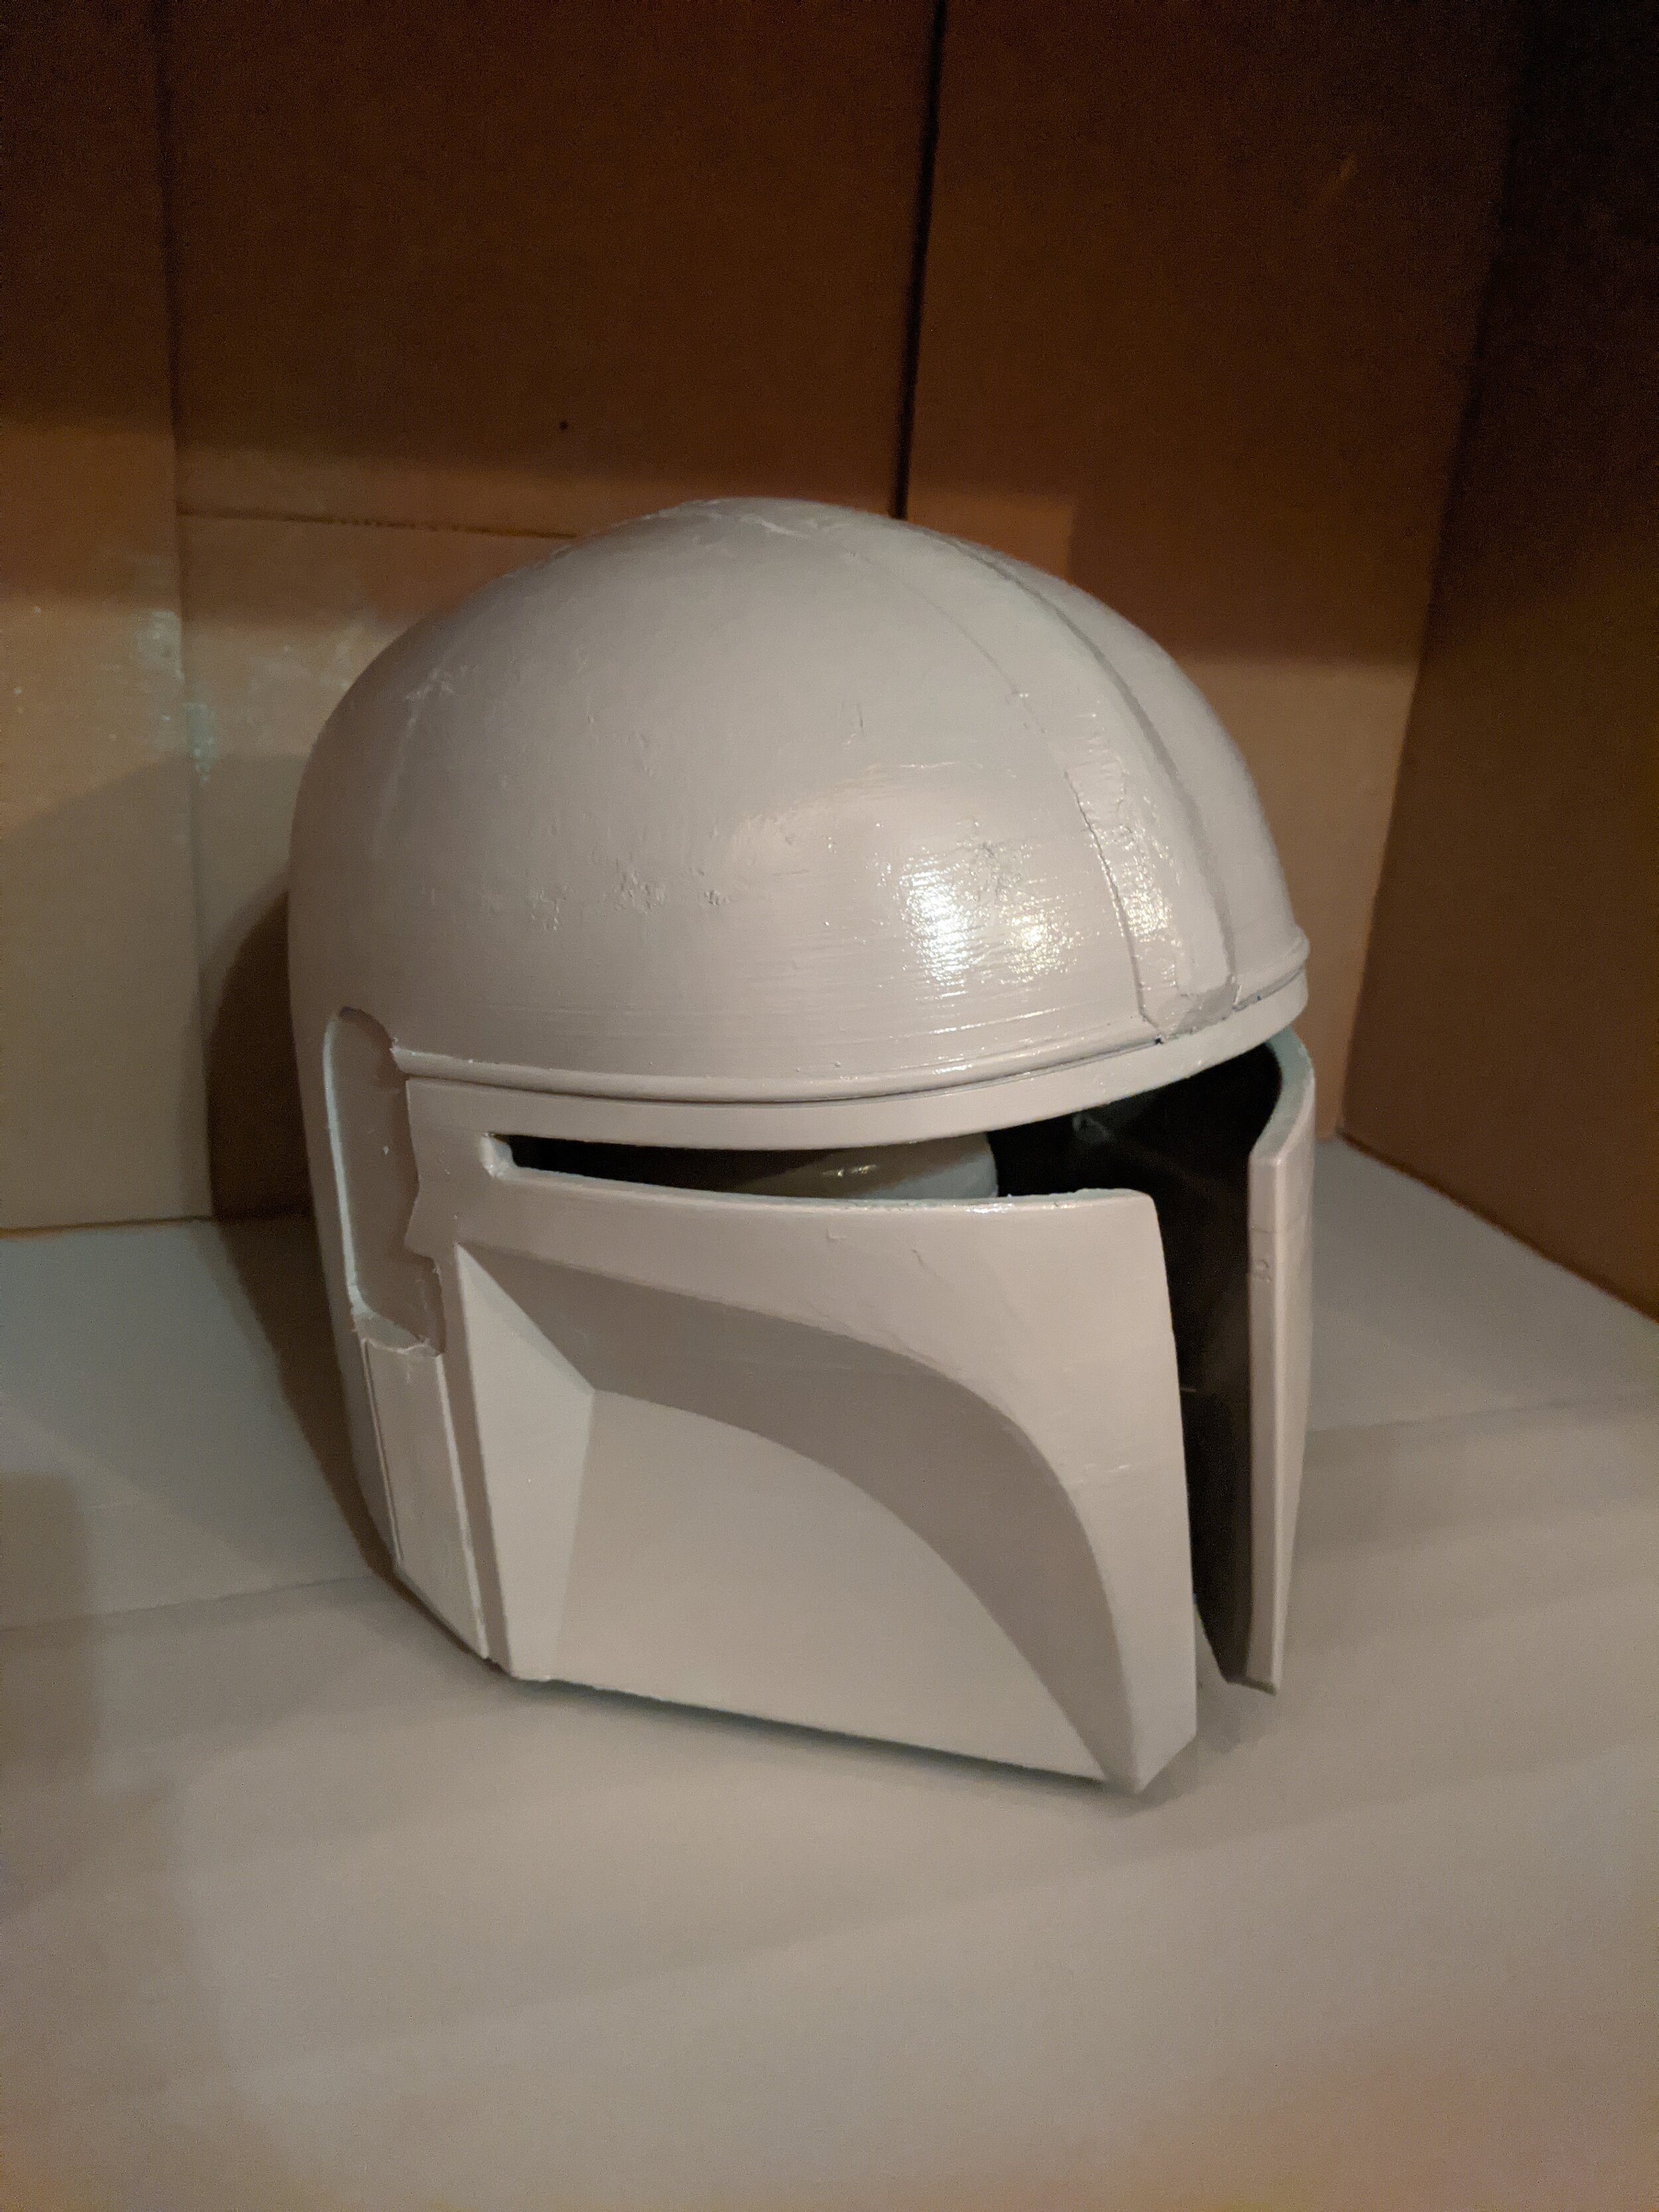
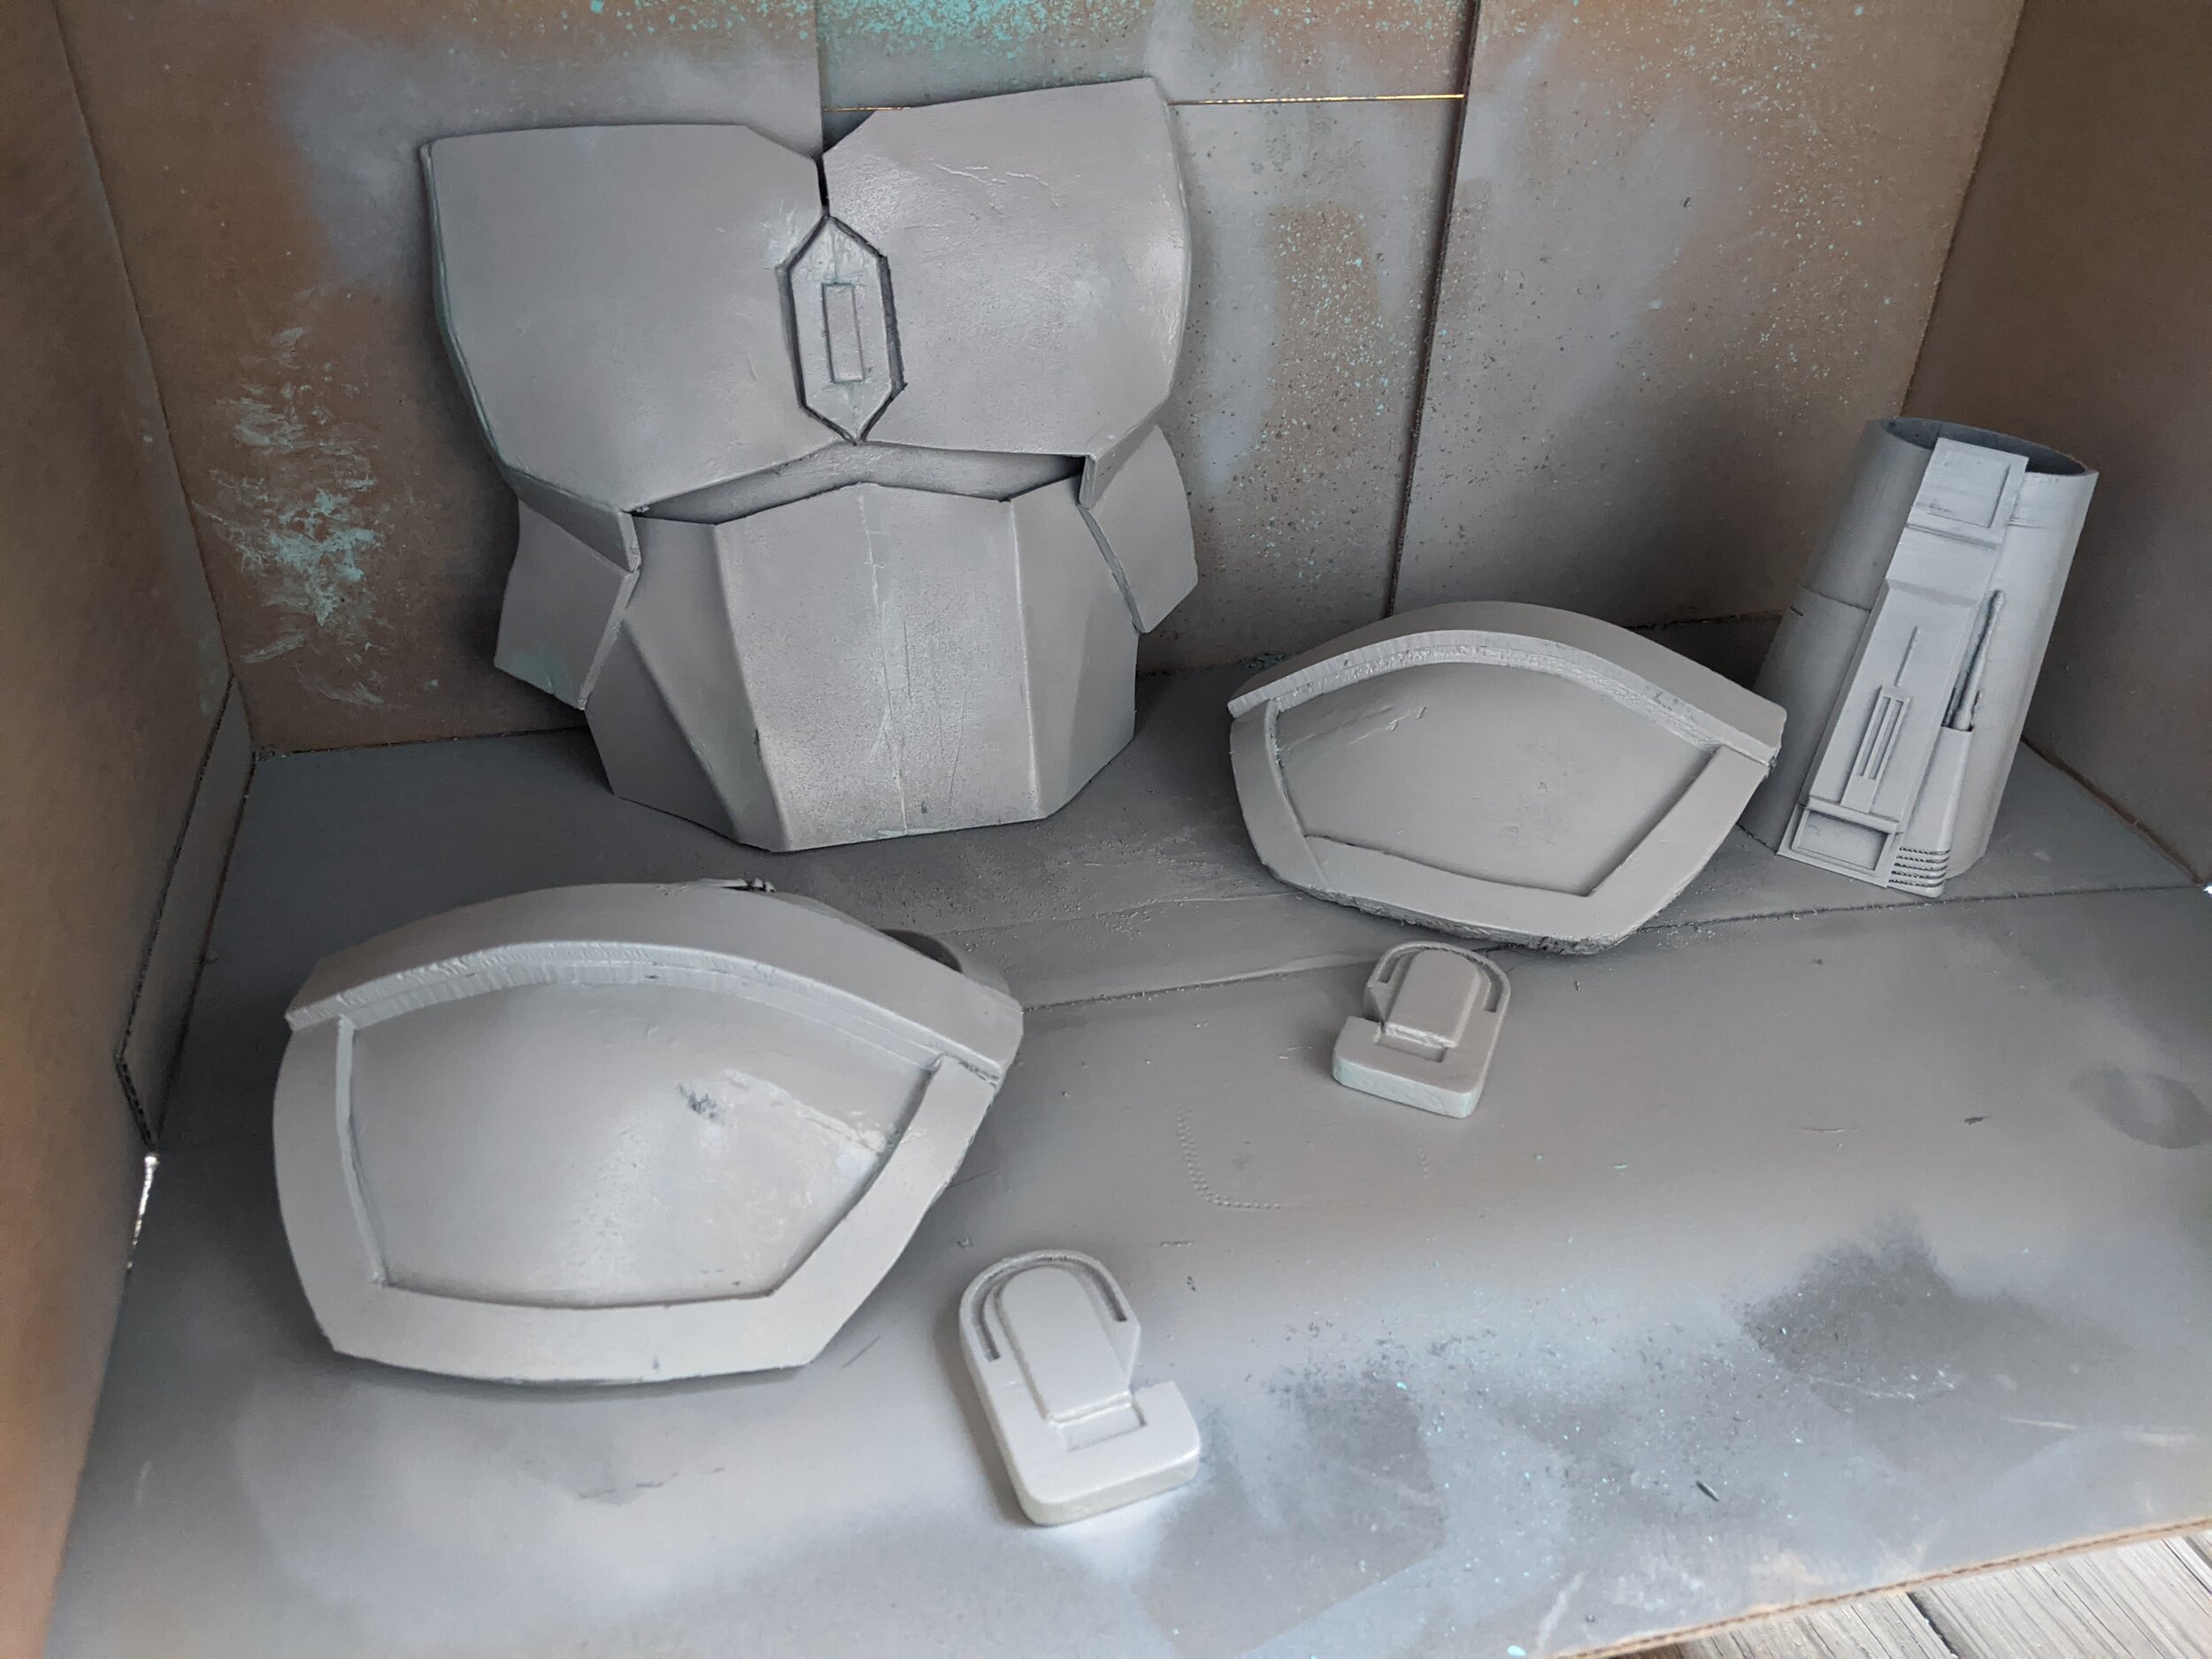
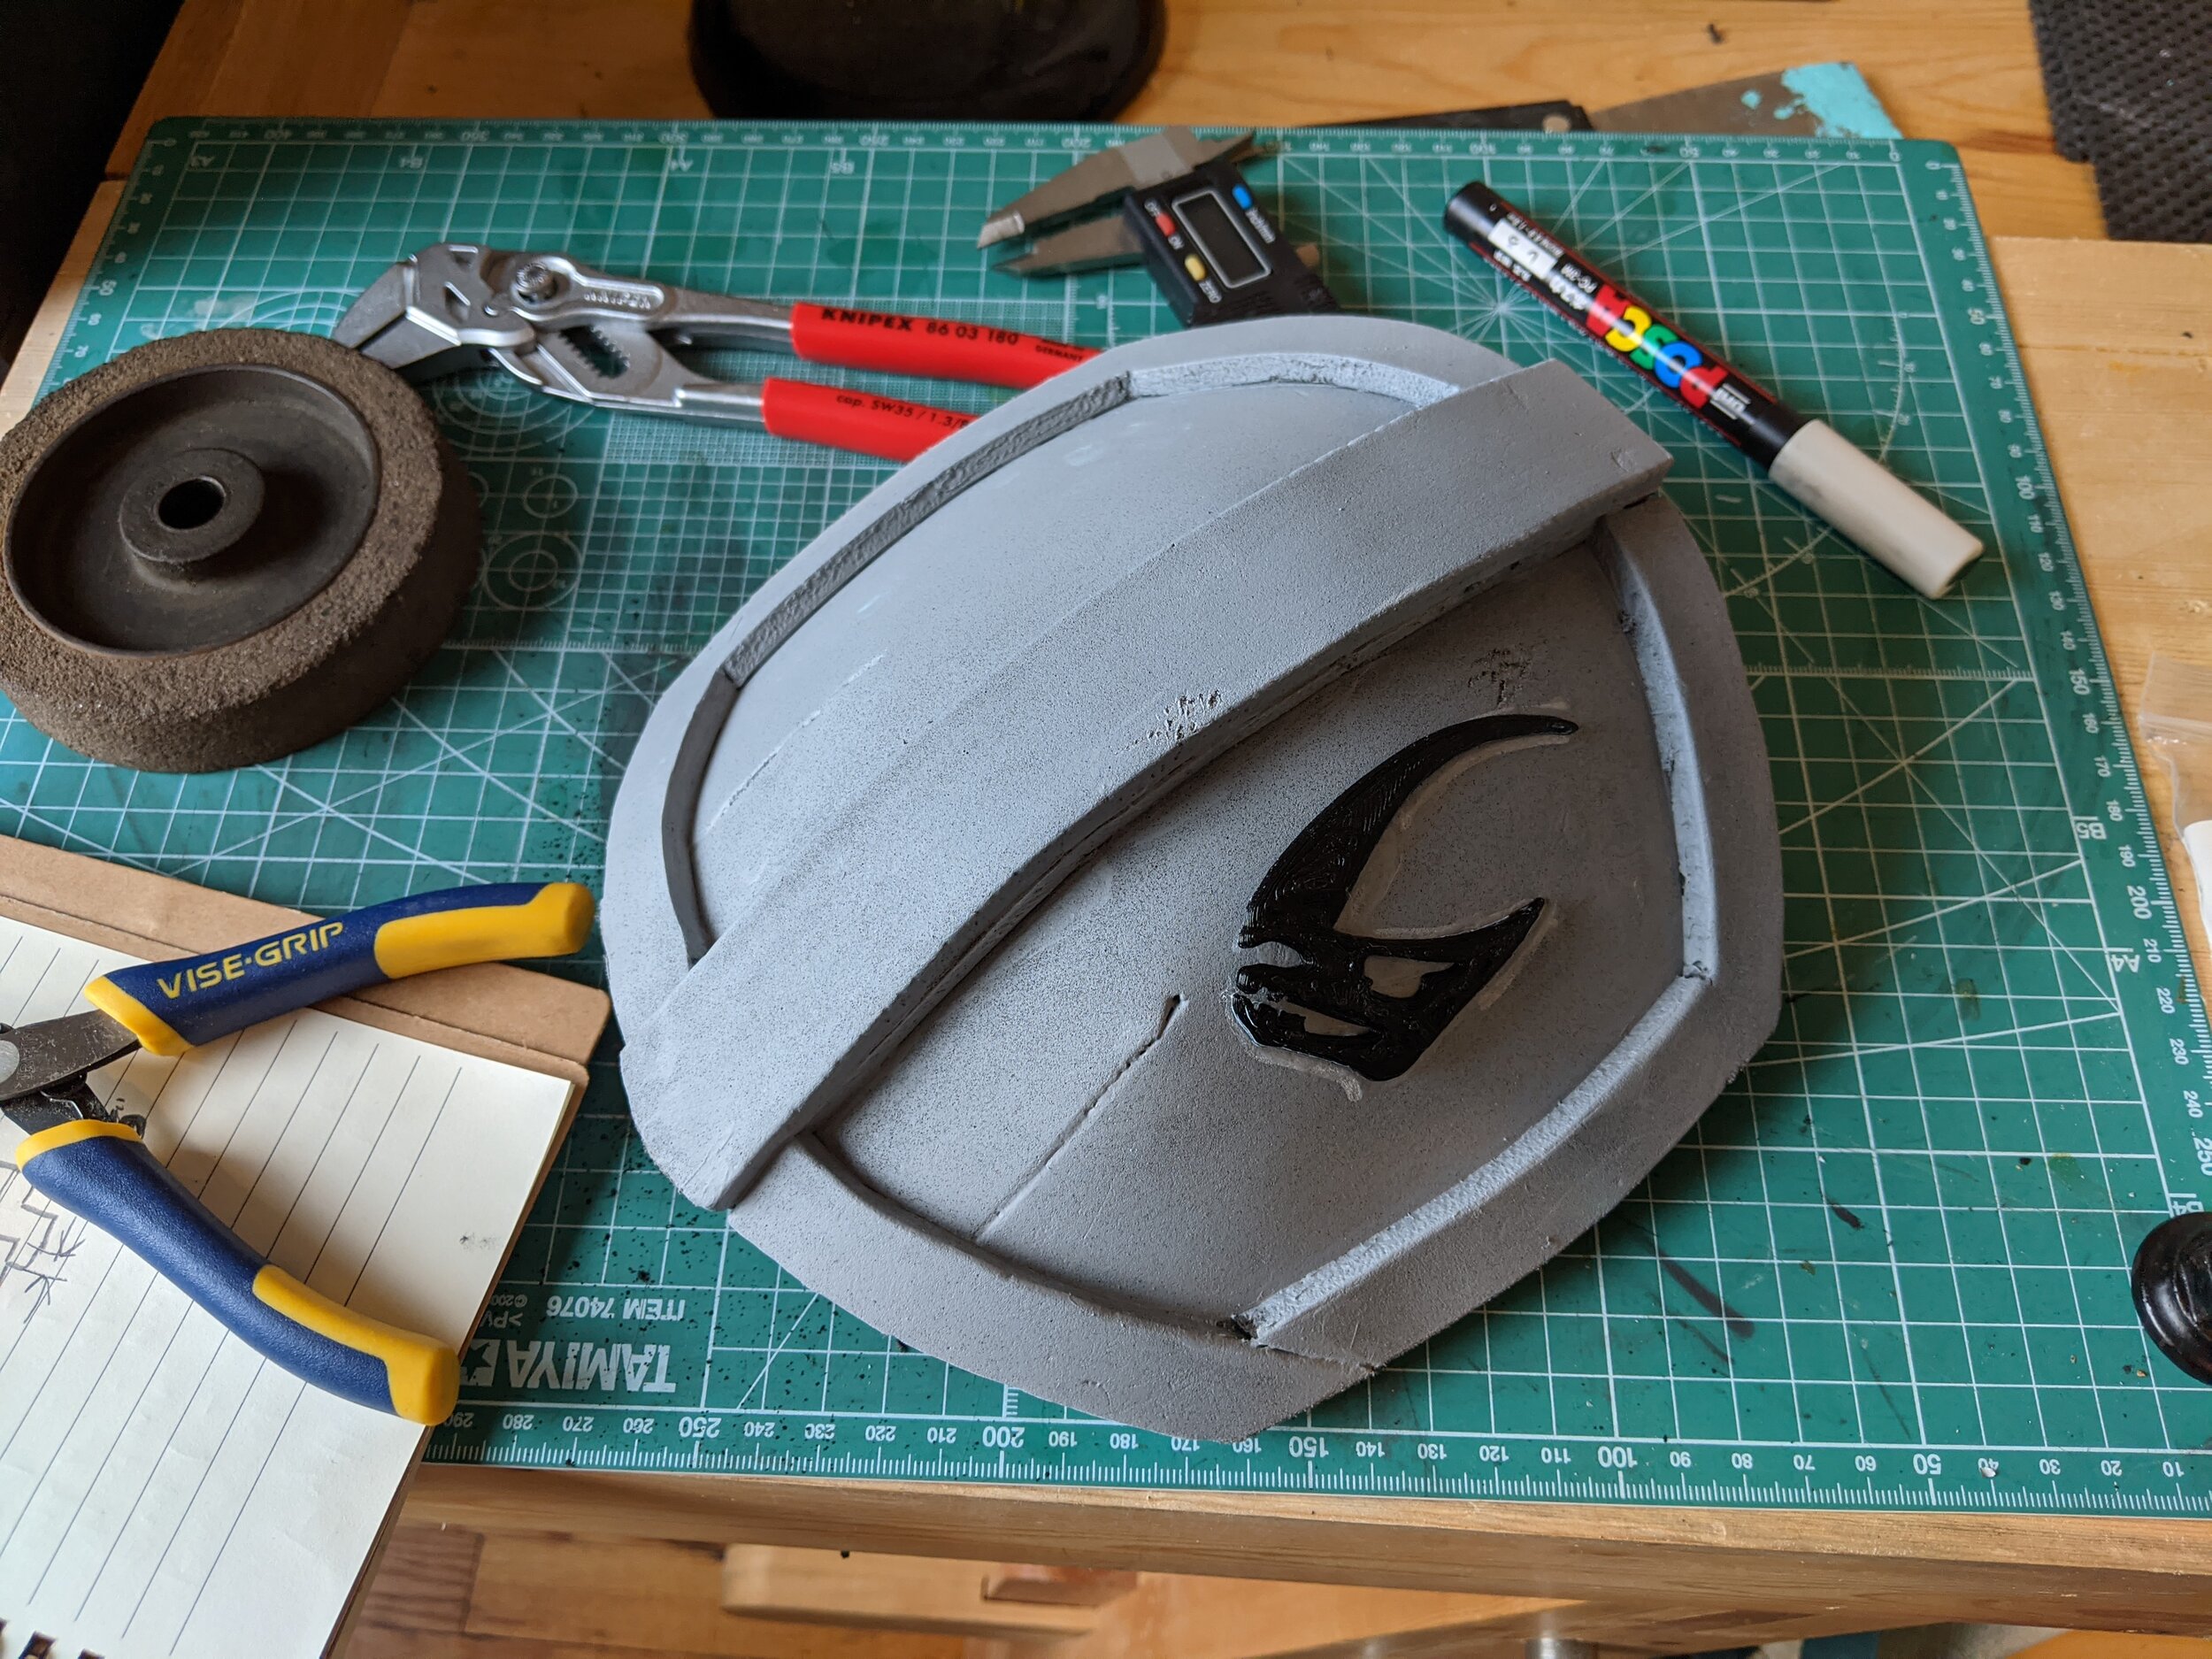
The painting process involved filling the 3D printed layer lines with coats of filling primer and using 3M putty to fill any larger gaps and crevices and then sanding it down. This is a long tedious process that can be repeated over and over until you have a uniform surface. I kept reminding myself of George Lucas’s used universe concept where most objects and vehicles are going to look beat up and worn so there wasn’t a reason to get everything to a 100% perfect state. Then I topped the grey filler primer with a couple coats of gloss black enamel.

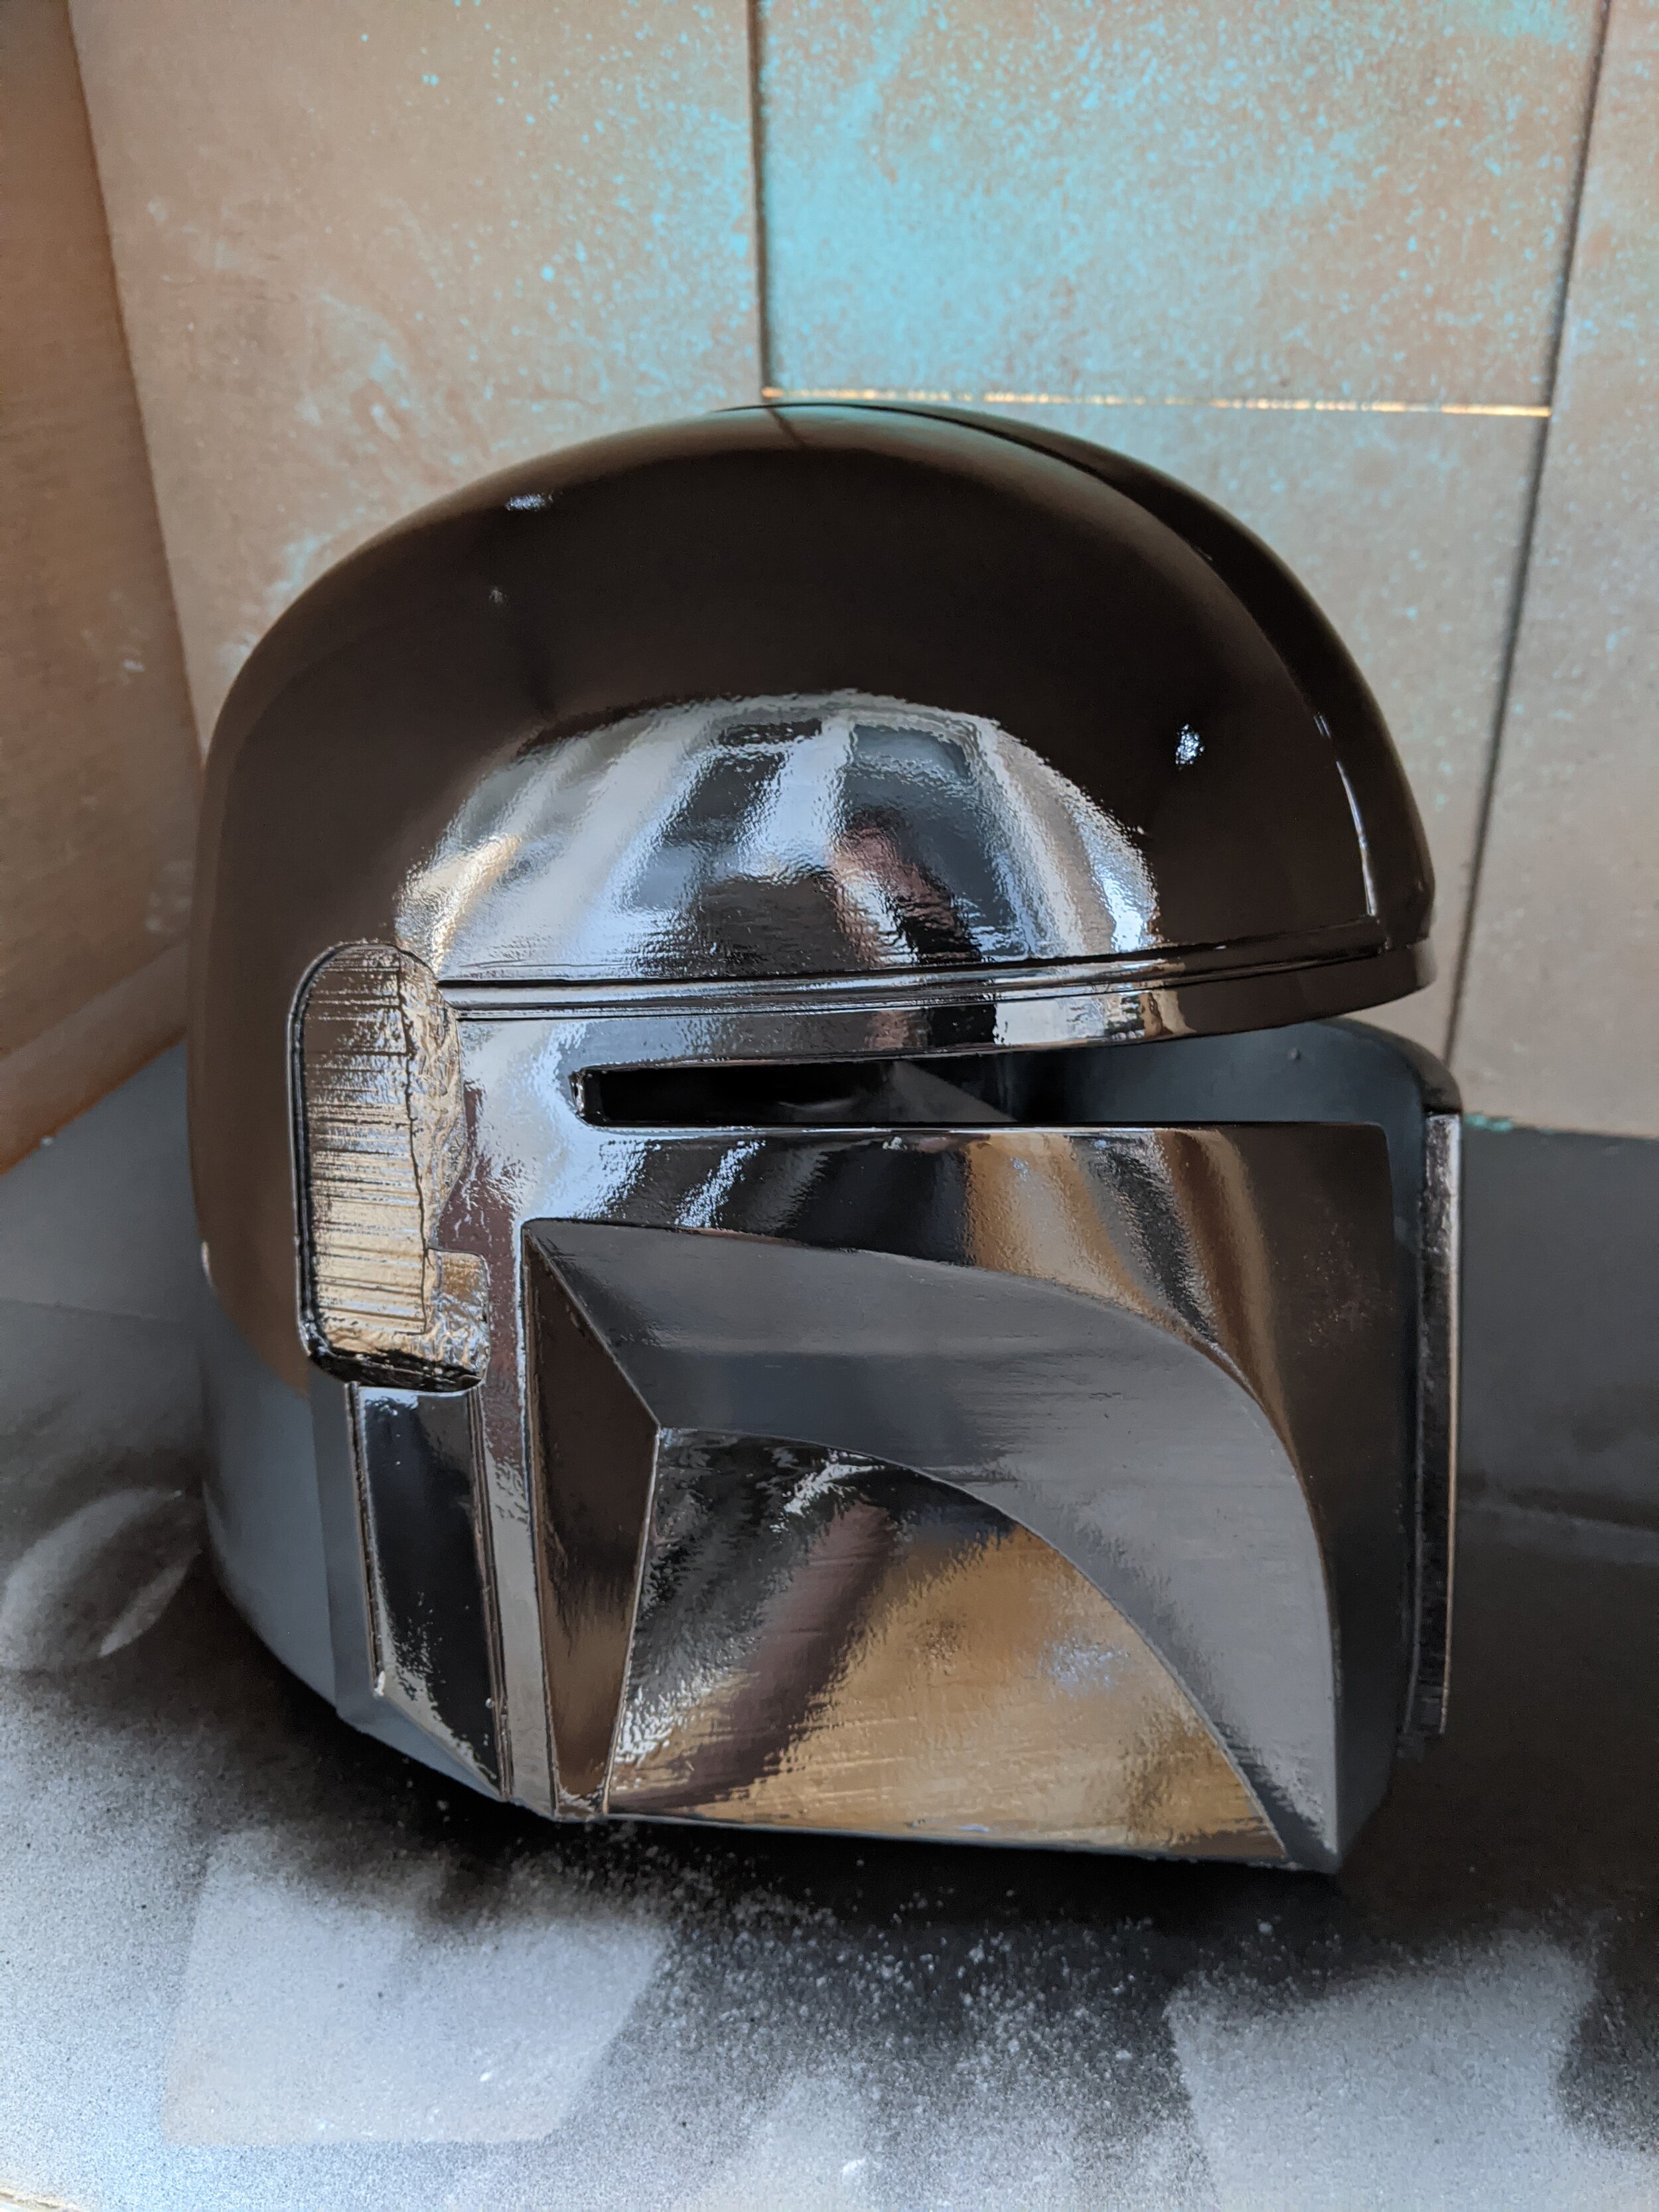
The technique that I was most excited for involved graphite dust, the same thing in your standard pencils. By rubbing graphite powder into a glossy surface, and buffing it to a reflective sheen, it will emulate the look of a chrome metallic finish! Here’s a short video of that process below.
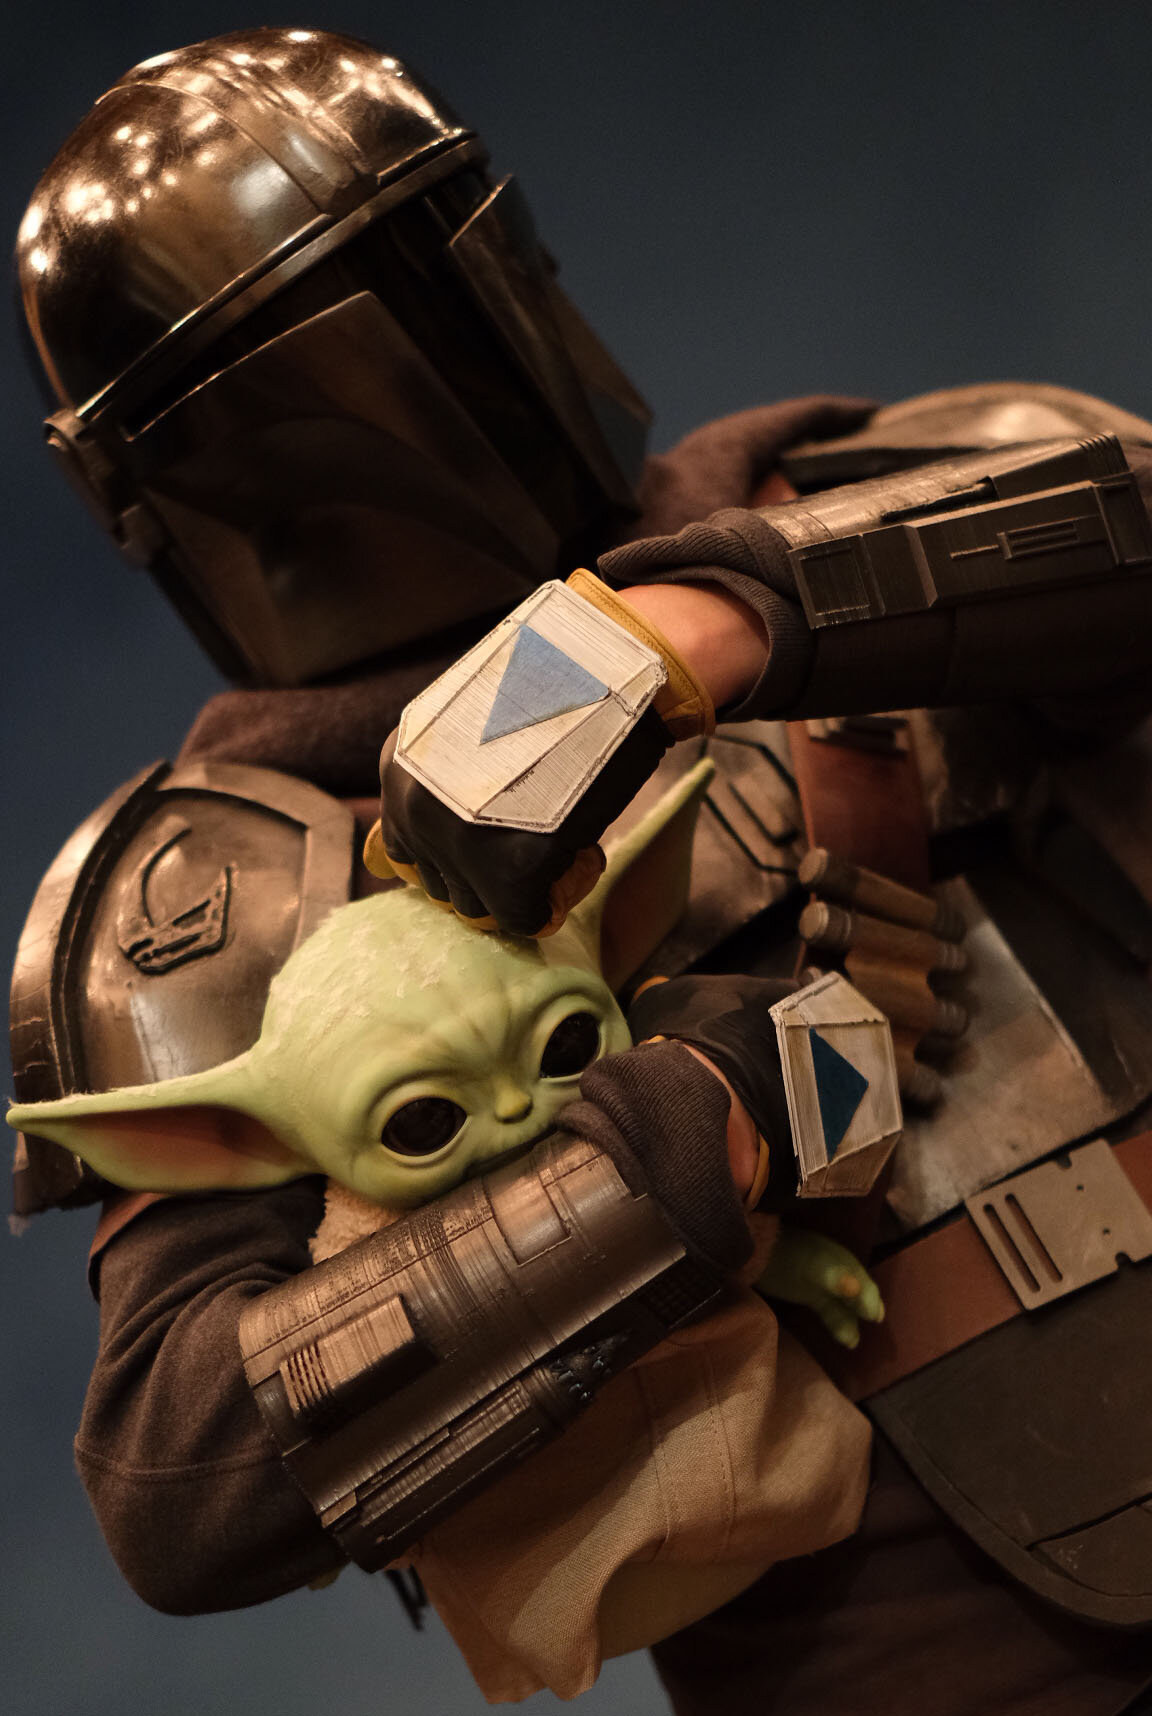
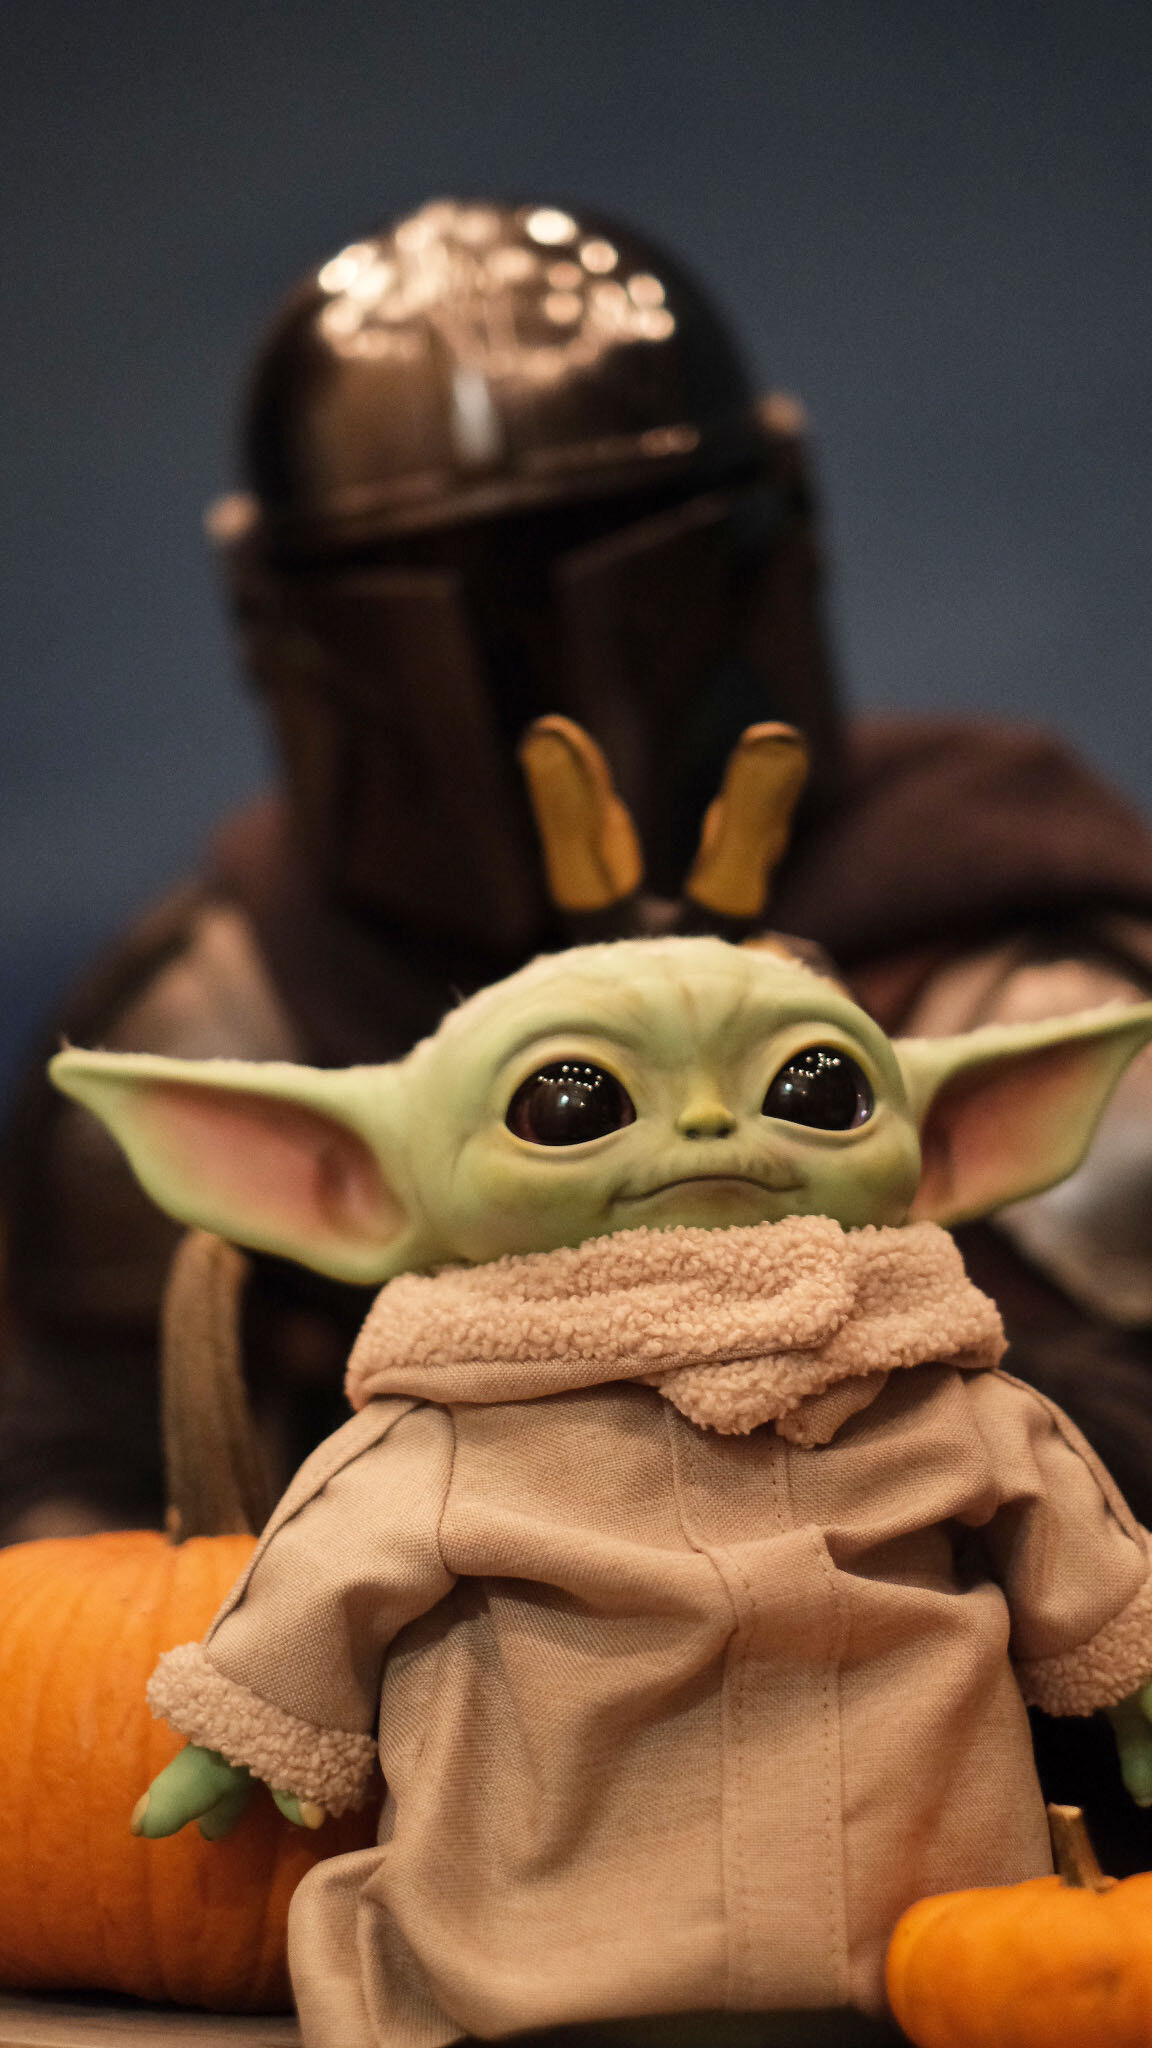
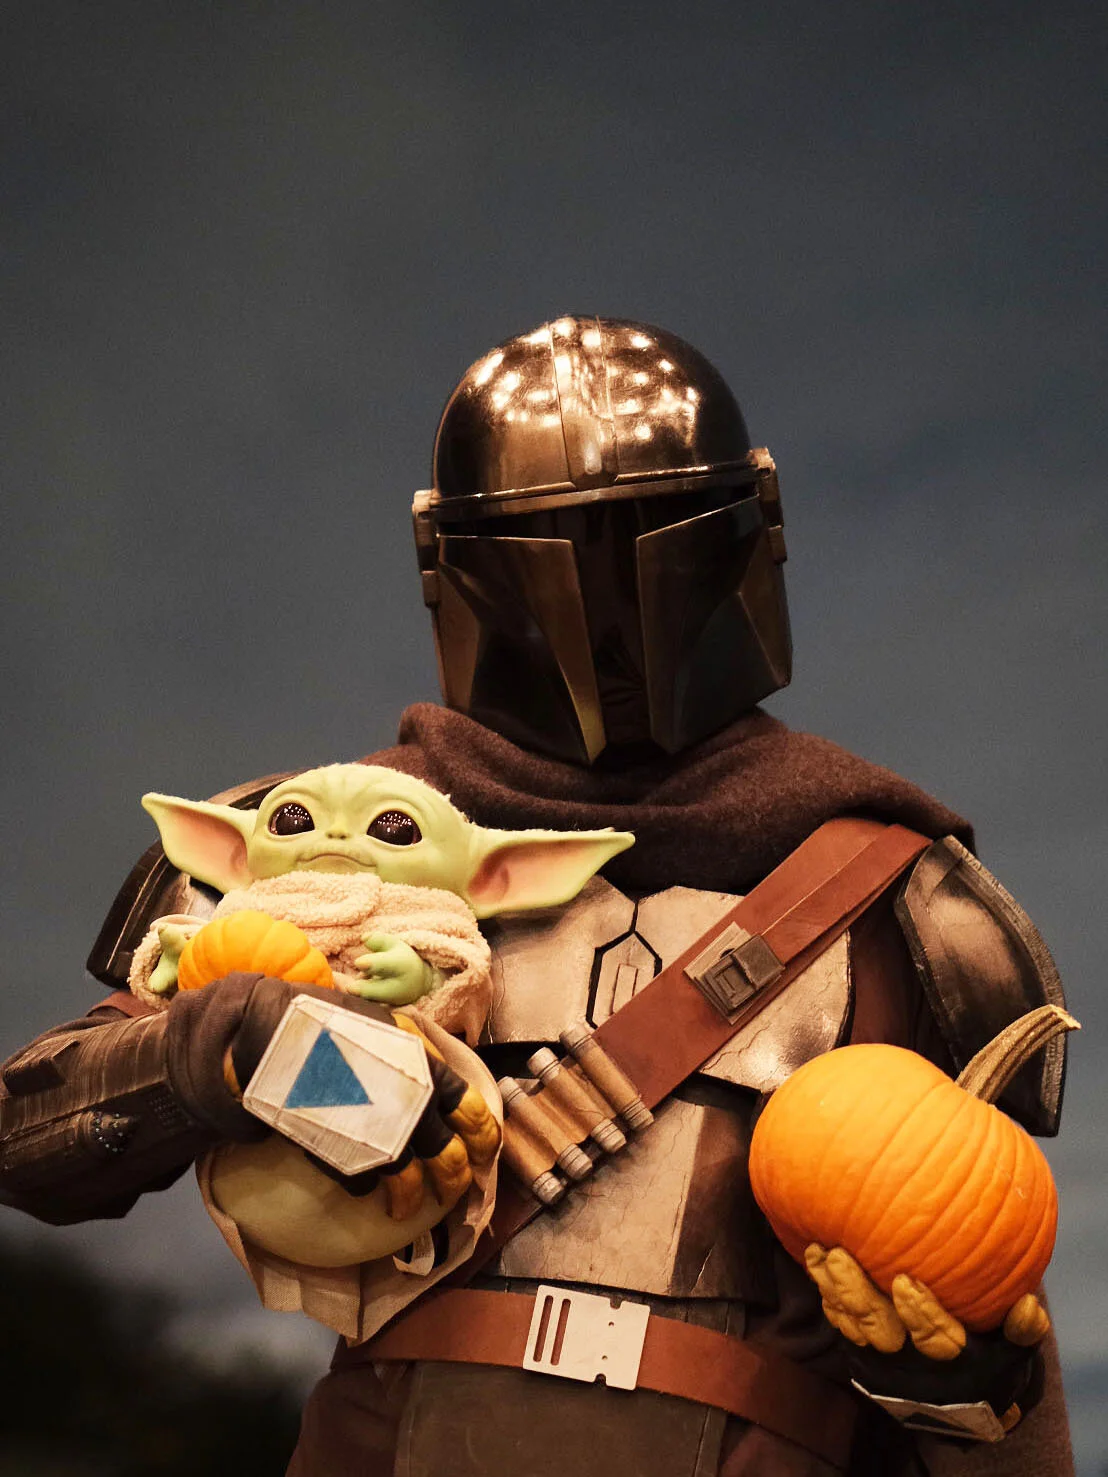
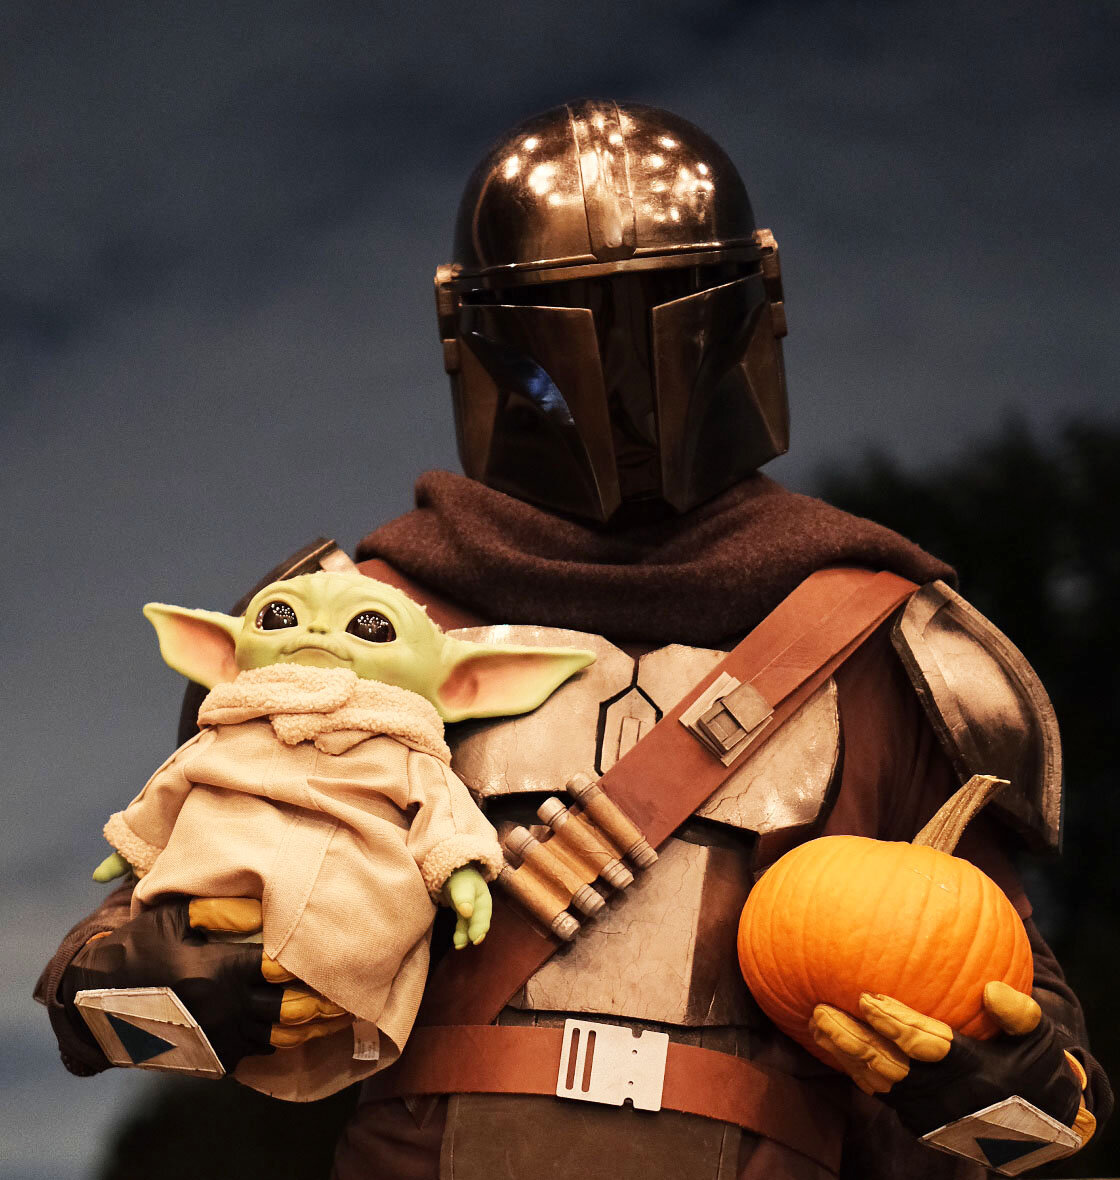
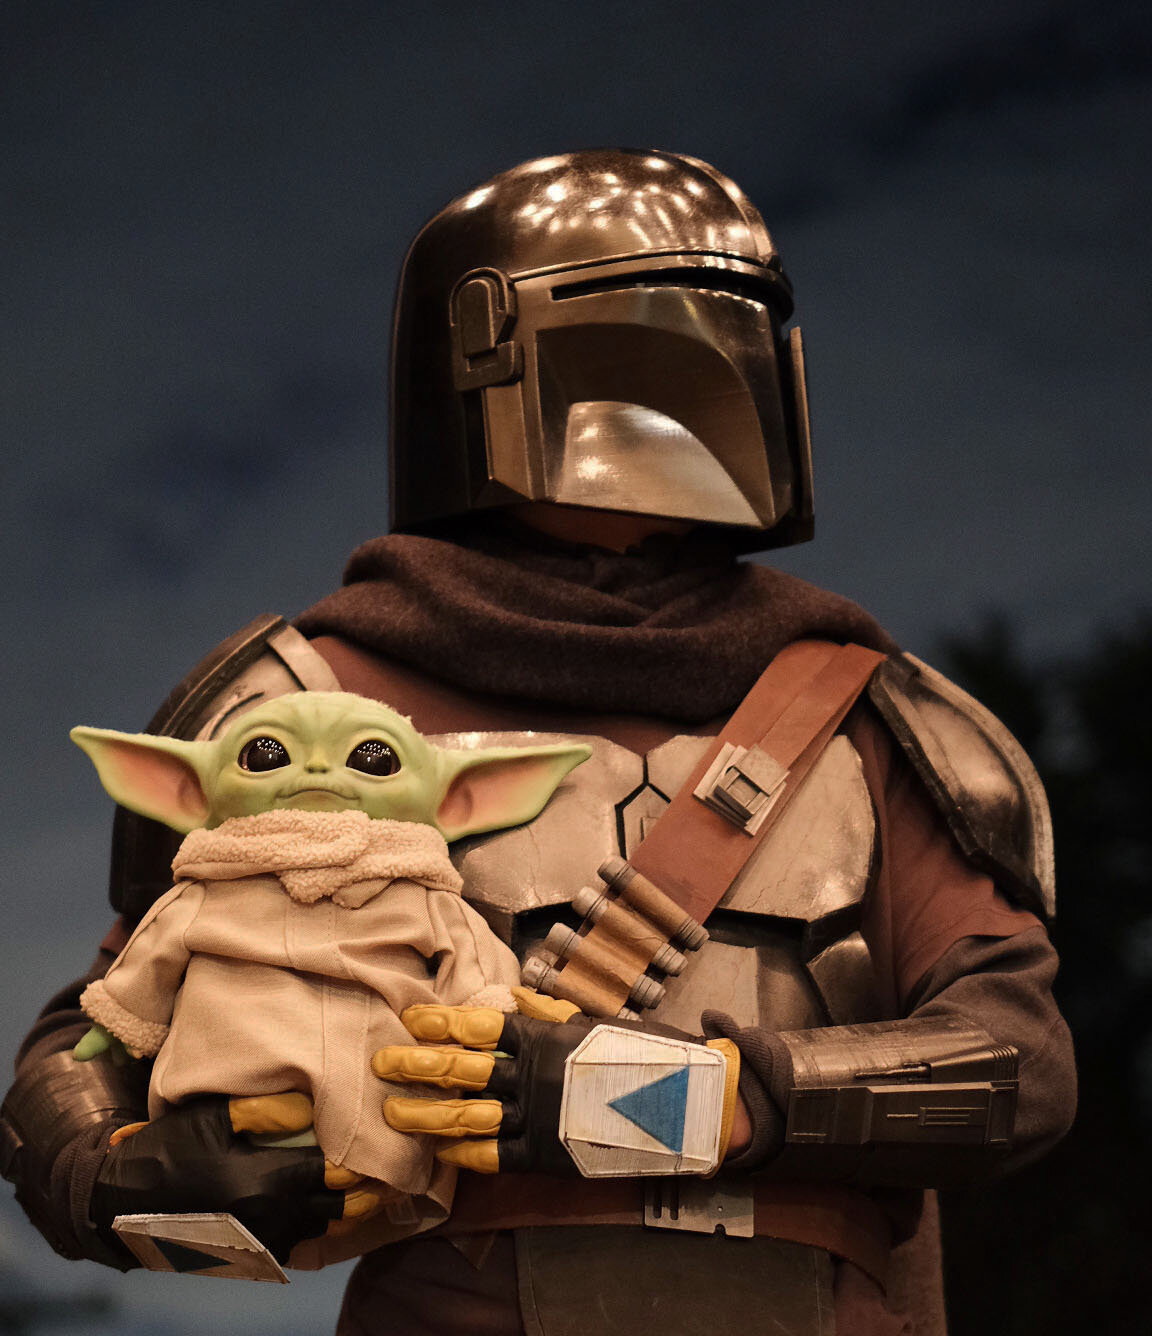
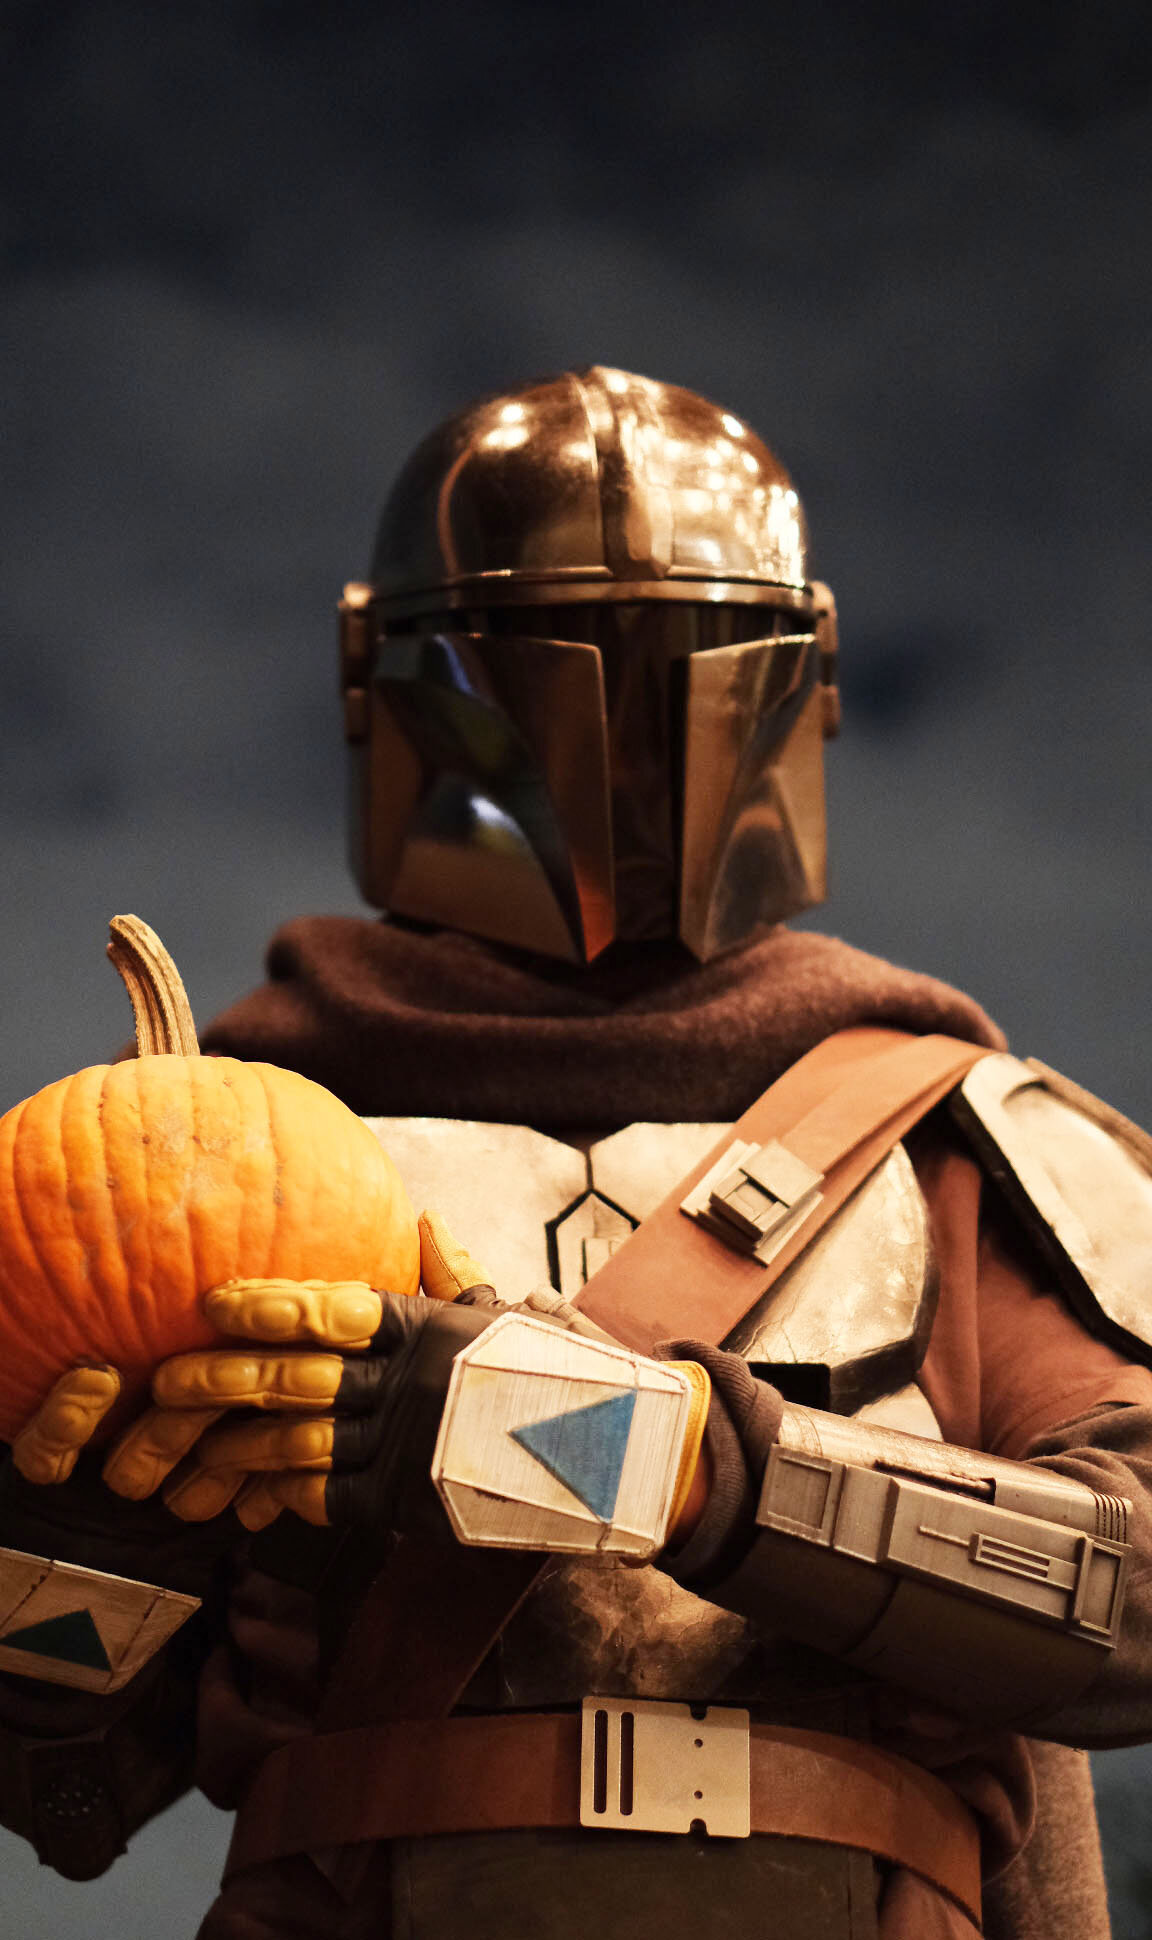
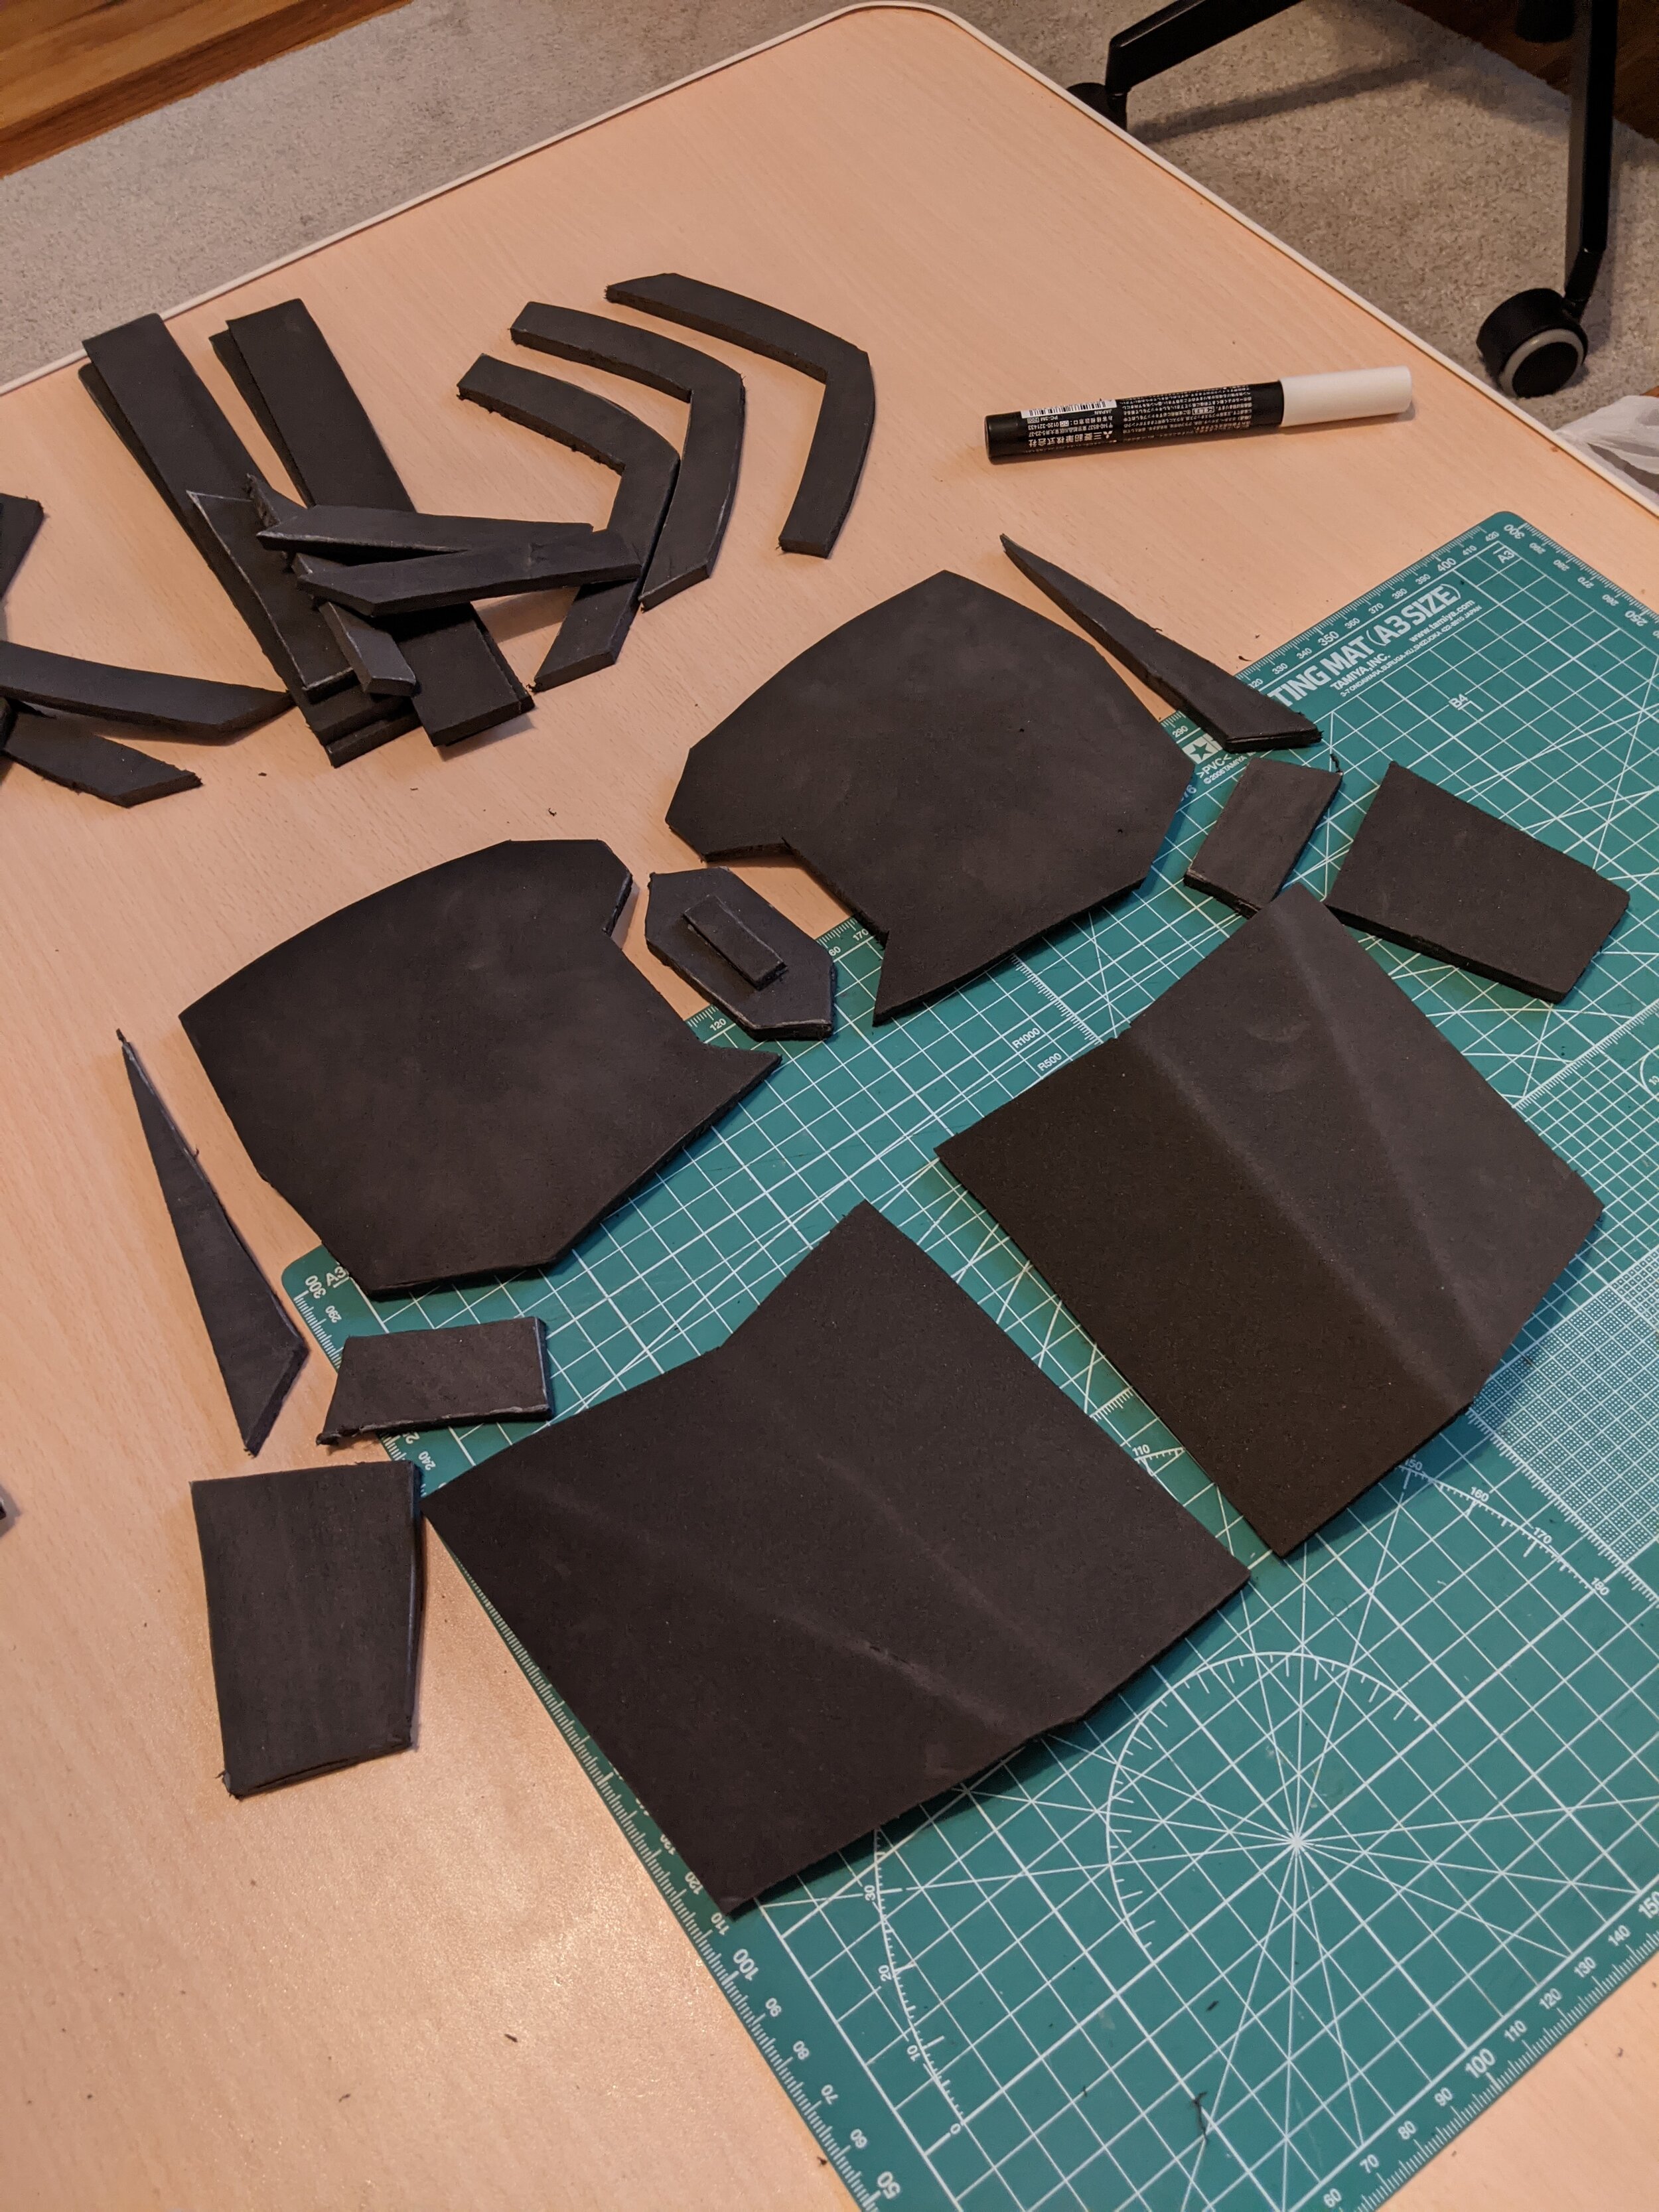
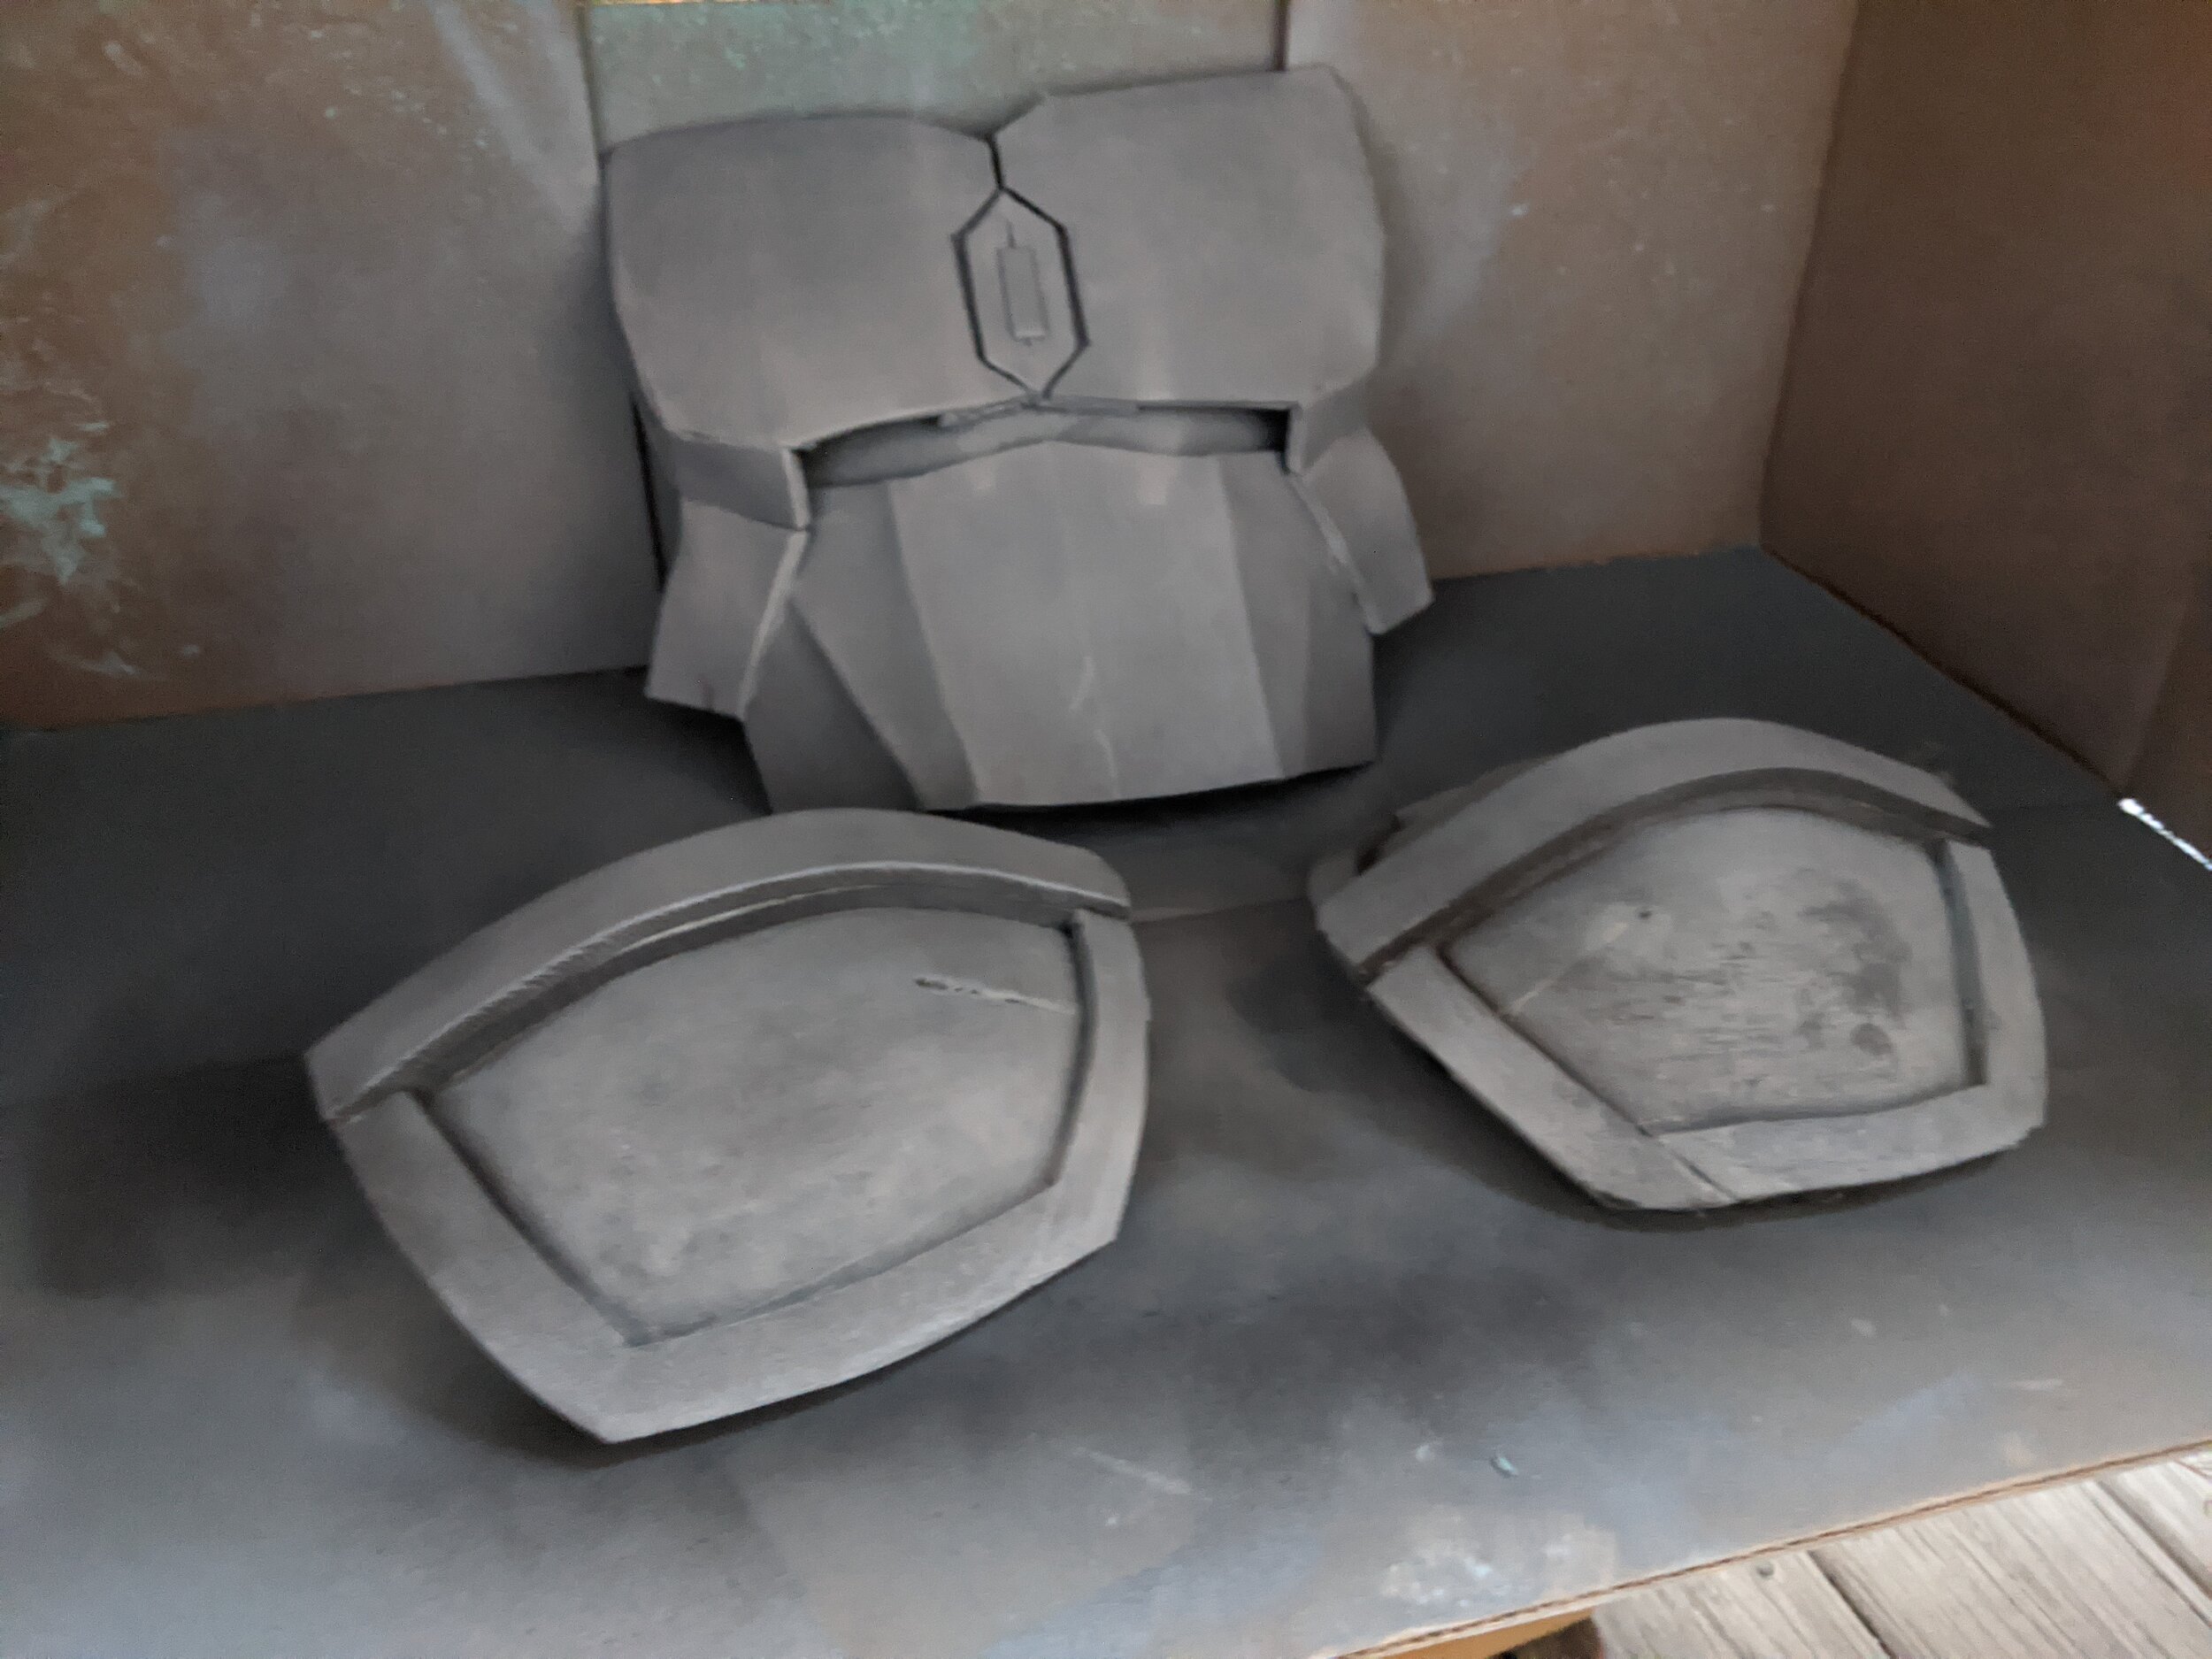
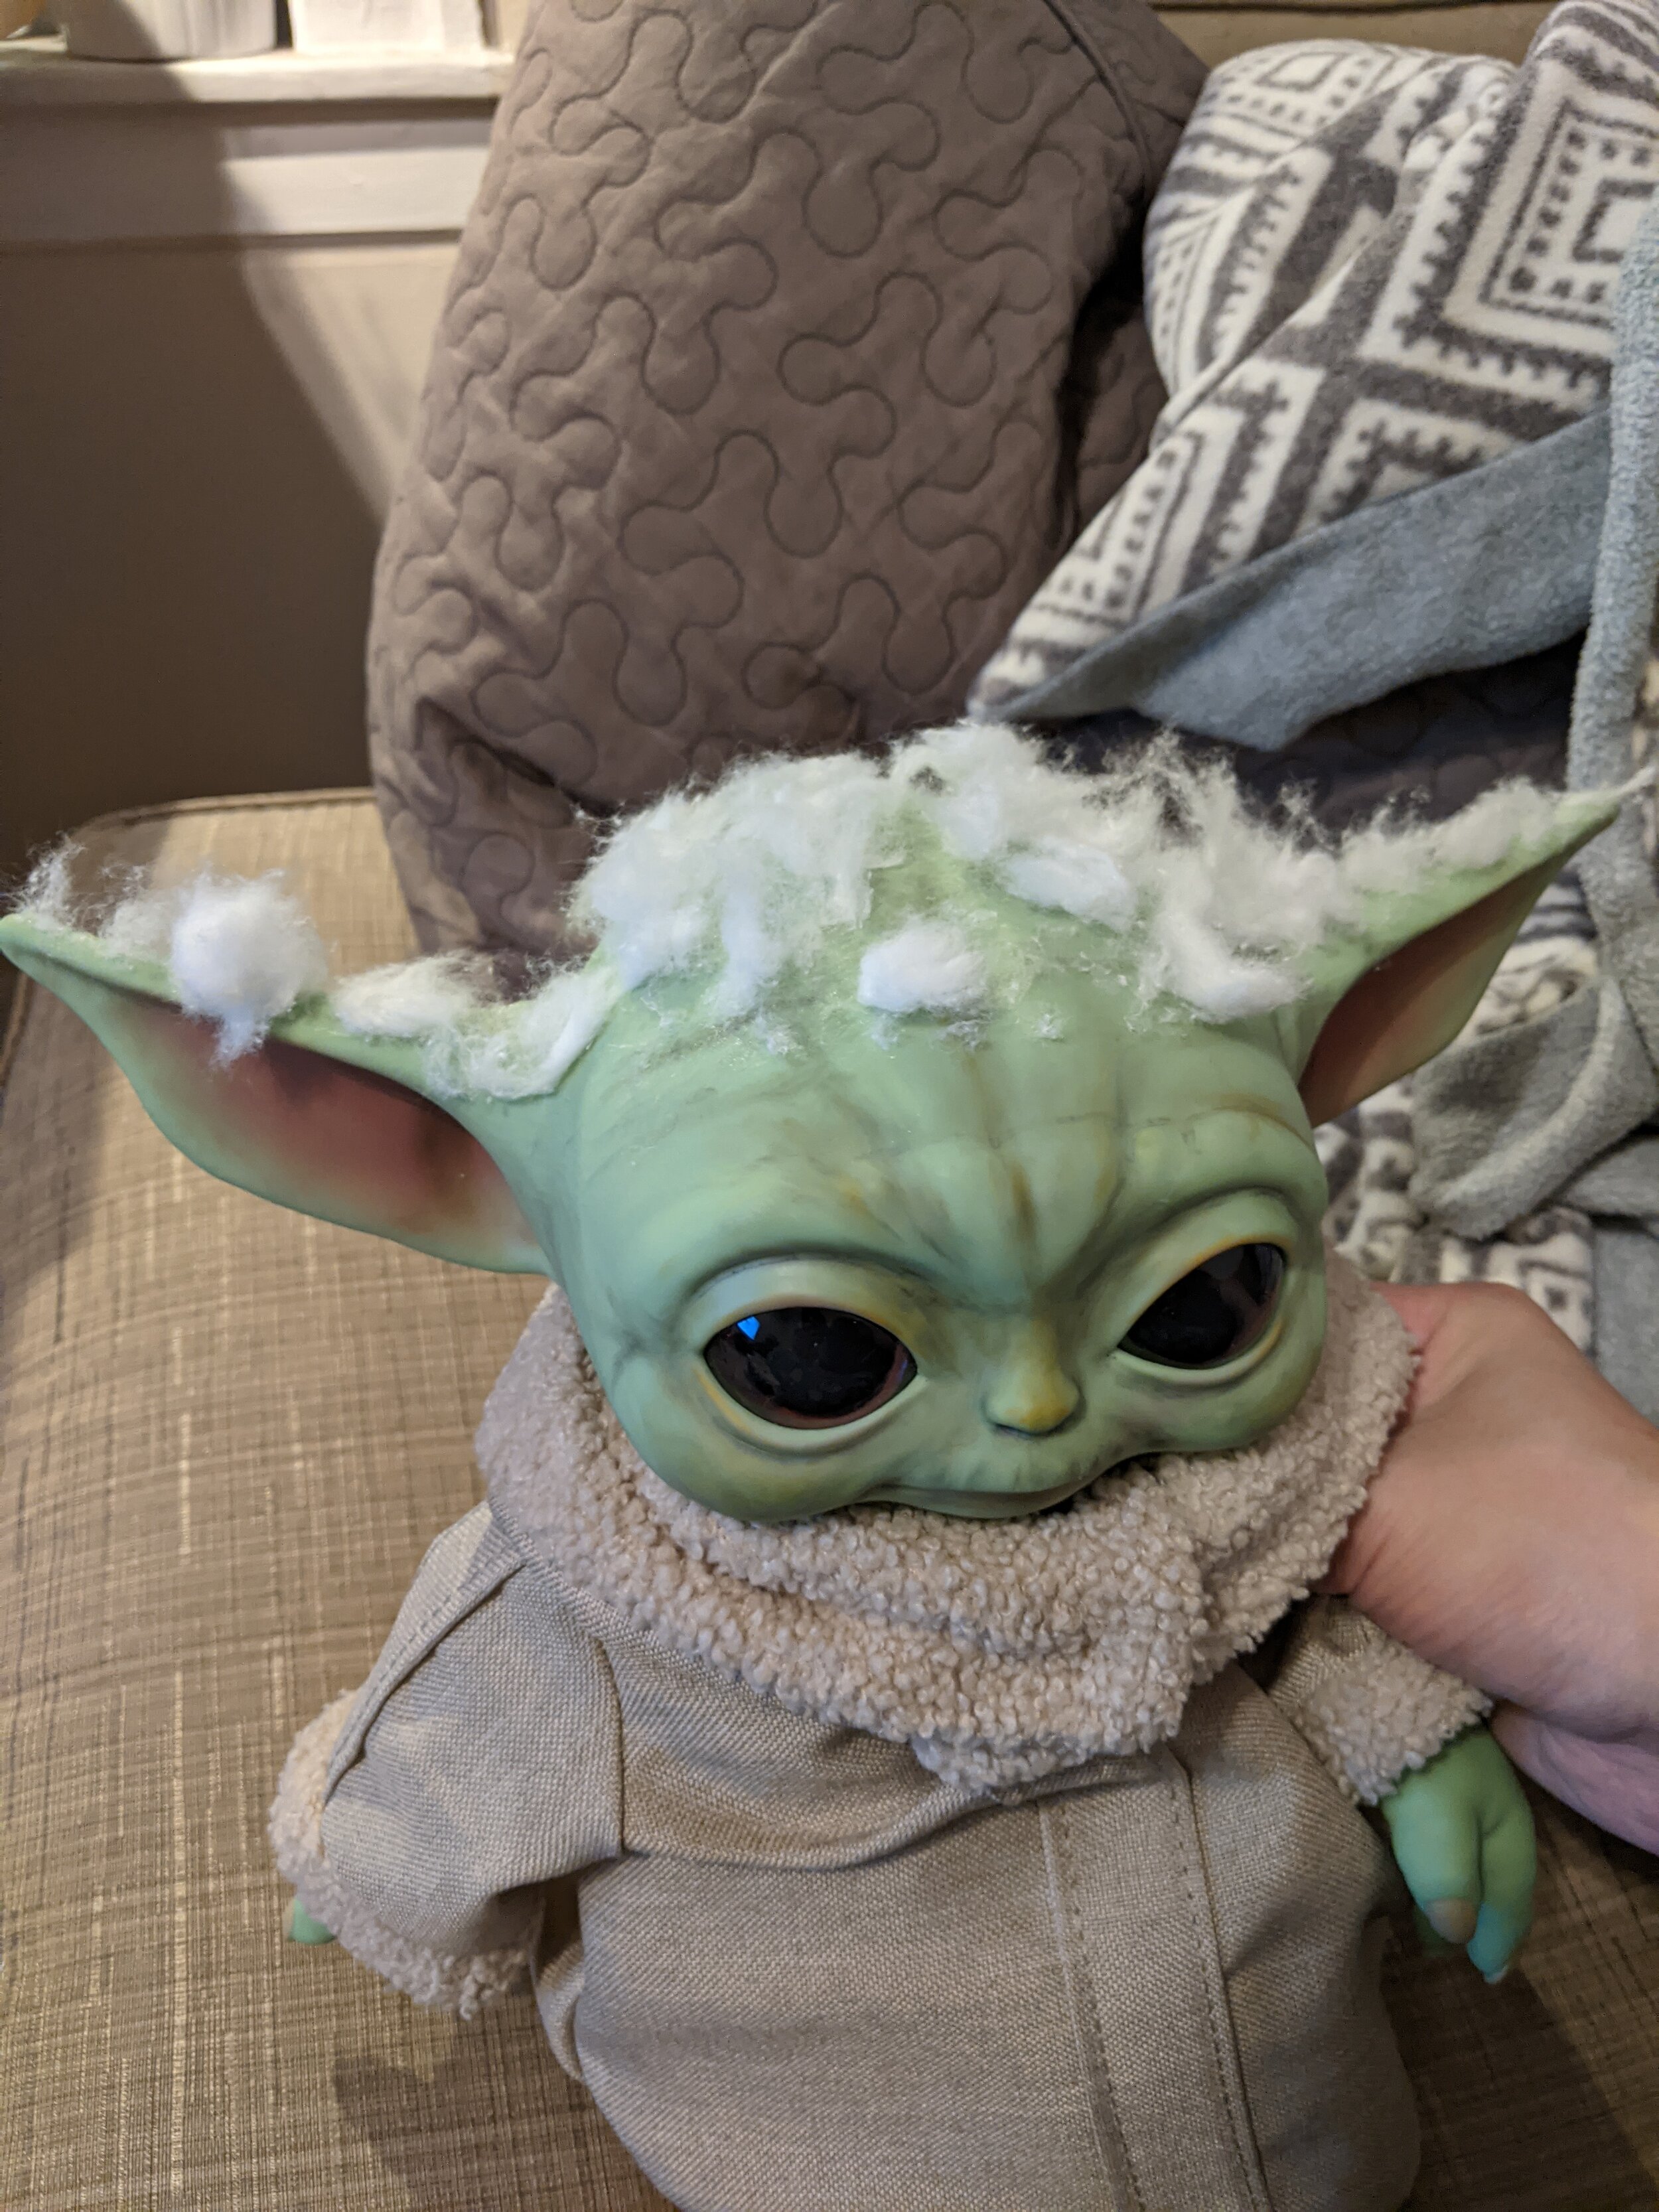
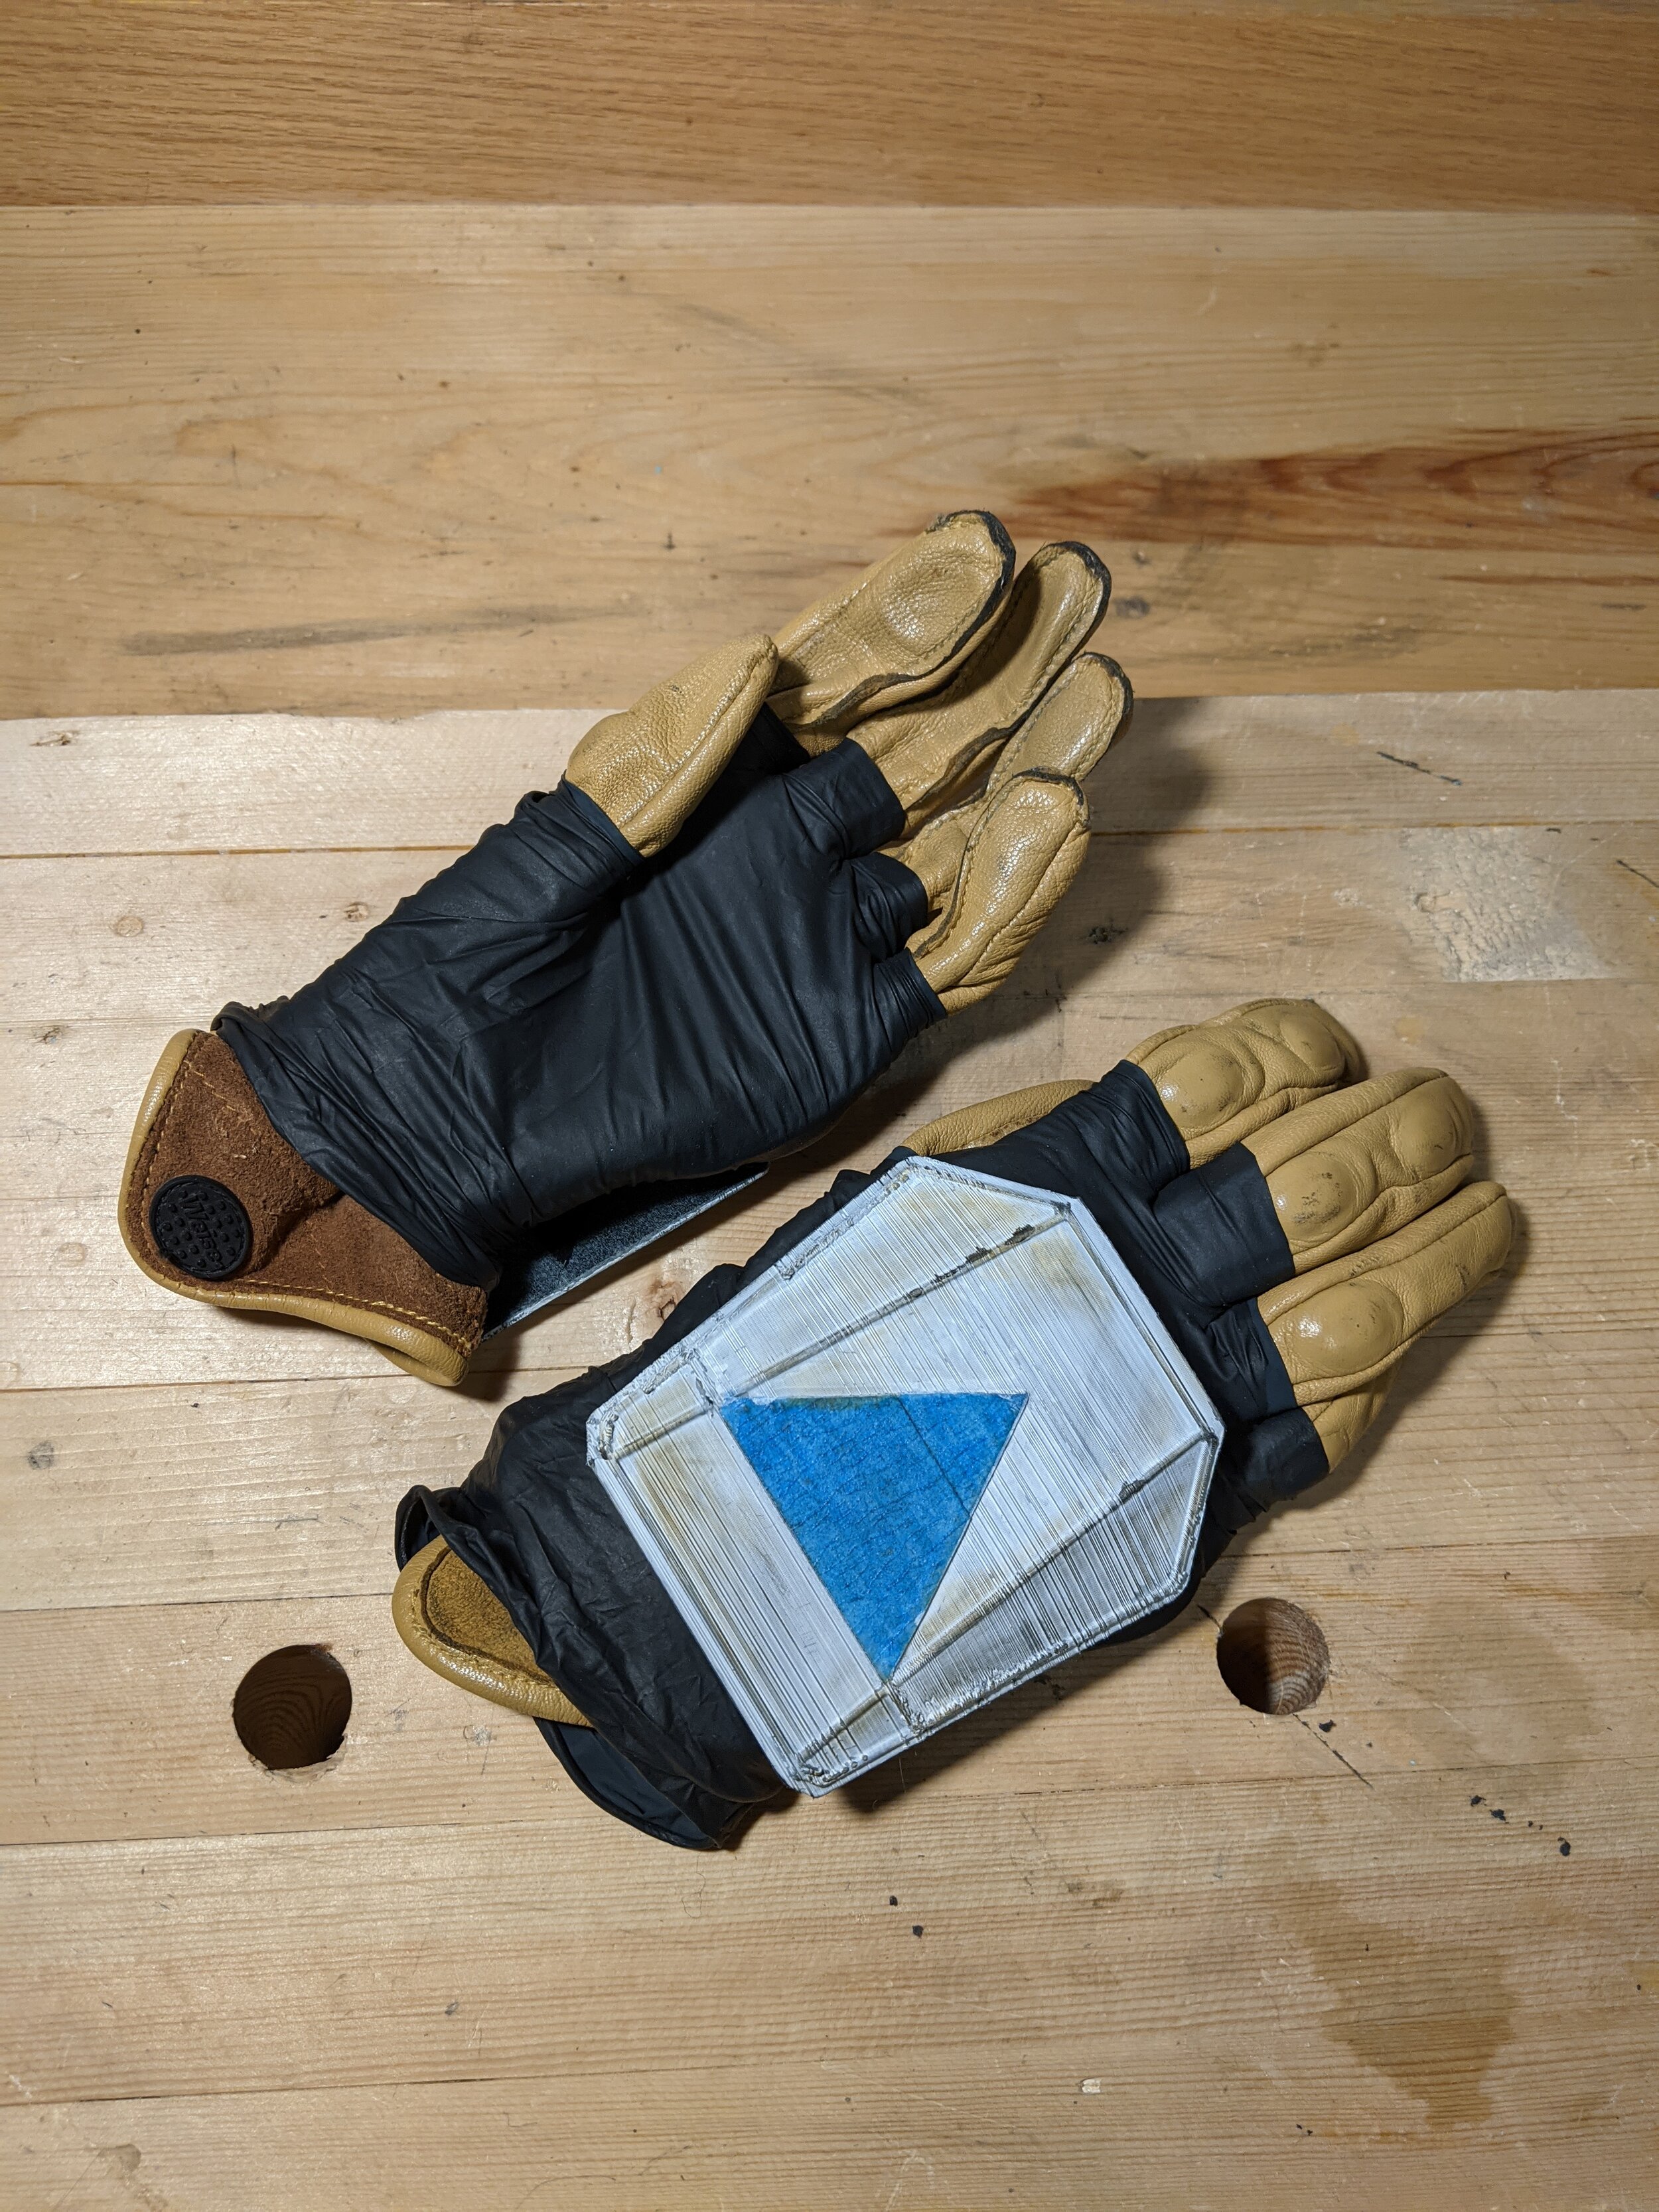
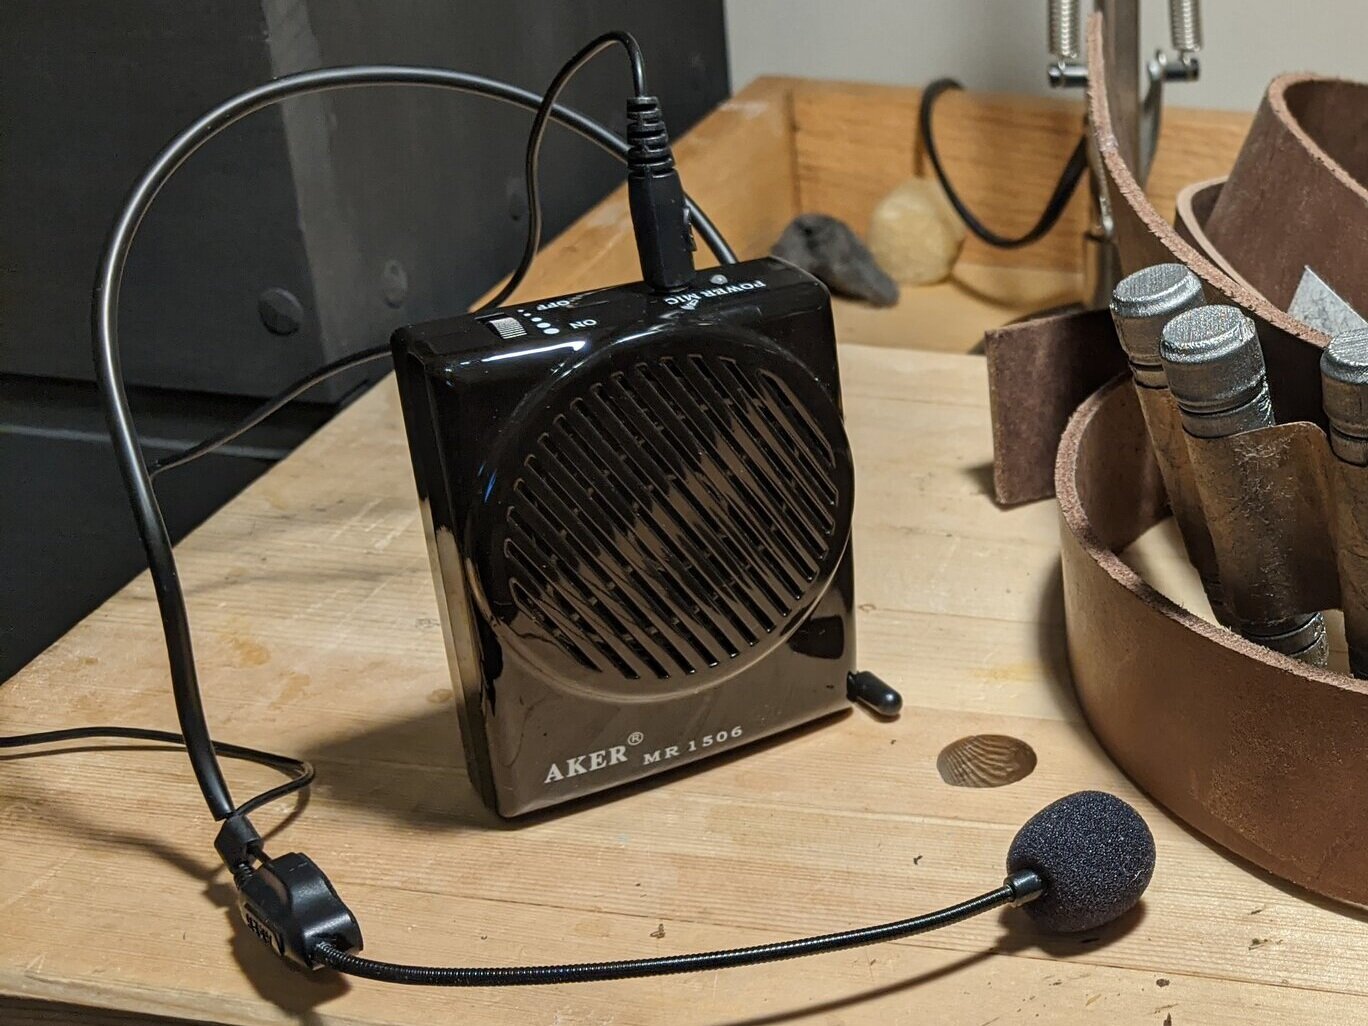
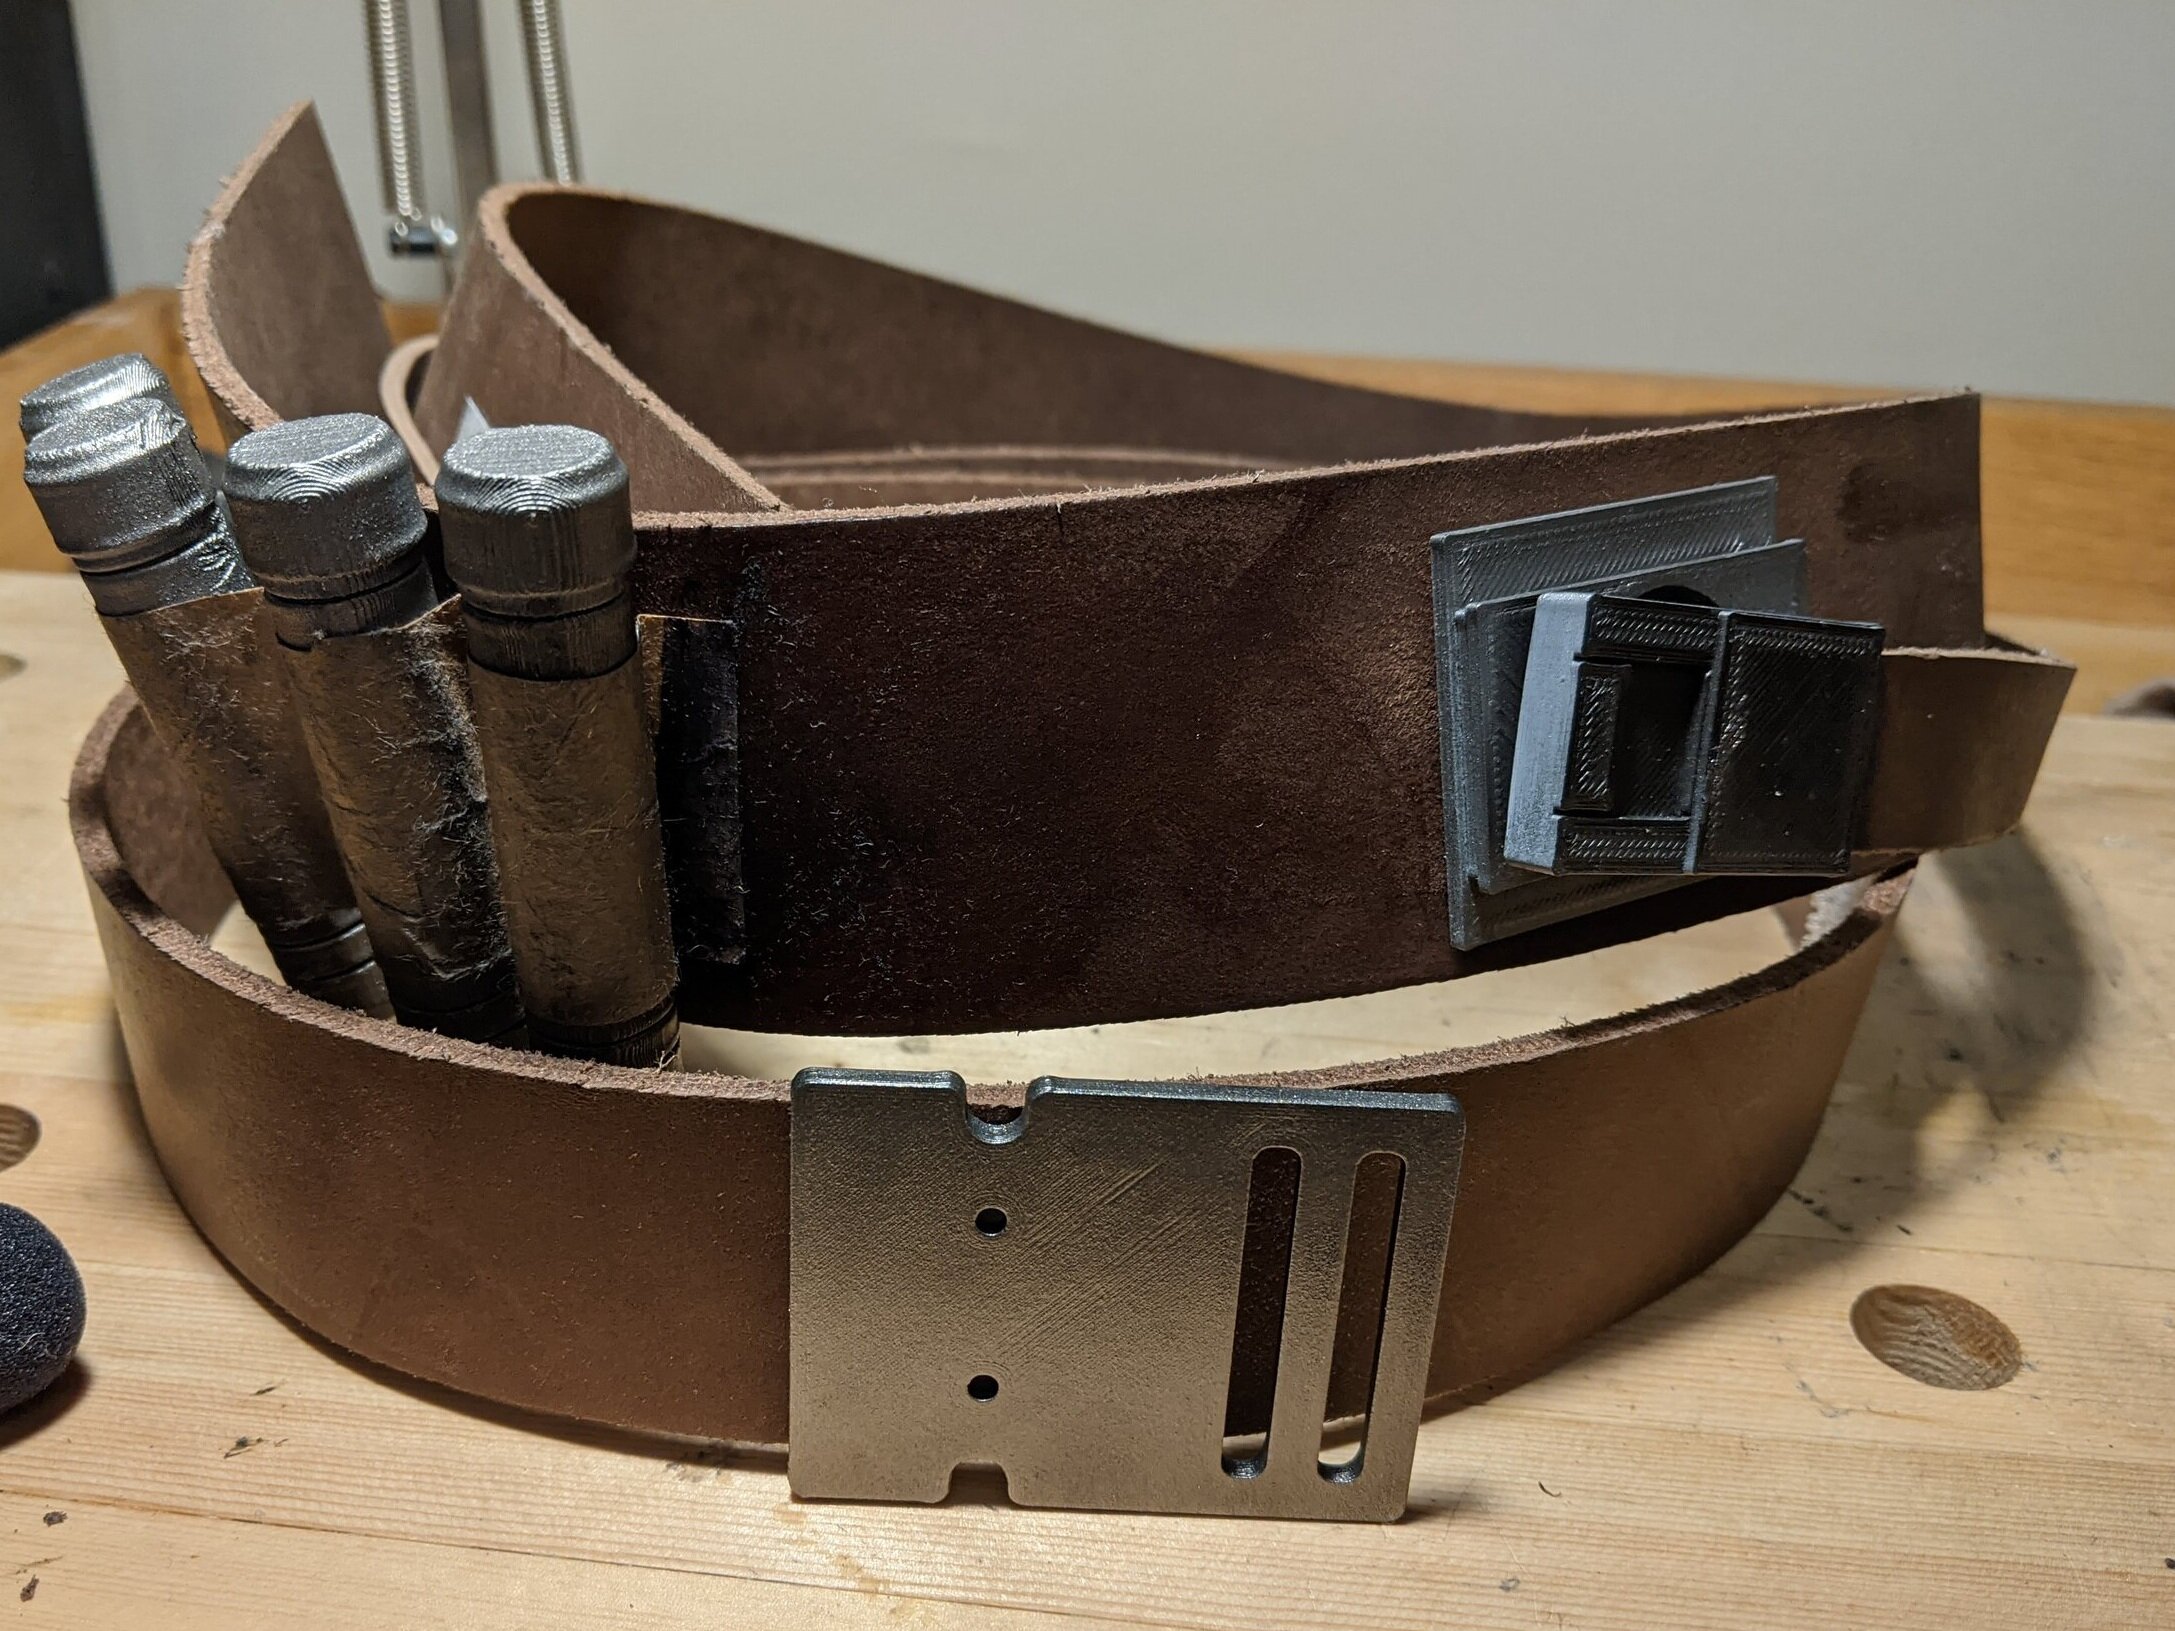
Simultaneously, I knew that in order to complete the rest of the look, I would need to eventually find a way to create the Mandalorian’s Beskar armor. Printing something as large as the chestplate and pauldrons was going to be time prohibitive so instead I opted to try using Ethylene-Vinyl Acetate (EVA) foam to create the armor. EVA foam can be cut with a hobby knife and glued with contact cement, which I had plenty of from my other leatherworking endeavors. The EVA’s open-celled foam pores were sealed with some diluted polyvinyl acetate (PVA) wood glue mixed with equal parts water and then primed and coated with the same gloss black as the helmet. I did ultimately 3D print the Mudhorn insignia and vambraces. My friend tipped me off that a baby Yoda doll with a decent sculpt was on sale so I decided to pick it up to complete the costume. It still looked too toy-like so I used some Gundam weathering make-up to add more color and contour his face and add wrinkles back in and also super glued cotton balls to his head and ripped them off so I could get that wispy grey hair. Other final details involved combining some leather straps with some 3D printed belt components with double-sided tape, cutting the fingers off of some black disposable gloves and putting them over my tan motorcycle gloves, and procuring a cheap eBay speaker to get a distorted radio voice effect.

Below are the final results where I used my balcony backdrop with an overcast sky that could be a nice stand-in for the forest planet of Sorgan. Some hanging lights from the balcony provided multiple warm light sources to create some interesting specular reflections on the helmet and my wife took photos with a Fuji XT30 with a 35mm prime lens.